
In Part 1 I explained my style choices & Fabrics, Part 2 showed my fitting journey. You’ve made it to Part 3, putting the first two blogs together! I started cutting and putting the dress together over the period following New Year 2021. With the UK going into lockdown I didn’t really have a huge amount else to do.
My Machine
I am incredibly lucky to be the owner of a Singer 201k, this previously belonged to my (now) husbands Nannie, Cissy Isaacs. My In-laws gave it to me when she passed away and it has truly re-ignited my passion for sewing. I could not think of a more fitting thing to do to involve her in the wedding than sew my dress (and Matts suit) using her machine. My own Gran, Ellen Smith, used to take a keen interest in my sewing when I was at school and I know that both of them would be absolutely rooting for me throughout the process of creating the dress.
Equipment
I am a BIG sewing gadget nerd and am a huge believer in having the right tool for the job. (Caveat: I also enjoy a good bodge when it’s not necessary or important to get it fully right). A few of the tools I found exceptionally useful are listed below (Links are own opinion, nothing was gifted)
- Speciality silk pins, less chance of snagging on the fabric
- Sharp scissors
- A rotary cutter with a sharp blade (helpful to cut out the pieces, also used to grade the french seams down)
- The straight stitch foot, the quilting foot with adjustable seam allowance, the rolled hem foot and an invisible zip foot.
- Microtex needles to ensure that I wasn’t snagging or pulling the fabric during sewing
- Gutterman silk thread and beeswax for the hand sewing elements
- Applique pins (these are much shorter and make you less likely to prick yourself when hand sewing)
- A lot of audiobooks, I have an audible subscription but where I live in the UK I can also access free audiobooks through the Library. I cannot recommend this enough.
Cutting
I’m not going to lie, prior to cutting out the dress there was a HUGE pep talk to myself. Accompanied by a thorough clean of the sewing room as it was post Matts suit construction and that fabric was very fluffy (Blog to follow soon). Post the final edits to the bodice I traced it out on to printer paper. For the bodice front, I transferred the pattern to make it not on the fold, this allowed me to transfer the markings much more accurately. The only other piece cut on the fold was the skirt front. The pattern did call for cutting the skirt on the cross-grain, due to the length I removed from the skirt (3 inches) this wasn’t required. I took my time on the cutting, especially on the silk habotai which liked to shift around like a leaf in the wind.
Construction
Petticoat
I previously mentioned that I made the petticoat prior to the end of the toile to get the skirt volume and length as I wanted. Construction of the petticoat was fairly straightforward, I French Seamed throughout and bias bound the bottom raw edge of the yoke of the petticoat. The tulle doesn’t fray so it didn’t require any finish on the hem (just not wonky cutting), I then put the dyed trim from my mums dress around. The trickiest part of the petticoat was getting the elastic right so that where it sat there was no obvious gap between the bodice lining and the separate petticoat.

Bodice
I went a bit backwards in the construction here and constructed the lining first, the fabric is so lightweight I wanted to make sure it didn’t have a chance to waft across my sewing room or get looked at funny and distort! I french seamed all of the seams in the dress, there are other blogs which can explain the french seam process. However, my tips are to press it nice and flat, then put it flat on a cutting mat and very carefully trim your seam to approx ⅛” to ensure it is encapsulated when you create the second seam. I didn’t want to use an overlocker for my dress as I wanted to take a more couture approach. For any of the edges inside I used my 6mm rolled foot to create the finished edge.

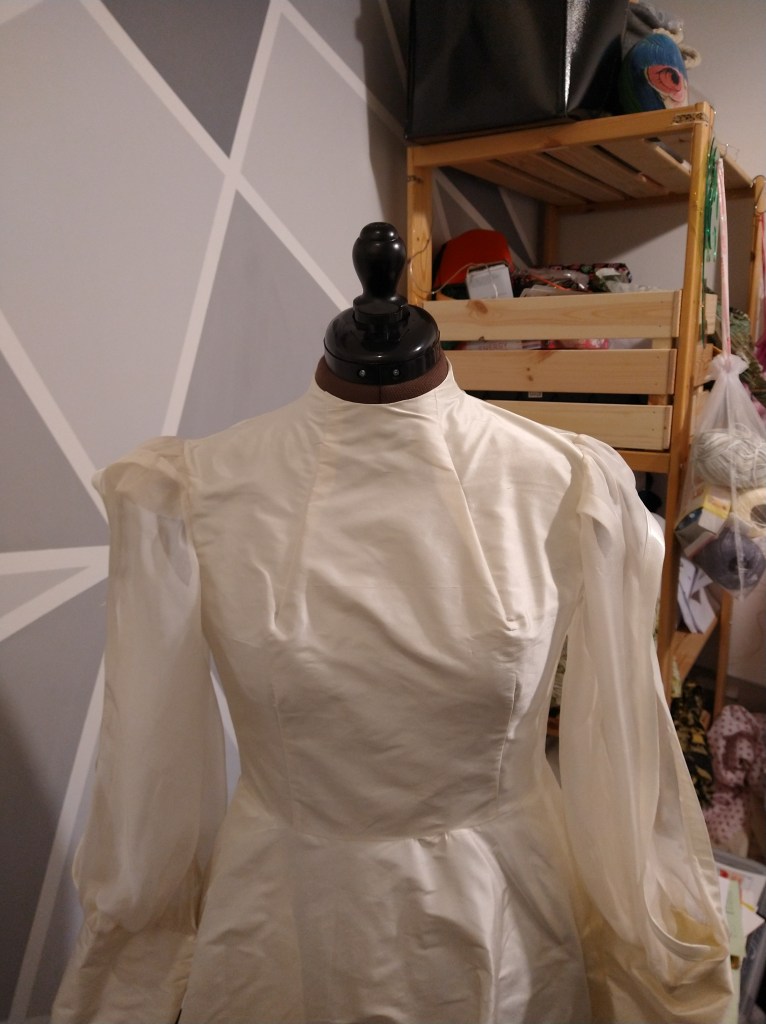
Following the lining, I made the outer bodice and joined the two together along the neckline, this was followed with understitching to ensure that it didn’t roll out. I then tacked the armholes together (with red thread) to ensure that the sleeves would go in well.

Sleeves
Where does a queen keep her armies? (Up her sleevies)
Silk chiffon is a beautiful fabric but it is a tricky fabric to sew with, there was another pep talk for this part. I took my time and planned a whole evening to put these in. Red thread was once again used for the basting stitches, to help me to remember to take it out. The bias binding addition was taken slowly, plenty of pins, sew, trim, turn, press, pin, sew. I am pretty happy with the overall finish on these, you can see a little pulling on the chiffon in the picture below but if I hadn’t told you, you would never have known! I french seamed in the sleeves, which took all of my nerve and patience (especially setting them in). I’m not a big fan of setting sleeves in flat, personally I find that it then creates a pull/twist under my arm which drives me mad whilst I’m wearing the garment in question. I definitely didn’t want that on my wedding day!

Skirt
I did not manage to do the french seams in the skirt 100% correctly, the attachment of the pockets to the waistband and the side seam blew my mind, I didn’t manage to find a tutorial to help (suggestions welcomed). SO, I french seamed the side seams and the pocket individually, did a rolled hem on the part where the pocket opening attached to the skirt and vice versa. Then, I sewed in the pockets by machine/hand in a bodge worthy of a Duck-tape medal. Is it pretty, sort of, did it work? Yes. So I am counting it as a learning curve and a win.
I then attached the bodice to the skirt, using a french seam again. I now had an almost dress, just the back was open and that wasn’t quite the look I was going for. I attached the invisible zip, for which I bought an invisible zip attachment. I would wholeheartedly recommend using an invisible zip attachment to minimise your swearing whilst you sew. I found the linked tutorial from Nina Lee particularly helpful. I also basted in my zip prior to sewing in because it helps it shift less. I then tried the dress on to check that it fit prior to starting the appliques, because it would have been rubbish if I finished it and had to take it in/out/shake it all about.

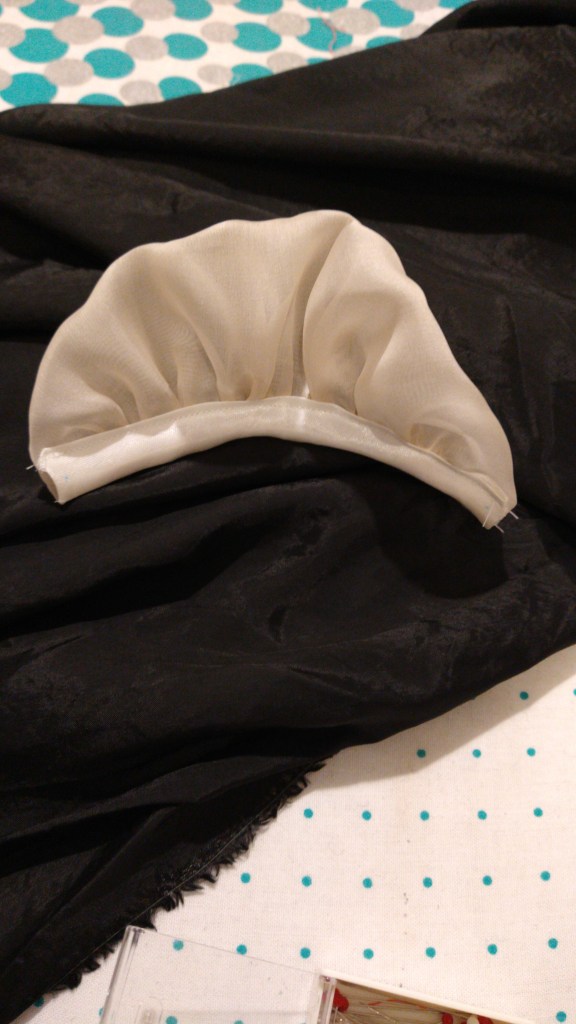
In Blog 1 I mentioned the organza I had purchased to add structure / OOMPH. The sleeves needed a little something to help make them shine and give the big sleeve energy I was hoping to achieve. A while ago I had seen a post from Bella Loves Patterns about the Vita Blouse and dress which is best made in a drapey viscose but needs some sleeve volume. Incredibly helpfully there was a tutorial on how to do sleeve head attachments (which when I showed Jenni we thought it looked like something out of Downton Abbey). I followed this tutorial and it helped to give the sleeves the oomph and structure at the top that I was looking for.
Appliques
Also in Blog 1 I mentioned that I had got 2 types of applique. These were known as ‘Swirls’ and ‘Flowers’ I pinned both options to the dress to identify which I wanted. I then text multiple people (having already had the idea in my head of which I liked most) to see what the consensus was. I then decided I definitely wanted swirls!
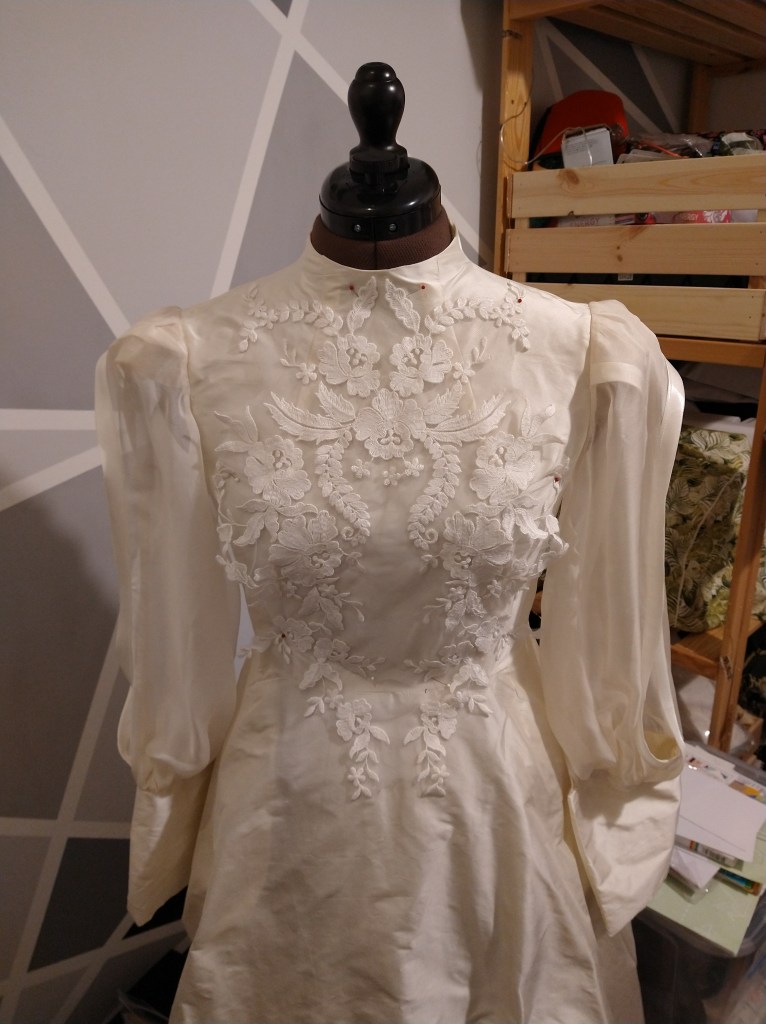

Let the hand stitching marathon begin. I’m going to be real here, this was a labour of love. It took me two weekends of solid ‘working days’ to stitch on these appliques and I did one twice as it wasn’t up to standard. There were a total of 8 appliques (4 front, 4 back). I sat in my sewing room, with the dress on my mannequin (for the back appliques) listening to many an audiobook. Applique pins were incredibly helpful to stop me from stabbing myself. I was also grateful that I had remembered not to sew the bodice lining down yet (also hand stitching) so the attachment would be hidden from the inside. I also removed all of the mesh post embroidery with a pair of embroidery scissors, which was pretty nerve wracking.
Finishing
The bodice lining was stitched down by hand to a) cover the zip tape and insertion and b) cover the waistline join. This was done to another audiobook session but felt like a breeze compared to the applique attachment.
I finished the hem using bias binding after having previously tried to use the rolled hem attachment to finish it, it looked like I’d had about 8 bottles of prosecco when I used this method. My one slight regret is that I didn’t finish the hem by hand, however, the bias binding gives it a bit of extra flare and structure, and sometimes you have to be practical and realise that if this is your biggest regret on a hand-made wedding dress you’ve done something right.

Buttonholes were made on my ‘fancy’ modern machine as the singer doesn’t do them and I don’t have the attachment (yet). I used the silk thread because I had it and it added another level of elevation.
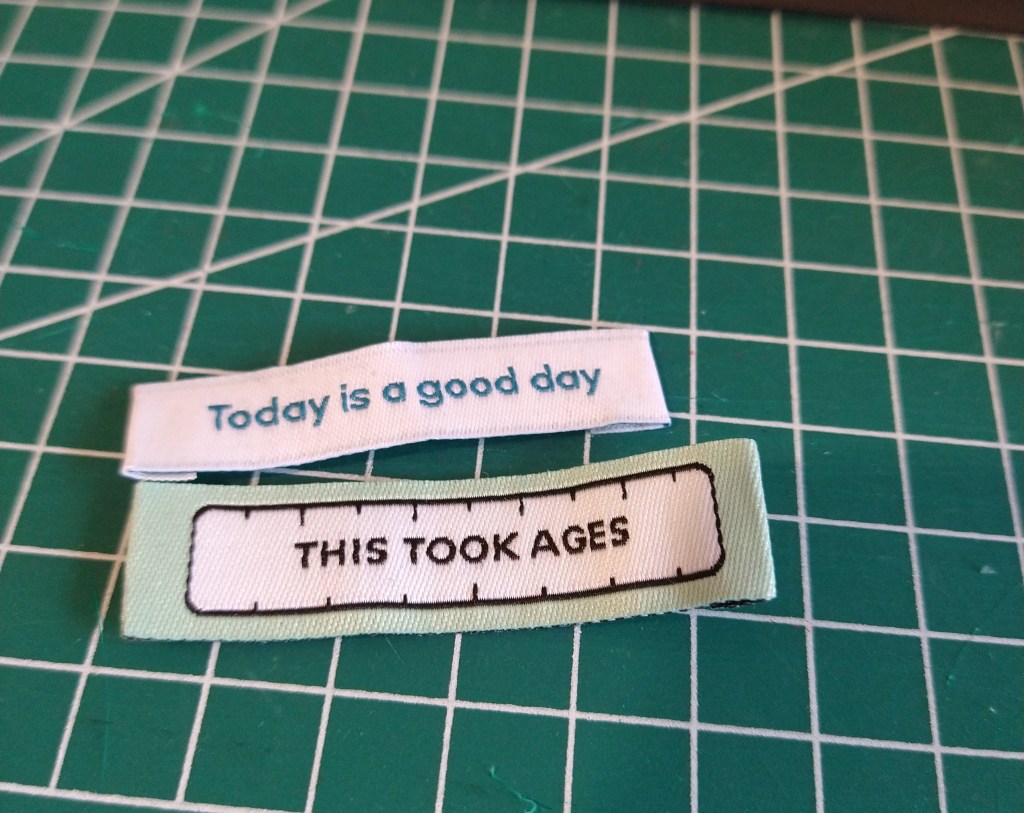
I had previously planned on adding a ‘This took ages’ label (with all the hand stitching, you can see why) however I ended up adding a ‘Today is a good day’ label as I wanted to focus on my day, not the dress construction. I also popped in a label from my school days as I thought it was a cute and personal touch.
Buttons
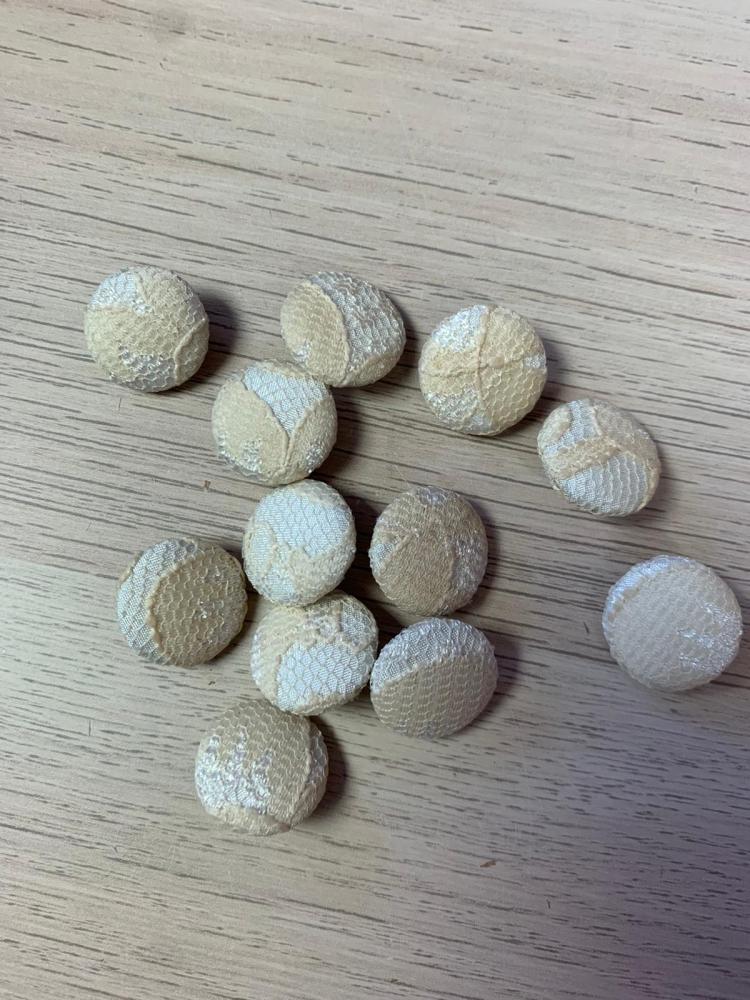
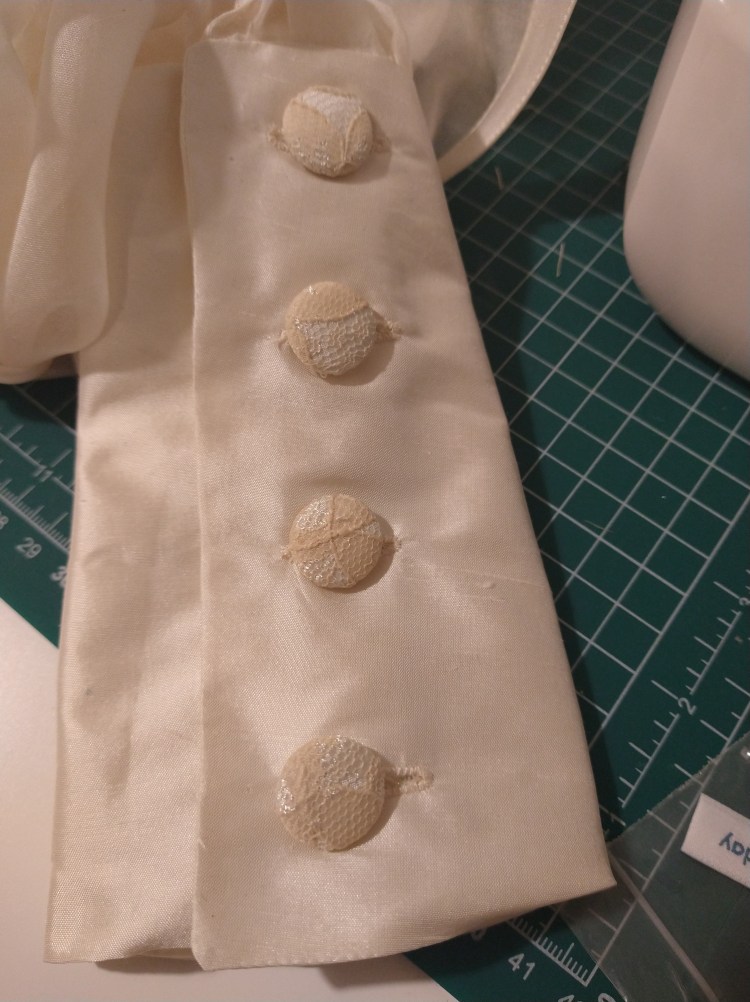
The buttons were made using the silk habotai and lace from Mums dress. Sarah of Like Sew Amazing has a covered button making service and had a thorough consultation with me about the placement of the lace on the buttons to help me get the most visually appealing ones. They are such a beautiful and bespoke element to add to the dress and I’m thrilled that she could help me make them.
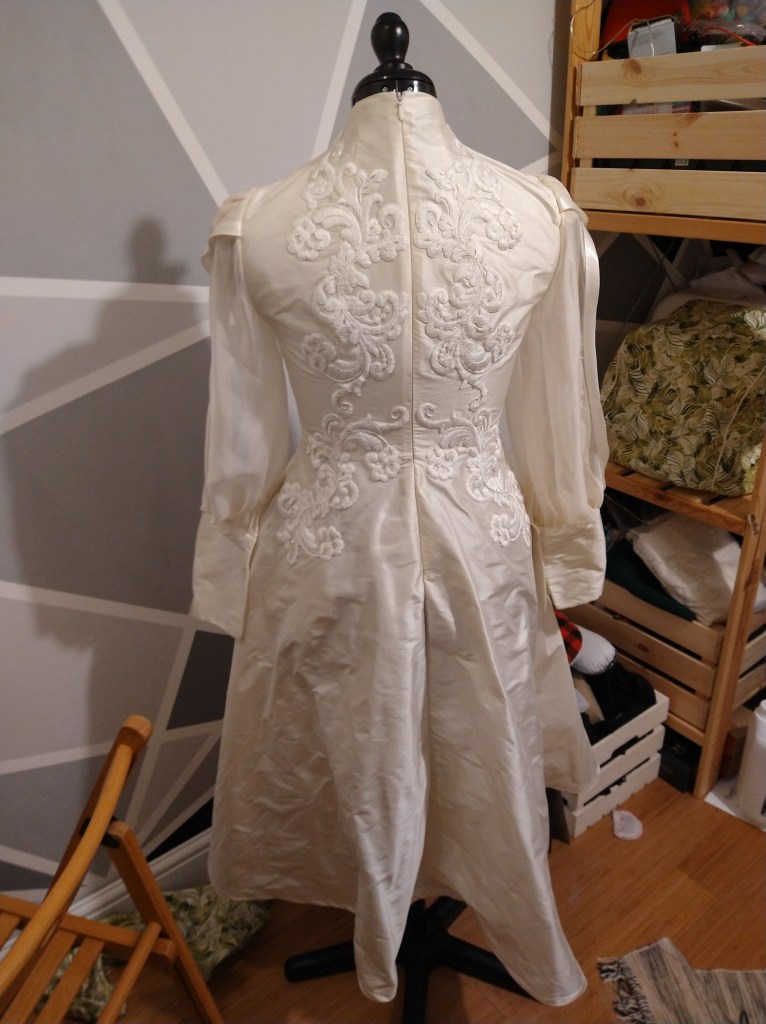
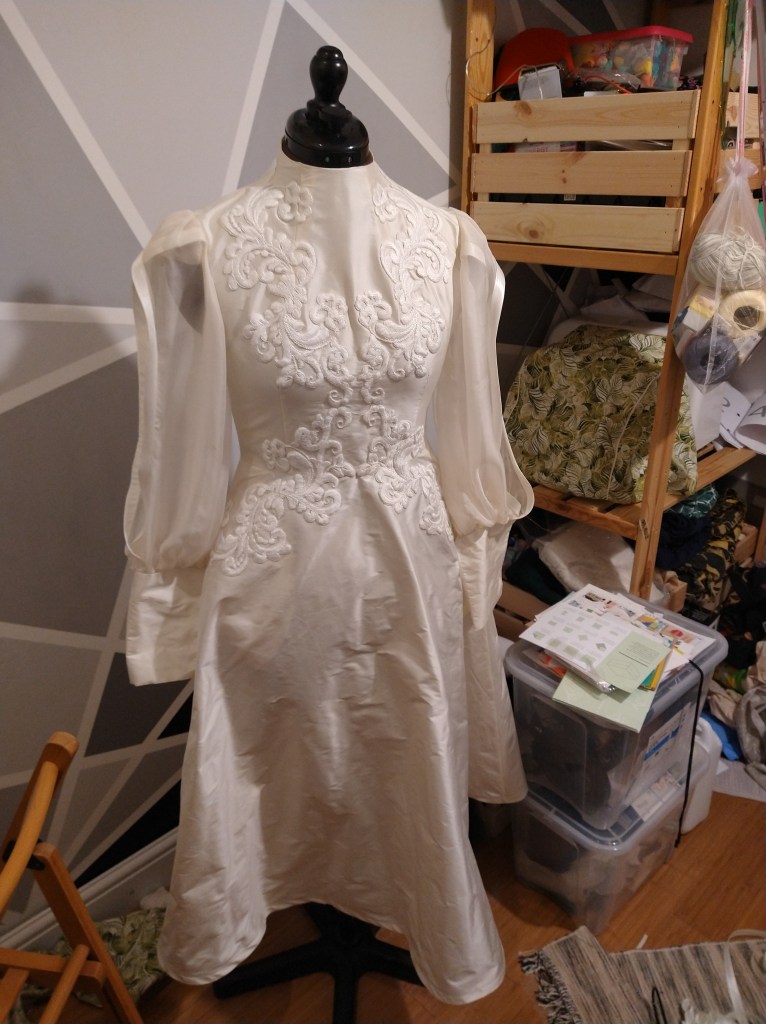
Next Up
So, that is the complete construction and a few photos of a dress in dire need of a decent pressing on both me and my dressform. Prior to the wedding I also took the dress in to get dry cleaned, this was to make sure it was presented the best it could be and to get my hand stitching ‘hand grub’ off. My next post is photos, photos and more photos, a few musings on what else I wish I had known prior to starting the process and reflections on the overall success. I hope you have enjoyed reading about the construction and if you have any questions drop a comment below or reach out to me on instagram.
I am thrilled with how this has turned out and I loved every minute of our wedding, knowing that I had made the dress too.

One thought on “DIY Wedding Dress – Construction”