Matt (my Husband) already had a suit. So I knew that I could try to make one with very little pressure on myself if it all went horribly wrong. Even my lovely sewing friends thought I was a little bit mad. I thought I was a little bit mad. Without further ado: the suit making process.
Resources and research
When deciding to make a suit I did a lot of research into techniques, processes and materials. Brittani of Untitled Thoughts had recently made a suit jacket for her groom and so I read all of the blog posts available (Part 1 here). The amazing resource that got us both through our suit making journey is the book: Tailoring: The Classic Guide to Sewing the Perfect Jacket. I found it to be an invaluable resource on ‘how to’ and rather helpfully ‘why to’.
One of the many things you read about when making a suit, coat or similar is that you need to use a clapper to get crispness in your seams. I bought mine from Maven Patterns but there are several available. I also used a tailors ham and sausage to get the pressing right alongside a pressing cloth. I had cleaned my iron using the hemline cleaner, I would not recommend this. There are now deposits built up in the non steam holes in my iron. One of the best tips I can give for suit making is to really, really, really spend time getting the pressing right whilst you make the suit. Following making the suit also consider taking it to a Dry Cleaners for a professional pressing too.
There is even more hand-sewing in the suit than the dress. One of the tips for the hand sewing is to use a silk-thread, when completing the hand-sewing it is important to cover the thread with beeswax and to heat it quickly to prevent it from tangling.
Pattern(s)
One of the key things that Matt wanted in a suit was for the jacket to be lined. He also wanted pockets, two buttons and for it to be single breasted. There are surprisingly few mens suit patterns available for home sewing, Vogue do an excellent line.


The first pattern that we bought was Vogue 8988, I should definitely have paid more attention when getting Matt to buy it. It didn’t have a lining so I would have had to draft one myself. Nevertheless we cracked on. A note to Vogue, the stripy fabric used for the single breasted sample is not helpful to people looking to make the garment to review style lines.
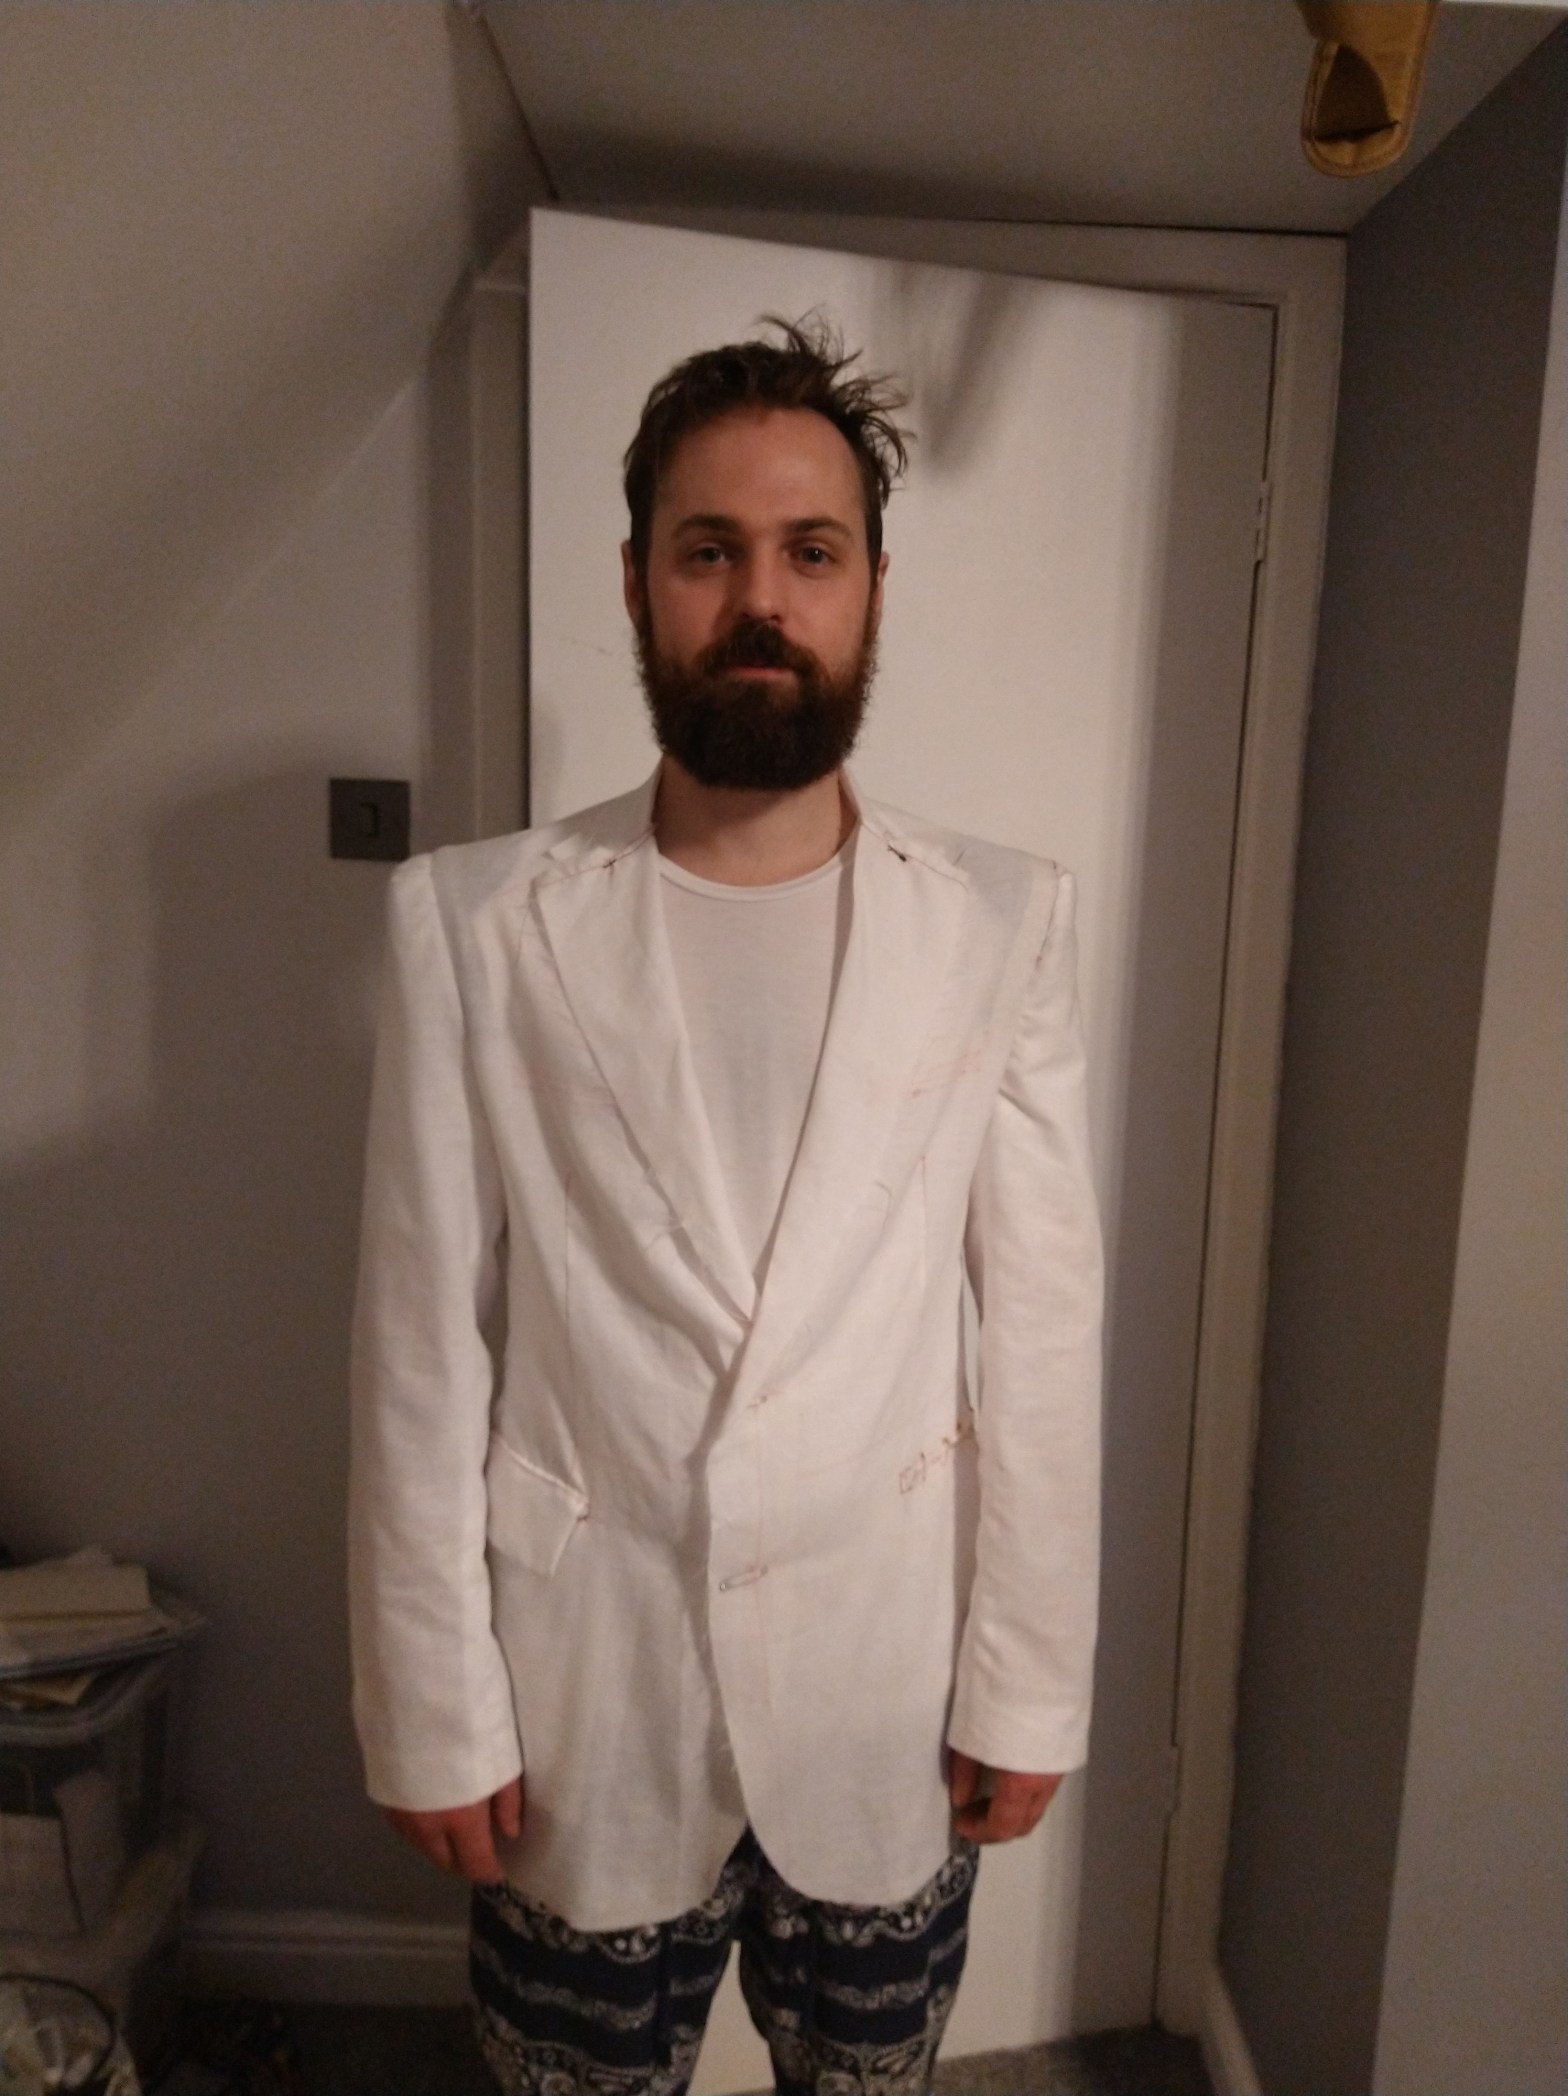
I made a toile of the jacket first, it was a fairly straightforward sew, I didn’t french the suggested seam as it was a toile. If I were making it properly, without lining, I would 100% have done this. I took 2” out of the length above the waist and would have also taken some of the ease out of the back and done a narrow shoulder adjustment. However, shortly after this jacket was put on pause for one with a full lining.


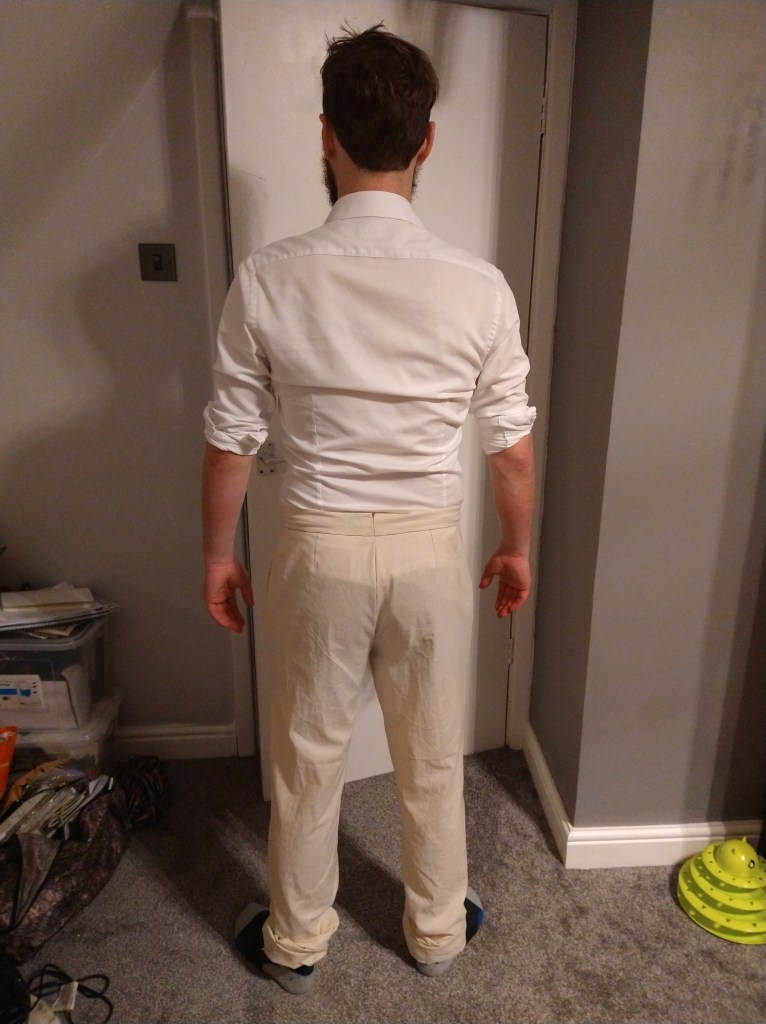
Whilst waiting for the second jacket pattern to arrive I made the trousers. These fit surprisingly well out of the envelope in size 38. The biggest issue was the need to remove 7” (17.5cm) from the length. I found the construction fairly straightforward on the toile. The waistband would prove to be trickier in the actual construction.


Pattern Number 2 – A Jacket with Lining!
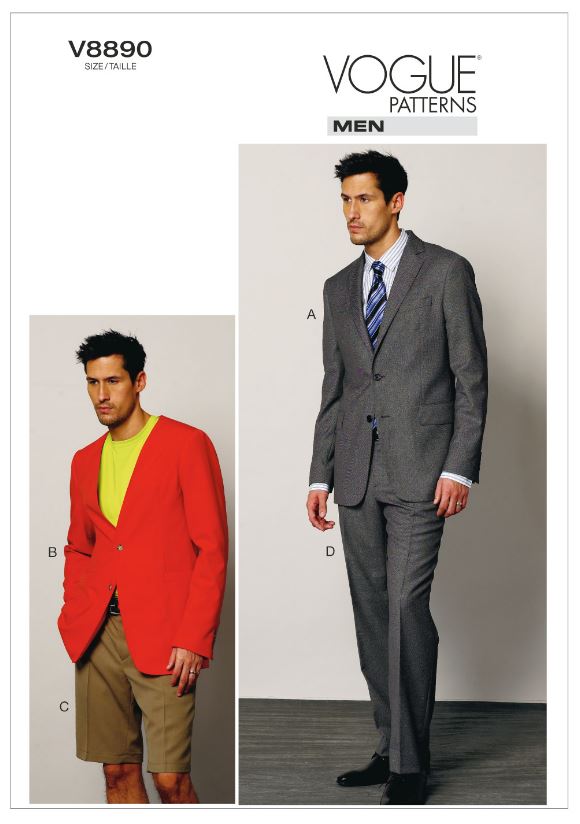

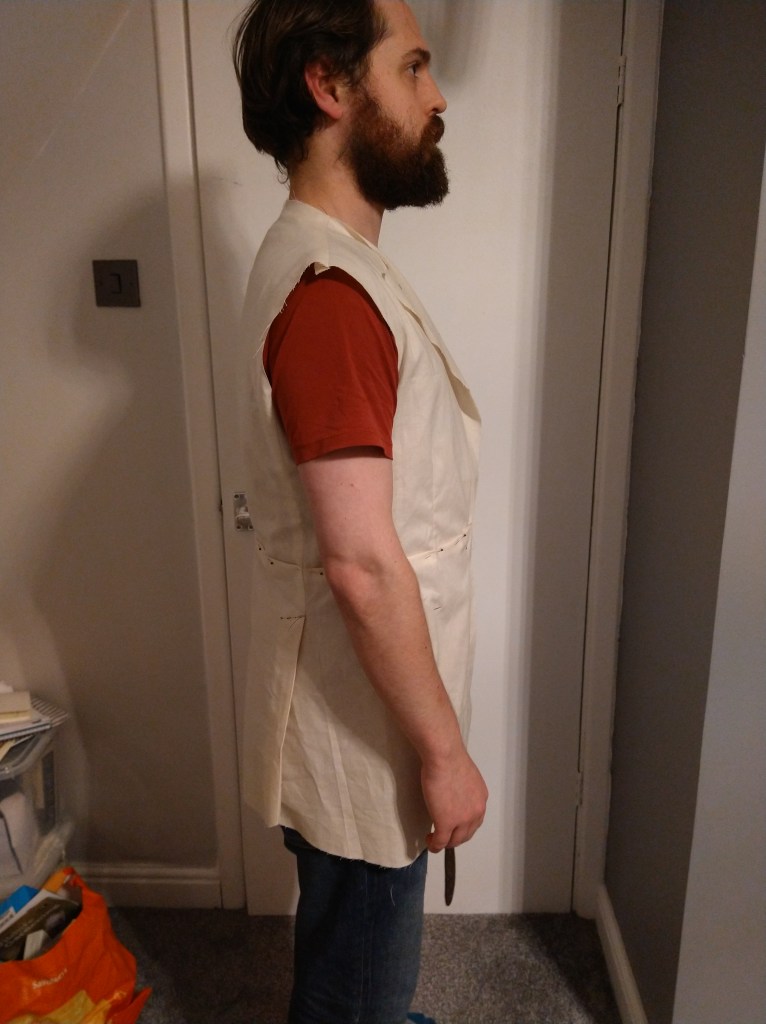
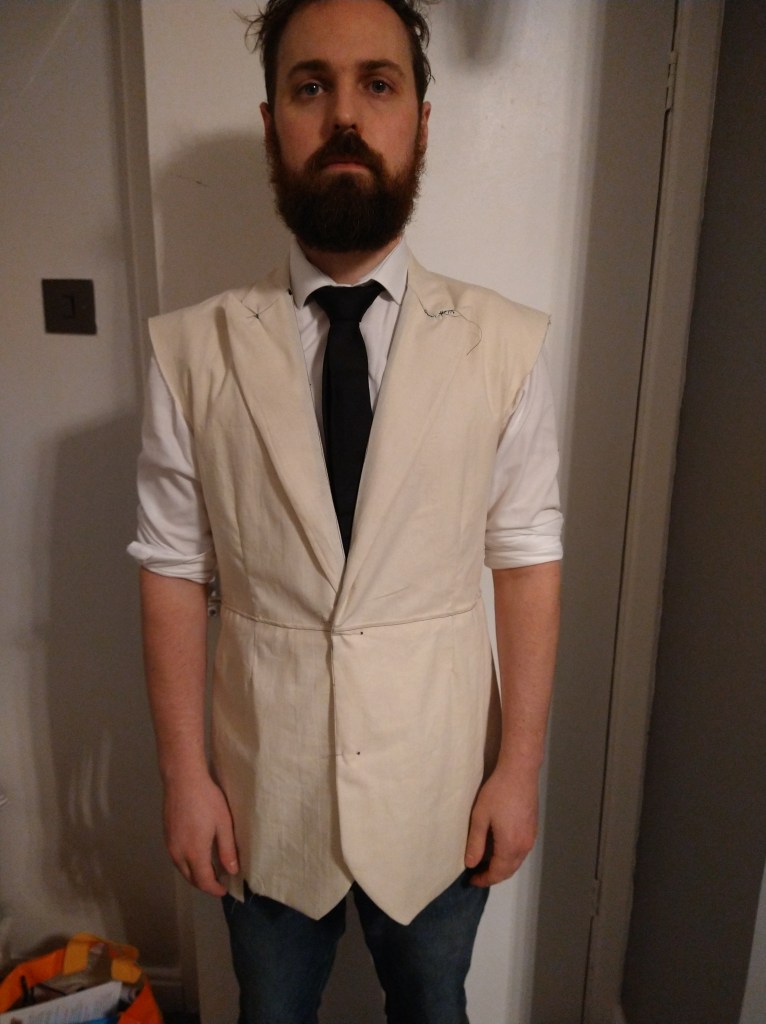
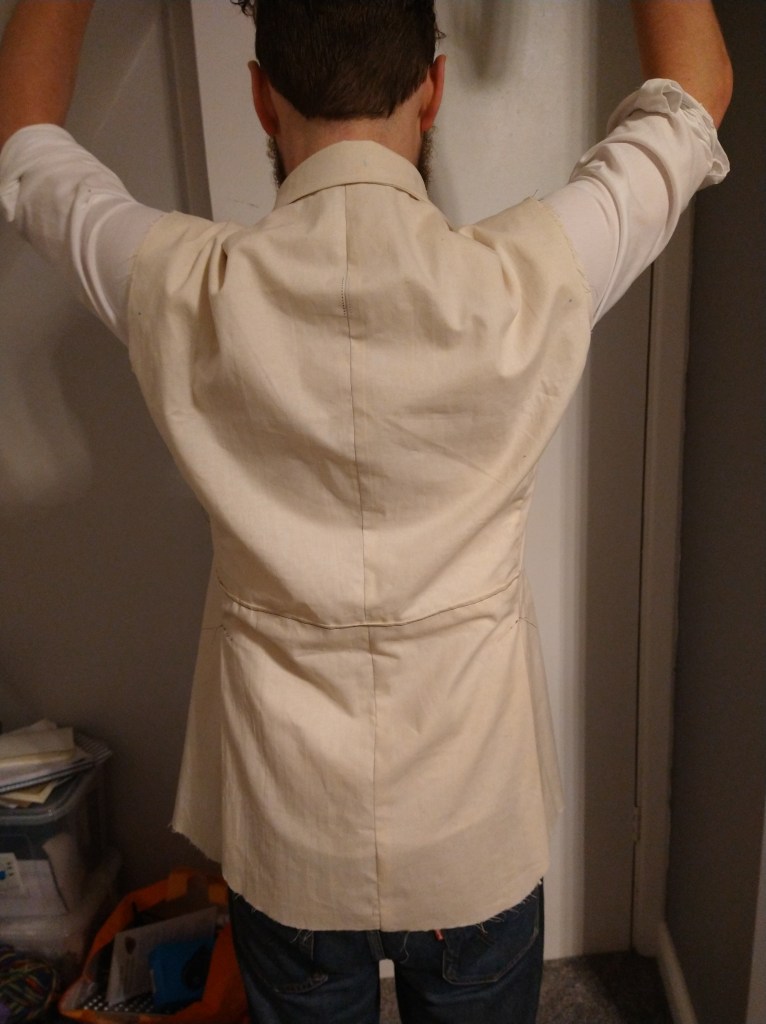
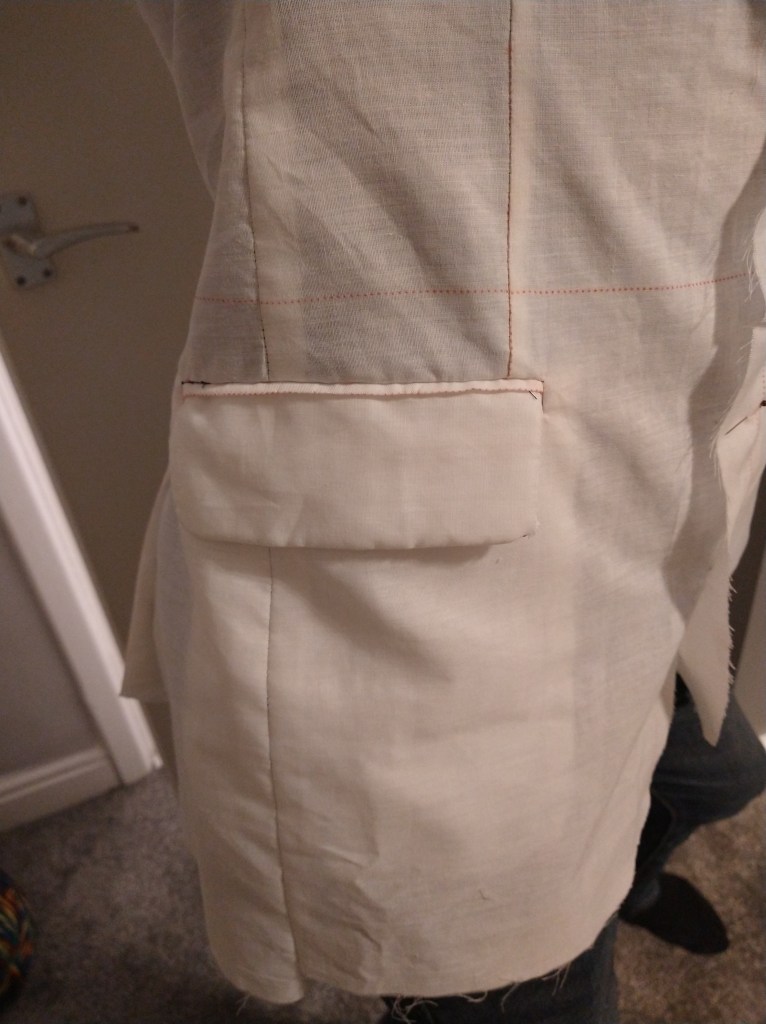
This time we selected a pattern with lining! We’d originally discounted V8890 due to the weird view B with no collar (I’m not a style trailblazer). The style lines are fairly similar to the V8898 with the exception that this also has a side panel where the 8998 did not. Now keen to get on with making the suit, I started the toile. I started at the size 40 and made adjustments from there. Due to the construction method of the jacket I also practised a welt pocket!

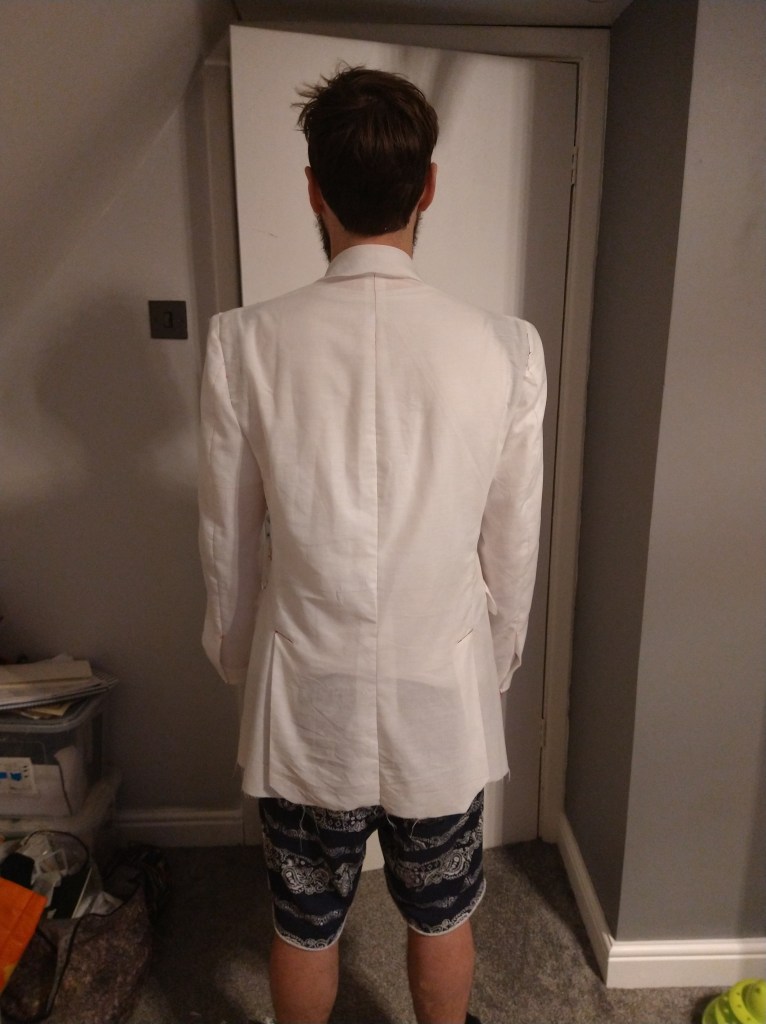
I did a ⅝” narrow shoulder adjustment, ½” reduction at the side seams and ¾” for the back seam. The sleeves were also reduced by 1” but kept fairly long at the preference of Matt. I also put the sleeve head and the shoulder pads in the toile to ensure that they were sitting right. It was time to start the real thing!
Fabrics
Matt had a very definite aesthetic in mind for the suit. It was always going to be a black suit. We ordered quite a few samples from multiple shops and there was some debate over:
- Too patterned
- Too fine
- Weird texture
- Wrong black
Finally we settled on the McElroy Seattle, a 100% wool Mini Hop-sack Weave Suiting which we bought from Sherwoods Fabrics. Matt liked the texture and slightly more informal look of the fabric. I was a bit nervous to make my first suit in such a loose weave but forewarned is forearmed so off I went!
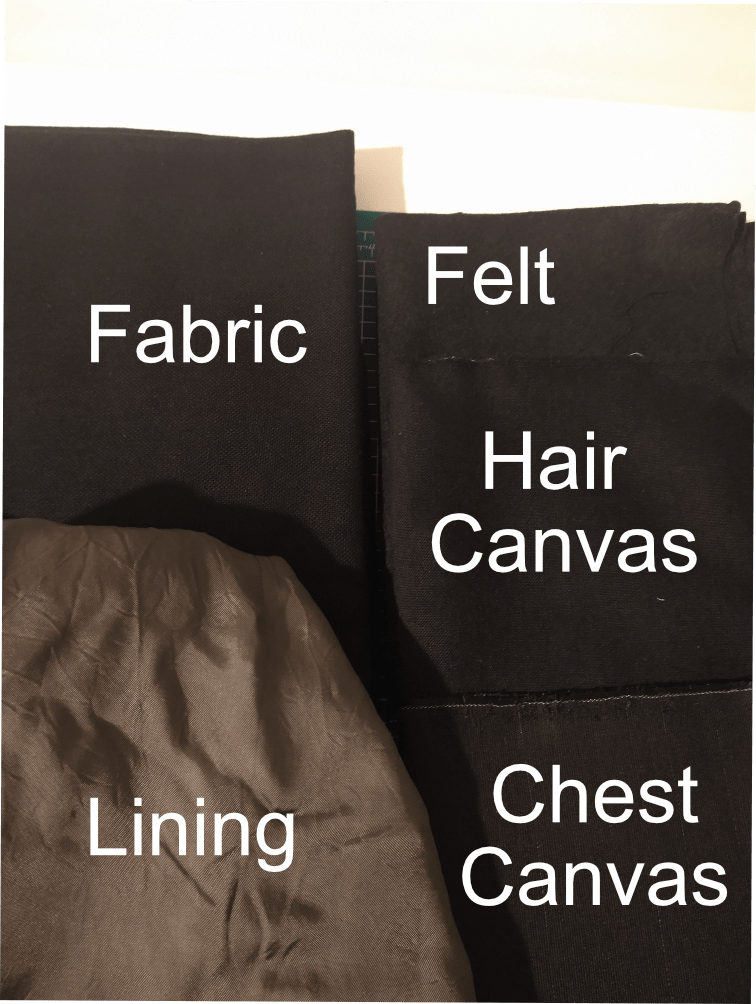
Having done my research and read the pattern envelope I knew that I was going to have to buy some specialist fabrics. I identified a UK based company (helpfully called the lining company) that sells tailoring supplies and purchased:
- Chest Canvas – a special canvas to bolster and stiffen the structure around the chest
- Hair Canvas – specially used for interfacing,stiffening the front (and back) of the jacket, also giving the lapels, collars and cuffs structure.
- Collar Felt – specifically for the undercollar to assist with shaping.
The lining fabric was purchased from Like Sew Amazing, a gunmetal (we went rogue on the colourscheme) ex-designer viscose. It was beautifully soft and really helped to elevate the look and feel of the suit.
Up Next
Up next will be the suit construction and nitty gritty! Plus some pictures of the suit and the wedding. This was even more challenging than making the dress for me and was a lot out of my comfort zone. It was, however, really fun and I will be planning to make myself a blazer in the near future, once I’ve got through all the sewing I neglected whilst completing the wedding makes.


One thought on “DIY Wedding Suit – Patterns, Toiles and Fabrics”