DIY Wedding Dress – Construction

In Part 1 I explained my style choices & Fabrics, Part 2 showed my fitting journey. You’ve made it to Part 3, putting the first two blogs together! I started cutting and putting the dress together over the period following New Year 2021. With the UK going into lockdown I didn’t really have a huge amount else to do.

My Machine

I am incredibly lucky to be the owner of a Singer 201k, this previously belonged to my (now) husbands Nannie, Cissy Isaacs. My In-laws gave it to me when she passed away and it has truly re-ignited my passion for sewing. I could not think of a more fitting thing to do to involve her in the wedding than sew my dress (and Matts suit) using her machine. My own Gran, Ellen Smith, used to take a keen interest in my sewing when I was at school and I know that both of them would be absolutely rooting for me throughout the process of creating the dress.

Equipment

I am a BIG sewing gadget nerd and am a huge believer in having the right tool for the job. (Caveat: I also enjoy a good bodge when it’s not necessary or important to get it fully right). A few of the tools I found exceptionally useful are listed below (Links are own opinion, nothing was gifted)

  • Speciality silk pins, less chance of snagging on the fabric
  • Sharp scissors
  • A rotary cutter with a sharp blade (helpful to cut out the pieces, also used to grade the french seams down)
  • The straight stitch foot, the quilting foot with adjustable seam allowance, the rolled hem foot and an invisible zip foot.
  • Microtex needles to ensure that I wasn’t snagging or pulling the fabric during sewing
  • Gutterman silk thread and beeswax for the hand sewing elements
  • Applique pins (these are much shorter and make you less likely to prick yourself when hand sewing)
  • A lot of audiobooks, I have an audible subscription but where I live in the UK I can also access free audiobooks through the Library. I cannot recommend this enough.

Cutting

I’m not going to lie, prior to cutting out the dress there was a HUGE pep talk to myself. Accompanied by a thorough clean of the sewing room as it was post Matts suit construction and that fabric was very fluffy (Blog to follow soon). Post the final edits to the bodice I traced it out on to printer paper. For the bodice front, I transferred the pattern to make it not on the fold, this allowed me to transfer the markings much more accurately. The only other piece cut on the fold was the skirt front. The pattern did call for cutting the skirt on the cross-grain, due to the length I removed from the skirt (3 inches) this wasn’t required. I took my time on the cutting, especially on the silk habotai which liked to shift around like a leaf in the wind.

Construction

Petticoat

I previously mentioned that I made the petticoat prior to the end of the toile to get the skirt volume and length as I wanted. Construction of the petticoat was fairly straightforward, I French Seamed throughout and bias bound the bottom raw edge of the yoke of the petticoat. The tulle doesn’t fray so it didn’t require any finish on the hem (just not wonky cutting), I then put the dyed trim from my mums dress around. The trickiest part of the petticoat was getting the elastic right so that where it sat there was no obvious gap between the bodice lining and the separate petticoat.

My petticoat hanging up on the door

Bodice

I went a bit backwards in the construction here and constructed the lining first, the fabric is so lightweight I wanted to make sure it didn’t have a chance to waft across my sewing room or get looked at funny and distort! I french seamed all of the seams in the dress, there are other blogs which can explain the french seam process. However, my tips are to press it nice and flat, then put it flat on a cutting mat and very carefully trim your seam to approx ⅛” to ensure it is encapsulated when you create the second seam. I didn’t want to use an overlocker for my dress as I wanted to take a more couture approach. For any of the edges inside I used my 6mm rolled foot to create the finished edge.

Pretty Bodice Insides!

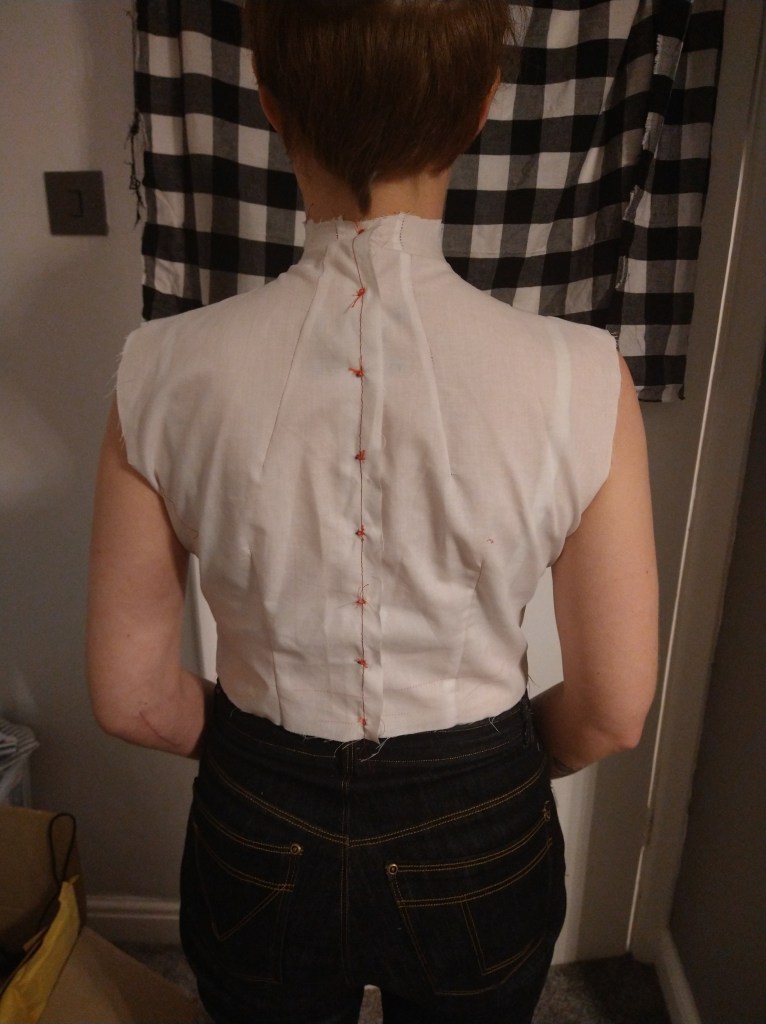
Following the lining, I made the outer bodice and joined the two together along the neckline, this was followed with understitching to ensure that it didn’t roll out. I then tacked the armholes together (with red thread) to ensure that the sleeves would go in well.

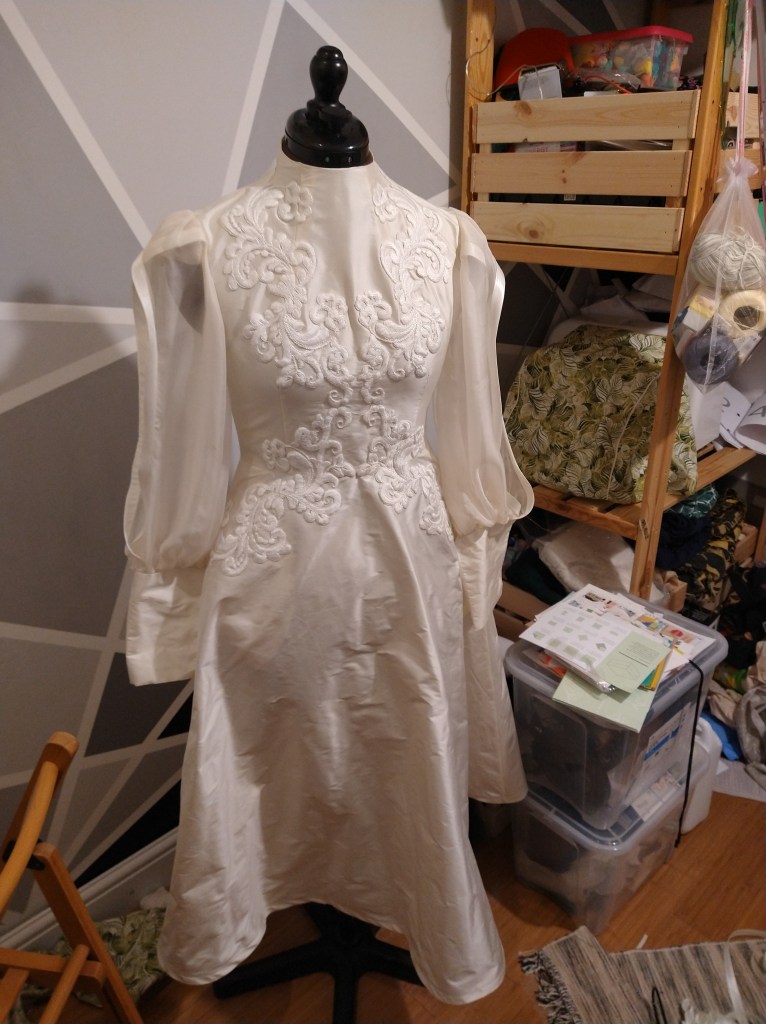
The bodice on the dressform with lining and outer fabric tacked together

Sleeves

Where does a queen keep her armies? (Up her sleevies)

Silk chiffon is a beautiful fabric but it is a tricky fabric to sew with, there was another pep talk for this part. I took my time and planned a whole evening to put these in. Red thread was once again used for the basting stitches, to help me to remember to take it out. The bias binding addition was taken slowly, plenty of pins, sew, trim, turn, press, pin, sew. I am pretty happy with the overall finish on these, you can see a little pulling on the chiffon in the picture below but if I hadn’t told you, you would never have known! I french seamed in the sleeves, which took all of my nerve and patience (especially setting them in). I’m not a big fan of setting sleeves in flat, personally I find that it then creates a pull/twist under my arm which drives me mad whilst I’m wearing the garment in question. I definitely didn’t want that on my wedding day!

Slight pulling of the fabric and tacked pleats

Skirt

I did not manage to do the french seams in the skirt 100% correctly, the attachment of the pockets to the waistband and the side seam blew my mind, I didn’t manage to find a tutorial to help (suggestions welcomed). SO, I french seamed the side seams and the pocket individually, did a rolled hem on the part where the pocket opening attached to the skirt and vice versa. Then, I sewed in the pockets by machine/hand in a bodge worthy of a Duck-tape medal. Is it pretty, sort of, did it work? Yes. So I am counting it as a learning curve and a win.

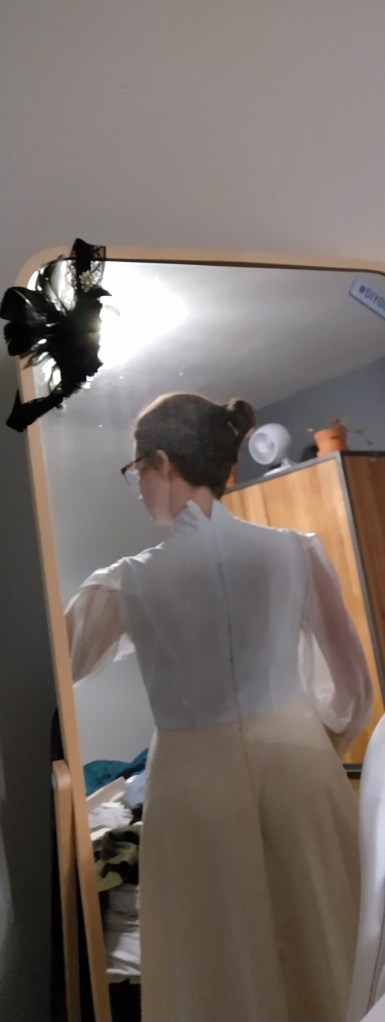
I then attached the bodice to the skirt, using a french seam again. I now had an almost dress, just the back was open and that wasn’t quite the look I was going for. I attached the invisible zip, for which I bought an invisible zip attachment. I would wholeheartedly recommend using an invisible zip attachment to minimise your swearing whilst you sew. I found the linked tutorial from Nina Lee particularly helpful. I also basted in my zip prior to sewing in because it helps it shift less. I then tried the dress on to check that it fit prior to starting the appliques, because it would have been rubbish if I finished it and had to take it in/out/shake it all about.

It fits! So much relief

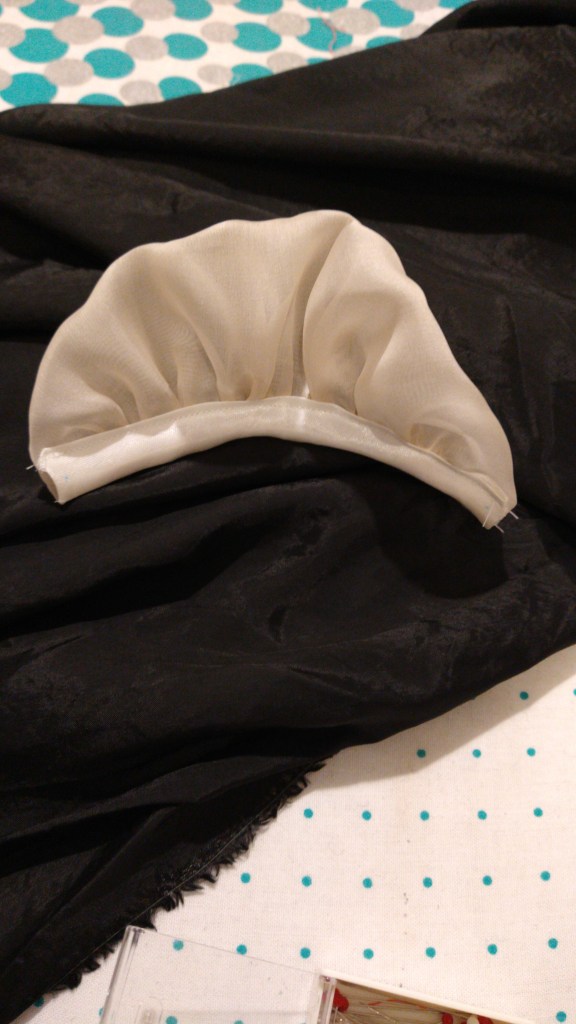
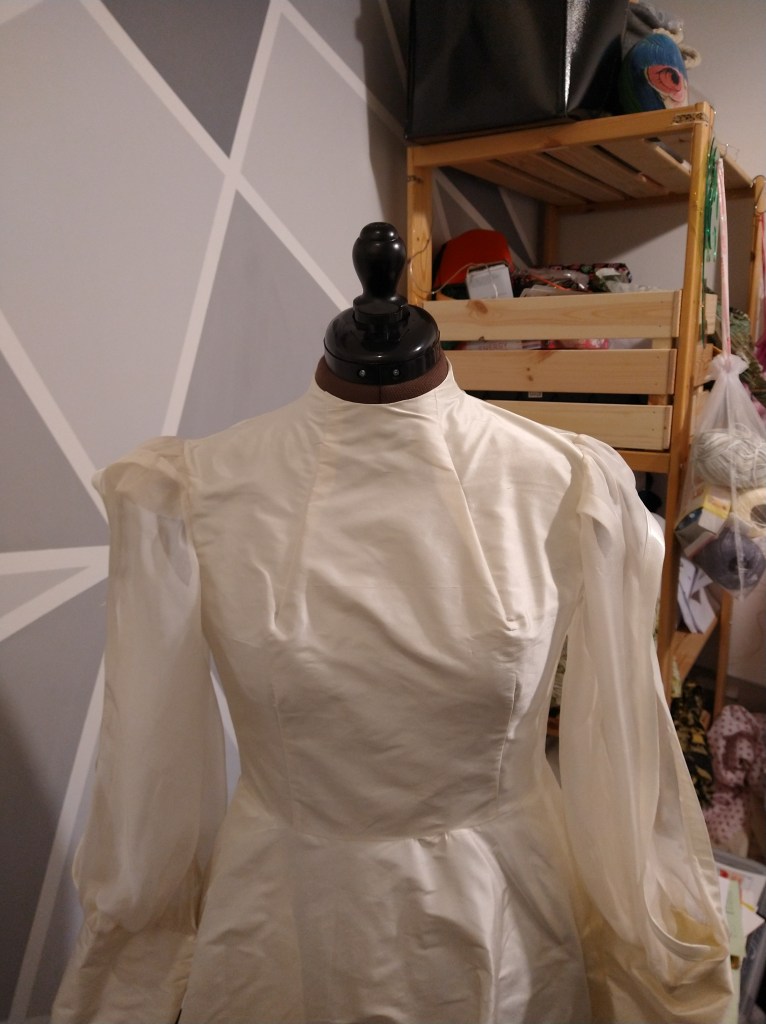
In Blog 1 I mentioned the organza I had purchased to add structure / OOMPH. The sleeves needed a little something to help make them shine and give the big sleeve energy I was hoping to achieve. A while ago I had seen a post from Bella Loves Patterns about the Vita Blouse and dress which is best made in a drapey viscose but needs some sleeve volume. Incredibly helpfully there was a tutorial on how to do sleeve head attachments (which when I showed Jenni we thought it looked like something out of Downton Abbey). I followed this tutorial and it helped to give the sleeves the oomph and structure at the top that I was looking for.
Appliques

Also in Blog 1 I mentioned that I had got 2 types of applique. These were known as ‘Swirls’ and ‘Flowers’ I pinned both options to the dress to identify which I wanted. I then text multiple people (having already had the idea in my head of which I liked most) to see what the consensus was. I then decided I definitely wanted swirls!
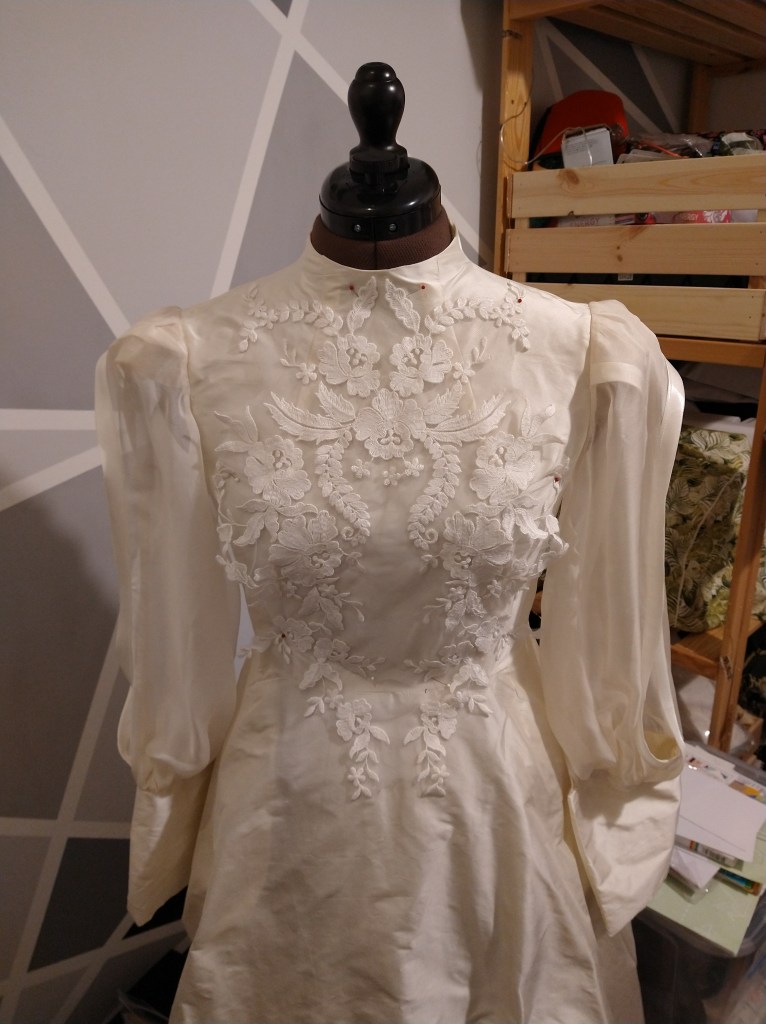
Let the hand stitching marathon begin. I’m going to be real here, this was a labour of love. It took me two weekends of solid ‘working days’ to stitch on these appliques and I did one twice as it wasn’t up to standard. There were a total of 8 appliques (4 front, 4 back). I sat in my sewing room, with the dress on my mannequin (for the back appliques) listening to many an audiobook. Applique pins were incredibly helpful to stop me from stabbing myself. I was also grateful that I had remembered not to sew the bodice lining down yet (also hand stitching) so the attachment would be hidden from the inside.  I also removed all of the mesh post embroidery with a pair of embroidery scissors, which was pretty nerve wracking.

Finishing

The bodice lining was stitched down by hand to a) cover the zip tape and insertion and b) cover the waistline join. This was done to another audiobook session but felt like a breeze compared to the applique attachment.

I finished the hem using bias binding after having previously tried to use the rolled hem attachment to finish it, it looked like I’d had about 8 bottles of prosecco when I used this method. My one slight regret is that I didn’t finish the hem by hand, however, the bias binding gives it a bit of extra flare and structure, and sometimes you have to be practical and realise that if this is your biggest regret on a hand-made wedding dress you’ve done something right.

Buttonholes were made on my ‘fancy’ modern machine as the singer doesn’t do them and I don’t have the attachment (yet). I used the silk thread because I had it and it added another level of elevation.

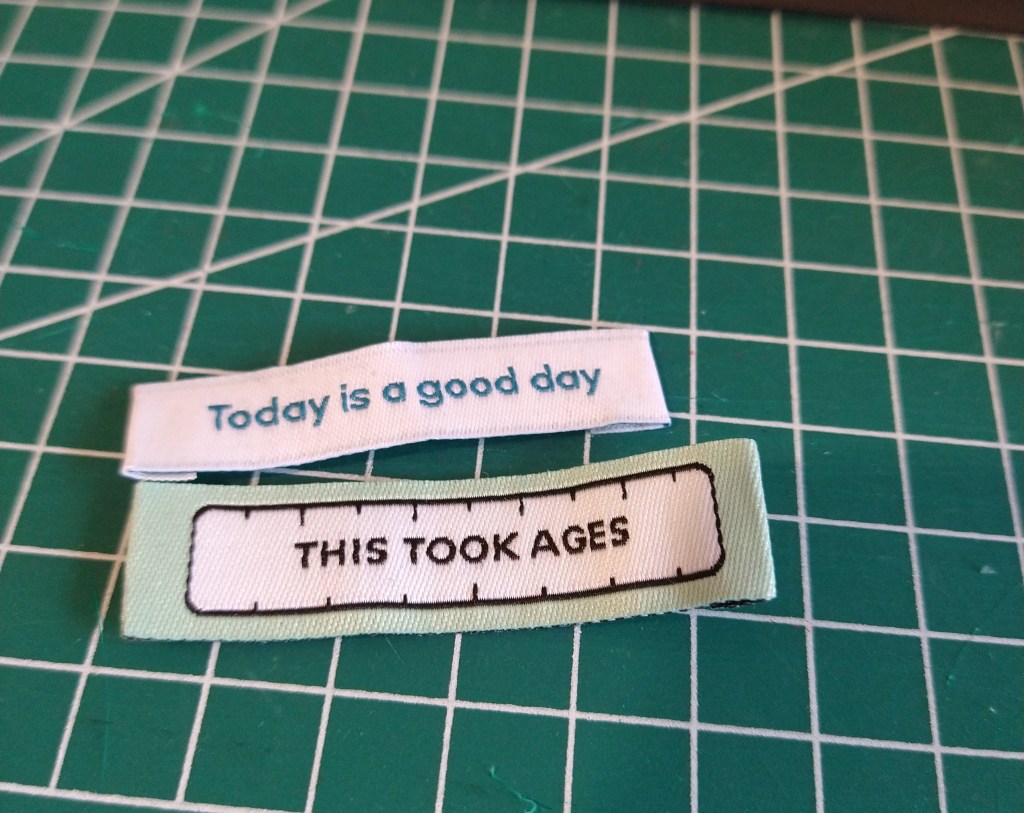
I had previously planned on adding a ‘This took ages’ label (with all the hand stitching, you can see why) however I ended up adding a ‘Today is a good day’ label as I wanted to focus on my day, not the dress construction. I also popped in a label from my school days as I thought it was a cute and personal touch.
Buttons
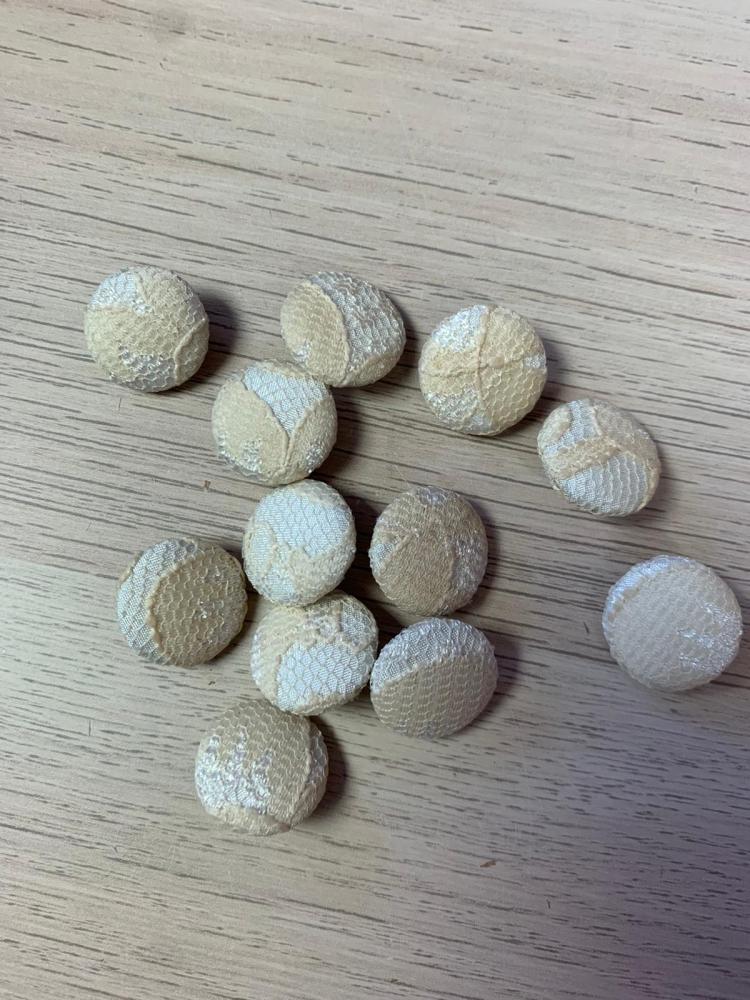
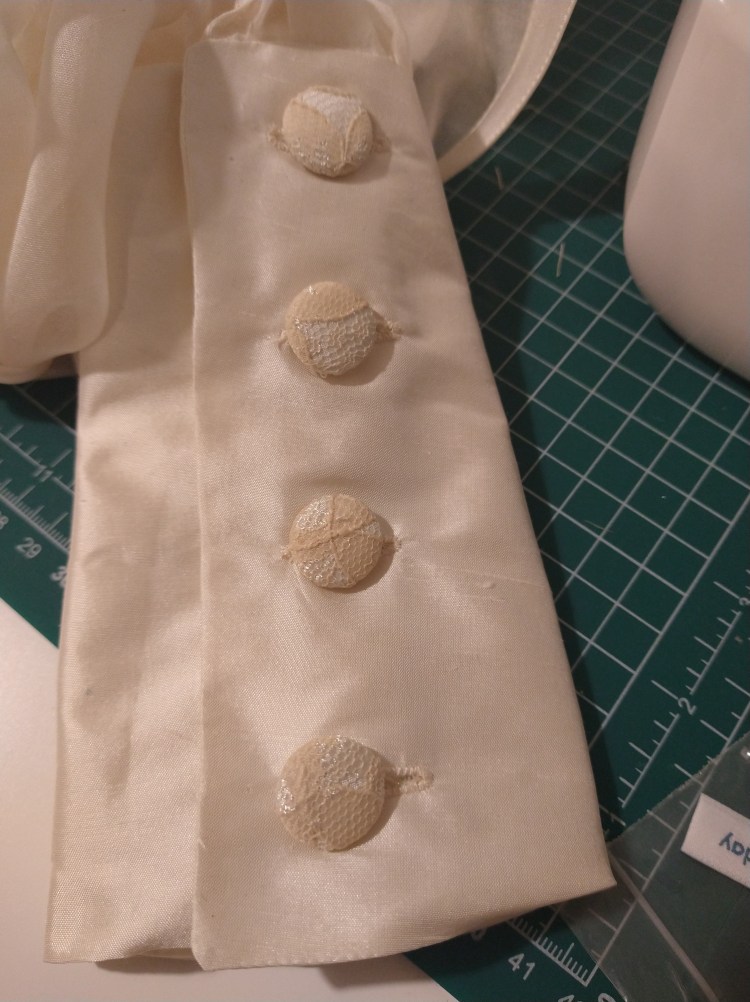
The buttons were made using the silk habotai and lace from Mums dress. Sarah of Like Sew Amazing has a covered button making service and had a thorough consultation with me about the placement of the lace on the buttons to help me get the most visually appealing ones. They are such a beautiful and bespoke element to add to the dress and I’m thrilled that she could help me make them.
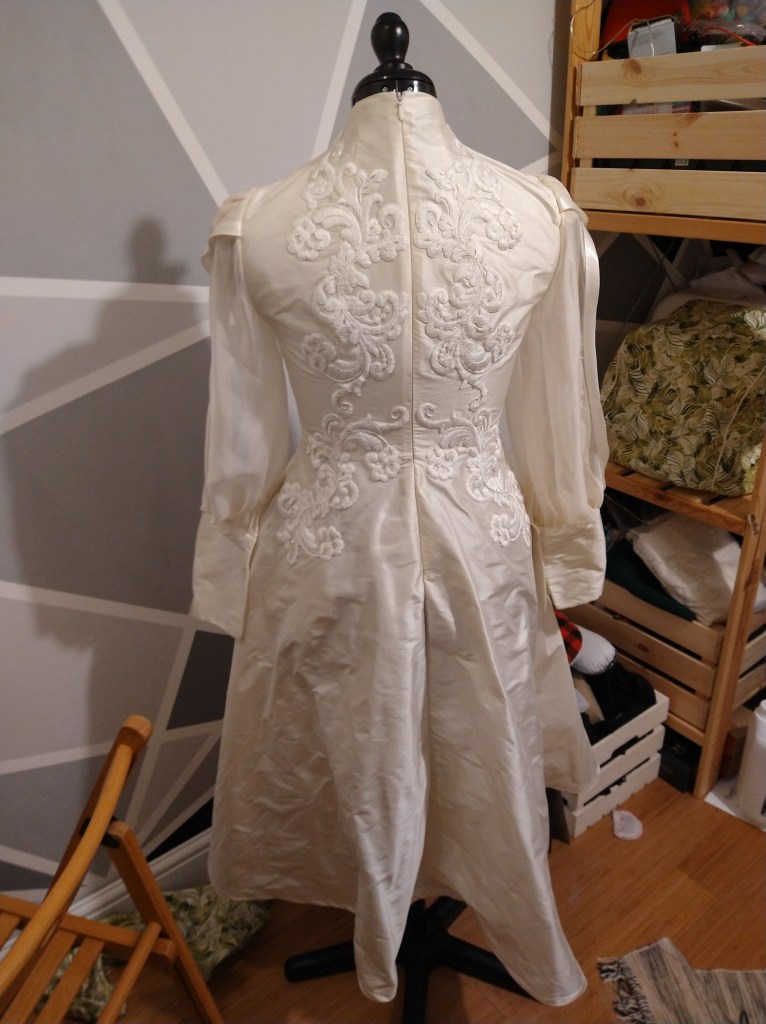
Next Up

So, that is the complete construction and a few photos of a dress in dire need of a decent pressing on both me and my dressform. Prior to the wedding I also took the dress in to get dry cleaned, this was to make sure it was presented the best it could be and to get my hand stitching ‘hand grub’ off. My next post is photos, photos and more photos, a few musings on what else I wish I had known prior to starting the process and reflections on the overall success. I hope you have enjoyed reading about the construction and if you have any questions drop a comment below or reach out to me on instagram.

I am thrilled with how this has turned out and I loved every minute of our wedding, knowing that I had made the dress too.

DIY Wedding Dress – Toiling and Fitting

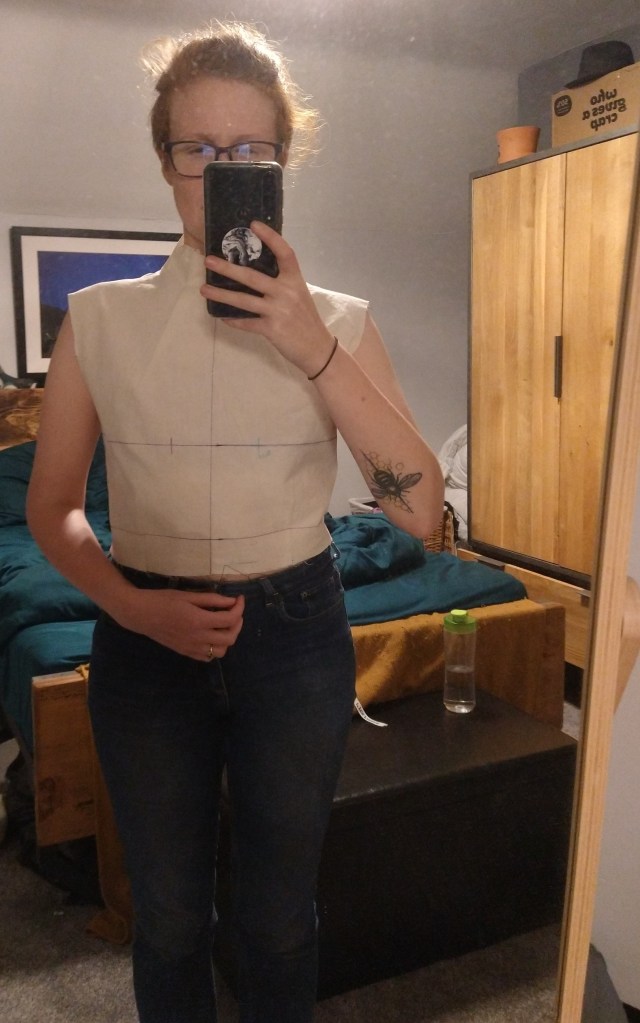
In the first blog I showed my design choices and where I sourced my fabrics. Here I’m aiming to show the fitting process and all of the tweaks necessary to get to the fit to be the best it could be (there’s no such thing as perfect). I had originally planned to show construction in this as well, however it has got pretty long!

Resources

A couple of essentials for me which allowed me to diagnose fit issues, redraw things and not lose my marbles were:

  • The Complete Photo Guide to Perfect Fitting – Sarah Veblen. This really allowed me to get some ideas of where things were going slightly awry, helping me to identify a short torso, how to fit the sleeves and get a good start on what I needed to do.
  • A see through french curve, to help redraw lines
  • Tracing paper, so I didn’t have to keep buying the pattern repeatedly. As it wasn’t available to buy in PDF format
  • Old bedsheets, calico fabric etc for the toile.
  • Fabric pens to draw balance lines on the toiles
  • Sewing friends with the patience to answer questions and challenge or confirm what I think!
  • The Elisalex Bodice fitting course, I managed to sneak onto this in December 2020 at the New Craft House after it had been lockdown cancelled in November. I had got most of the way, but going on the course helped me to make the final adjustments to make the pattern sing!

Toiles, toiles and more toiles

I’m a big fan of toiles in general, I’m fairly short and (thanks to the wedding dress) now know my neck to boob distance is pretty short. When I make trousers there’s often a quick bedsheet version too to check my rise.

Toile 1

Make the bodice with no edits. The pattern helpfully came with 4 different cup sizes (A,B,C &D). I measured by high bust and my bust, the difference was 5cm so I picked the B cup for the first attempt. From my measurements I also initially went with the size 12, grading to a 14 at the waist.

The issues with this were:

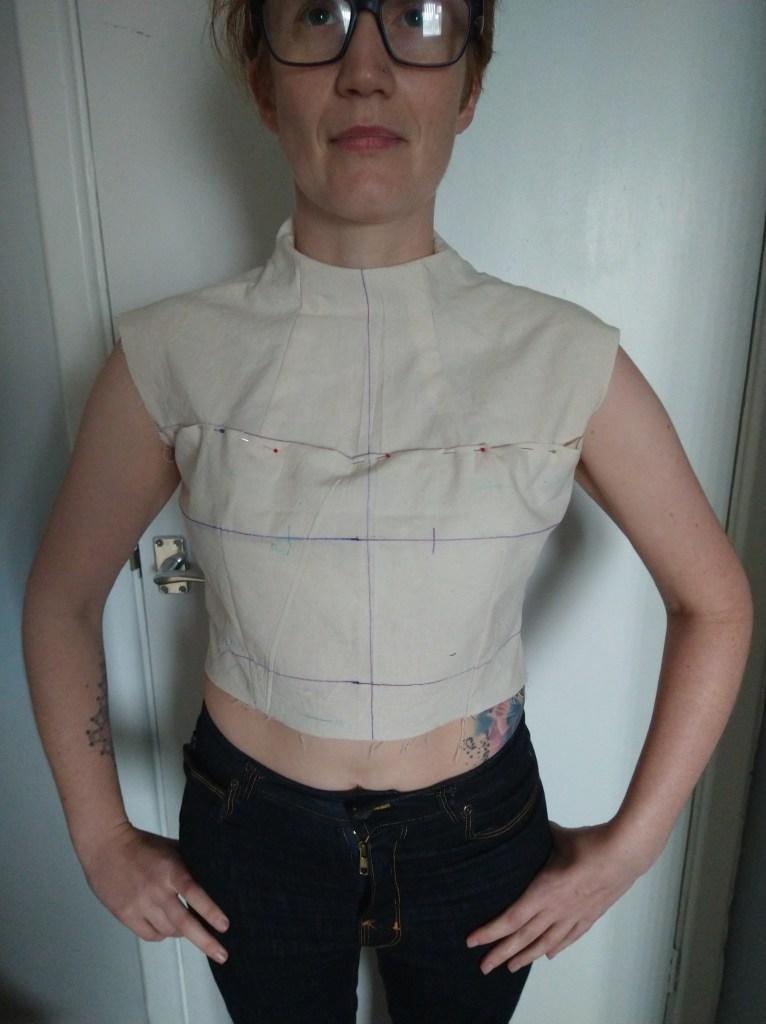
  1. The apex of my bust was significantly higher than it should have been on the pattern. Aka. my nipples were about 1.5 inches higher than the bust line on the pattern.
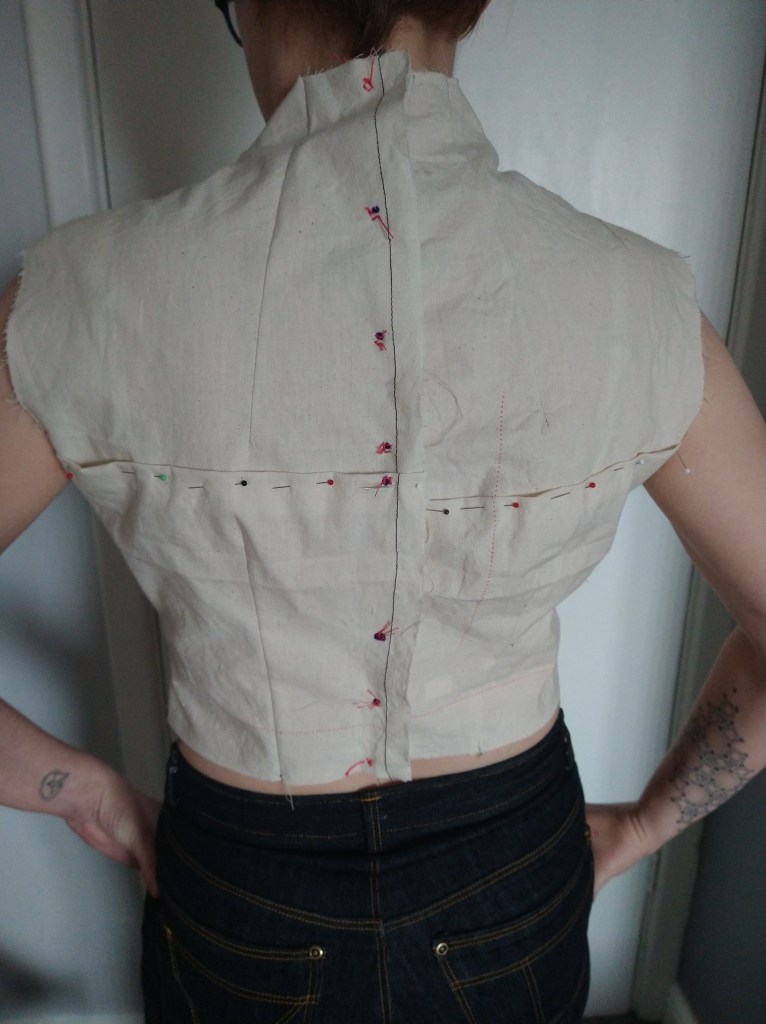
  2. Similar issues with a large amount of fabric pooling at the back.
  3. My shoulders were not sitting on my shoulders

Toile 2

The shoulder to bust distance was taken out and the armhole was redrafted as well as making a 1.5cm narrow shoulder adjustment. 

  • This wasn’t the most successful of my toiles as I had actually done the correction wrong. You can see how tight the neck is in this toile, what I did was also rotate the pattern piece whilst adjusting the shoulders. This was incorrect as the neckline was not gaping and therefore did not need pivoting, what I should have done and did in future toiles was just decrease the length of the shoulder seam by 1.5cm and then reconstruct the armhole.
  • The darts at the top were incorrect, I had tried to shorten them and was unsuccessful in my attempt.

For a fuller explanation of what I have tried to explain about the narrow shoulder adjustment, I recommend the By Hand London bodice fitting companion.

Toile 3

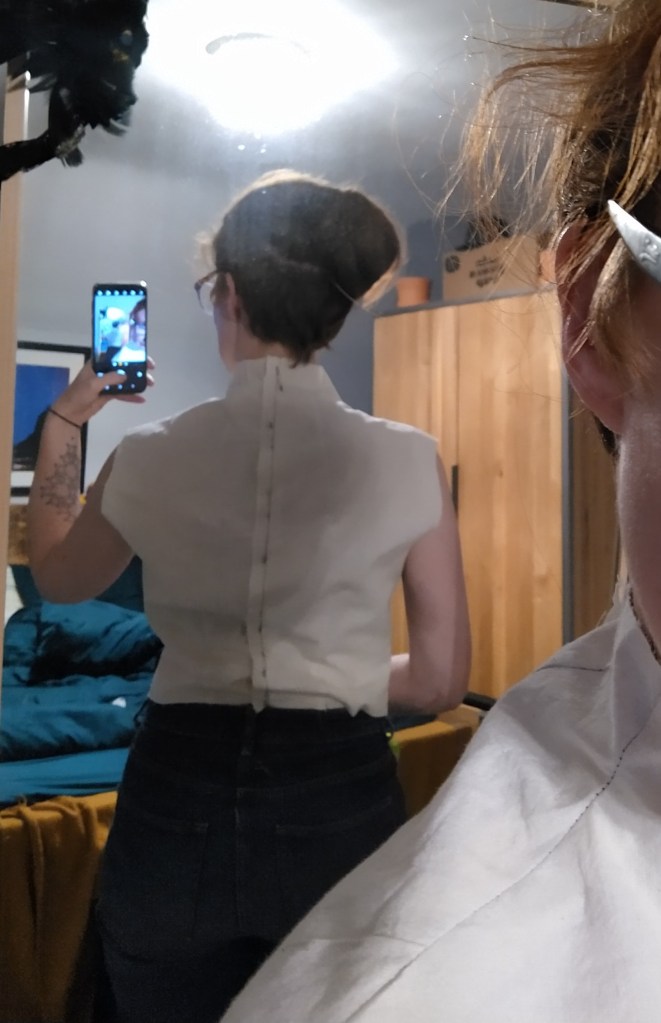
I re-lengthened the darts, adjusted the shoulders correctly so I wasn’t going to be strangled by the dress and cracked on. At this point I was relatively happy with the fit, despite Matt (my groom) pointing out that my boobs looked incredibly pointy. I will not begrudgingly admit he was right, but as I didn’t know how to fix it yet. I decided to sulk about this and pretend it was how it was meant to look. I also added the sleeves at this point for a bit of proof of concept. This was also the last step in the process he was allowed to see, I felt fairly safe up until this point as he is likely to forget what the dress looked like in concept as he can’t visualise things that well from description.

Putting the sleeves in was also a really helpful practice for me to work with chiffon and get used to the instructions. I have worked a fair amount with tricky fabrics but for my wedding dress I figured it couldn’t be bad to add in some extra practise.

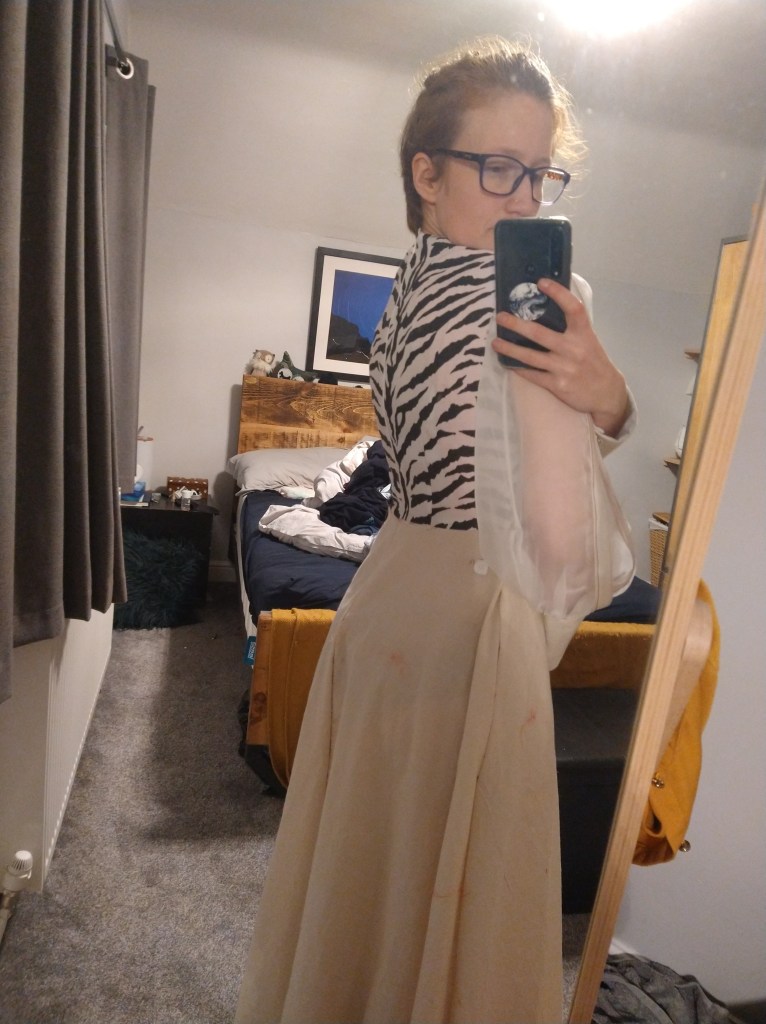
I then added the skirt to allow me to identify what the weight of the skirt was going to do to pull the bodice down and allow it to drop, this may also pull a lot of the wrinkles of the bodice out. Plus, I wanted to see if the pockets included in the pattern were spacious enough. They most definitely were! Also, these cuffs. I LOVE these cuffs.

Overall I liked this toile and the fit of it, however it didn’t quite emphasise my waist as much as I would have liked, it felt like there was too much ease in it in general.

Toile 4

  • Size 10 graded to 12 at the waist.
  • 1.5cm narrow shoulder adjustment
  • Same 1.5 inches (sorry imperial and metric use) out of the top of the bodice
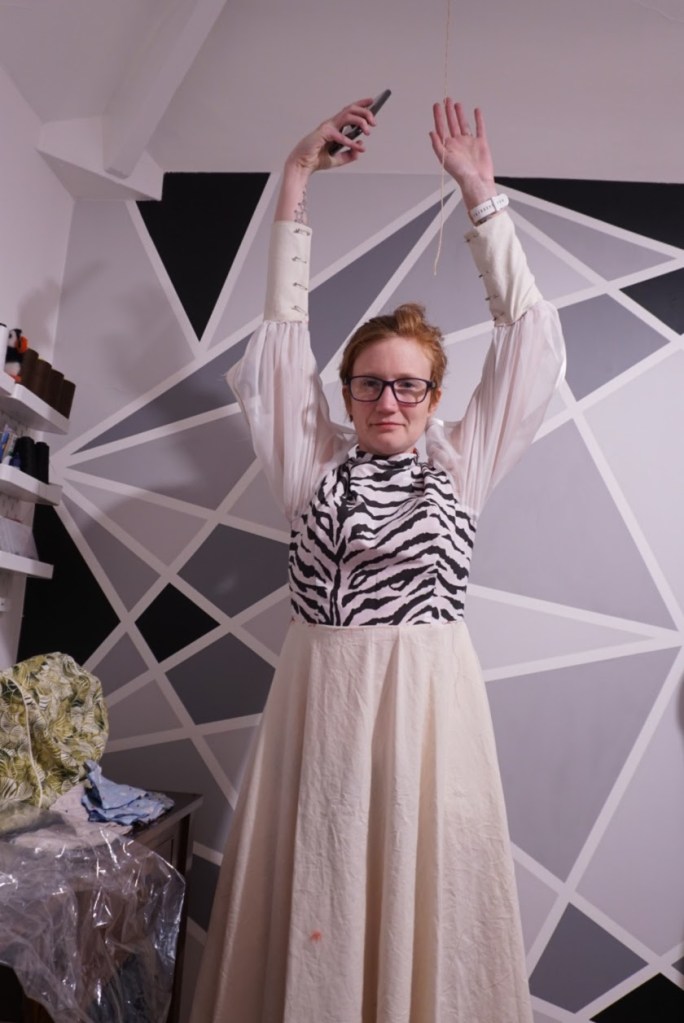
  • Now in funky zebra print fabric, plus lining practise

It is incredibly hard to see here (zebra fabric) but there is still quite a lot of excess at the bust. So, I made the same edits as above to the A cup bodice. It may seem like I was being pedantic here but I knew that I could make these tweaks to get the fit as close to ideal as possible.

Toile 5

I don’t have as many pictures of toile 5 as I do of the rest of them. This is the toile that came to the Elisalex bodice course with me. I’m incredibly glad that I took it as the final pieces of the fitting puzzle were unlocked.

  • A square shoulder adjustment of ½ inch (¼ inch on the front and back pattern piece)
  • Release each dart by ¼ inch to free the apex aka. Resolving the pointy boob problem from toile 3.

Toile 6

The final toile, the toile to end all toiles. (Please, I love this dress but I am nearly at the fudge it, this will do stage). I cut the skirt properly in a 12, (previously I was just bodging the 14 in), the sleeves in a standard poplin in a 10 (see previous bodging in) and then made the final toile. I also tried it on with my wedding bra to check that the fit worked well with it (I’ve been doing this since toile 4). At this point I made the petticoat to check the skirt poofed out correctly and allowed me to make the final length adjustments (with my wedding shoes shoes on)

This blog has turned into a bit of a mammoth one. So I’m going to start the next one for construction. I hope you have enjoyed reading about the process, seeing my ever changing messy bedroom, accidental black pants under toiles and bizarelly angled photos.

A quick summary of the changes

  • Size 10 at the top, A cup, graded to 12 at the waist
  • 1.5 inches taken out between neck and boobs and armhole redrawn
  • 5/8 inch narrow shoulder adjustment
  • 1/2 inch square shoulder adjustment
  • 1/4 inch dart release to de-point my apex.

I really loved making this pattern, the tweaks I made have definitely made it work and I know that I can make it again in different fabrics. Next up, construction!

DIY Wedding Dress – Patterns, Design Choices and Fabrics

There was a reason that I was hunting for a haribo ring in a box, which was hidden in our boiler cupboard on Friday 29th May 2020. That reason was I had ‘mentioned marriage 3 f****** times before 10 o’clock in the morning and the ring had been hidden for two months so I should really start looking’. The mentions were because I’d found a dress pattern that I thought was perfect for my wedding dress.

Pattern Selection & Design Decisions

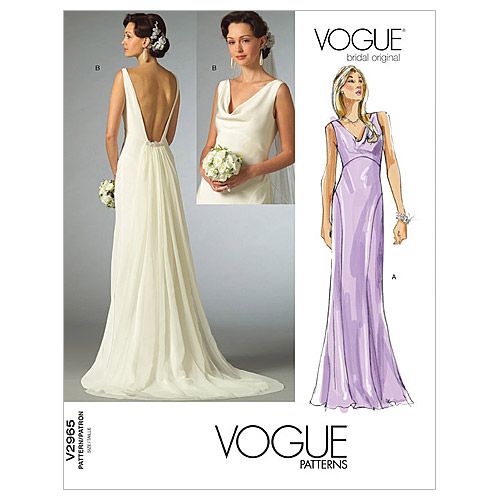
The pattern in question was the Vogue Misses 2965, It has a gorgeous low back, is cut on the bias and has a cowl neckline. This would have shown off some of my favourite features of myself, my collarbones and my back. However, our choice of venue has a lot of stairs and I am terrified of tripping over hems / myself. Coupled with a planned March wedding in the UK where I may have frozen to death, I decided that however beautiful the dress would be, it wouldn’t look great with goosebumps. In the end we got married in April 2021 and had our reception at a city farm, so these practicalities still held true.

Vogue 2965, the dress pattern which launched a proposal!

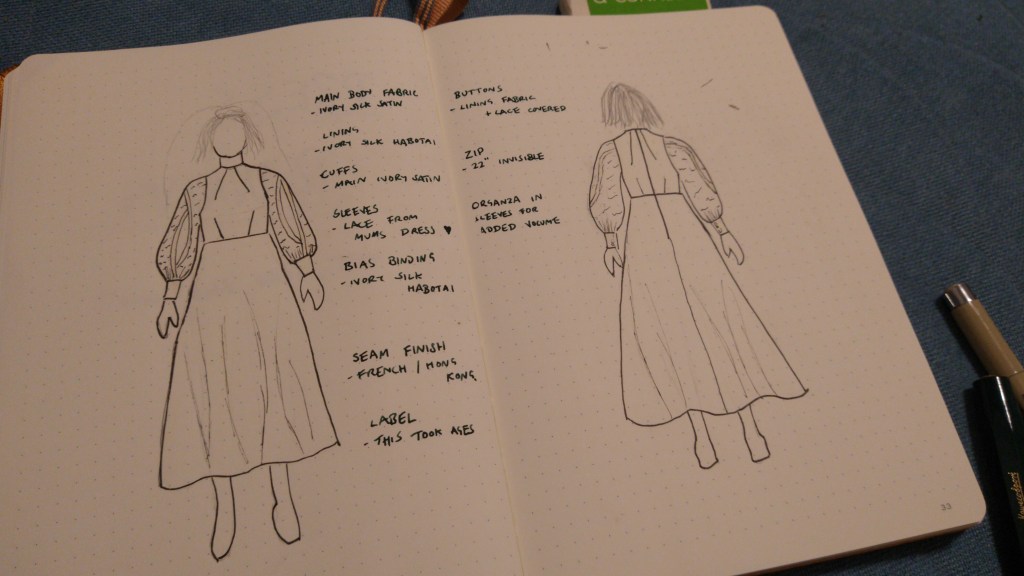
I had a few ideas in mind for my dress. I knew I wanted it to be ivory, silk, cover the tops of my arms and be mid-calf length/ tea length (they’re different!). I extensively searched lots of pattern websites (including the foldline) for inspo. I then made a shortlist, the Vogue 9327 Misses pattern caught my eye, particularly views B&C. I sketched up my ideas (using my mybodymodel) and had a chat with my mum and some of my friends. Most people couldn’t quite see what I was on about. 

Vogue 9327, the pattern which caught my eye!

I really liked view B for the long cuffs and slashed, pouffy sleeves. In my first iterations and sketches I was considering the fabric for these to be lace. My mum had very kindly said I could recycle elements of her dress! After a while I settled on making them in a silk chiffon. 

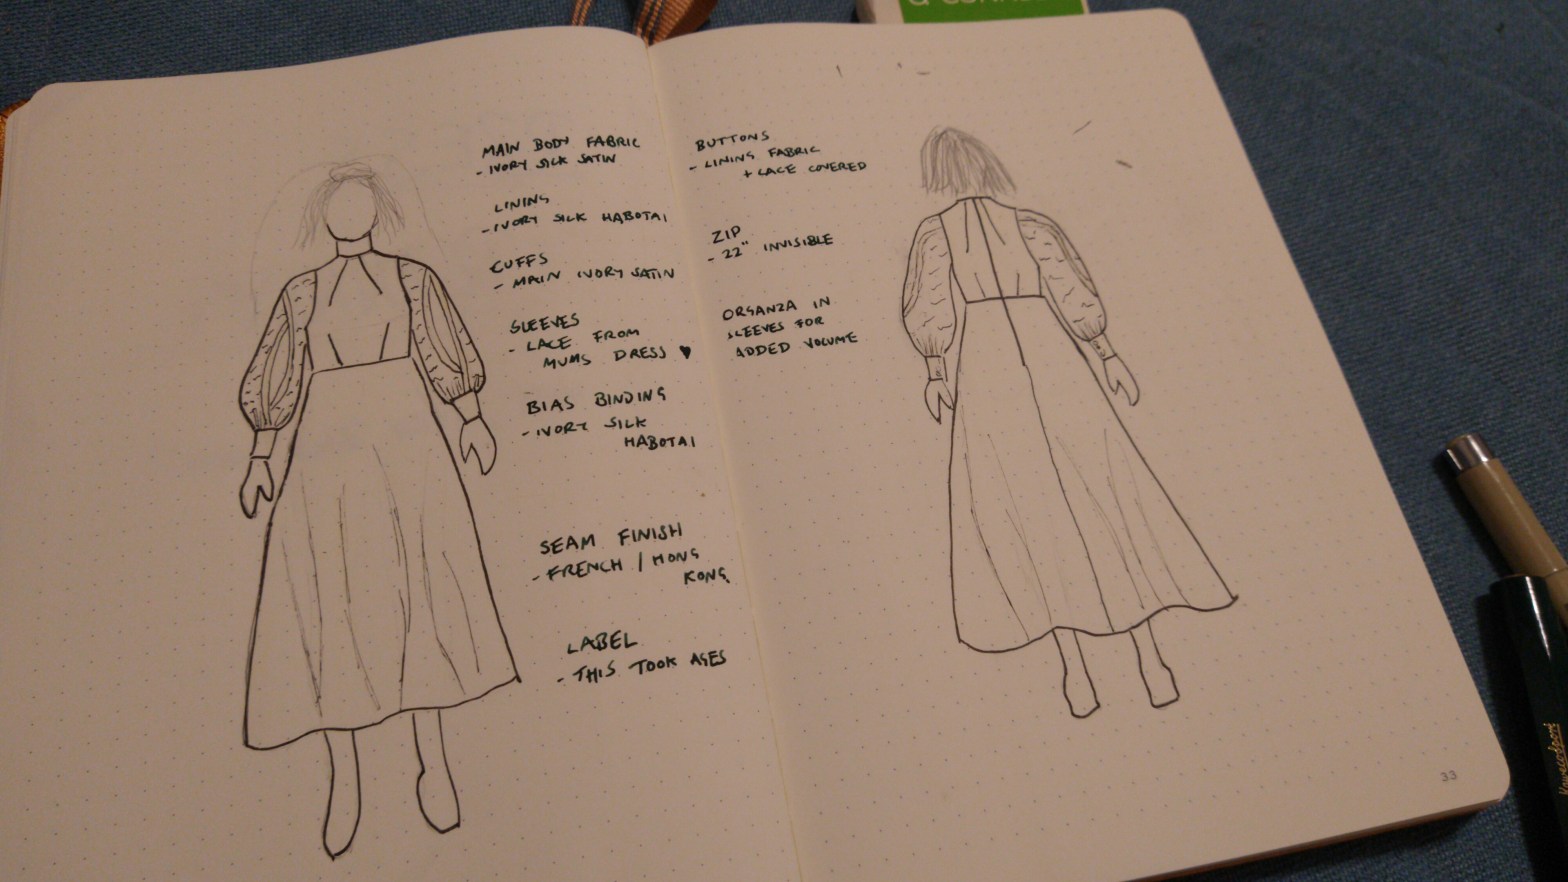
The initial design, which changed a bit, but not hugely during toileing

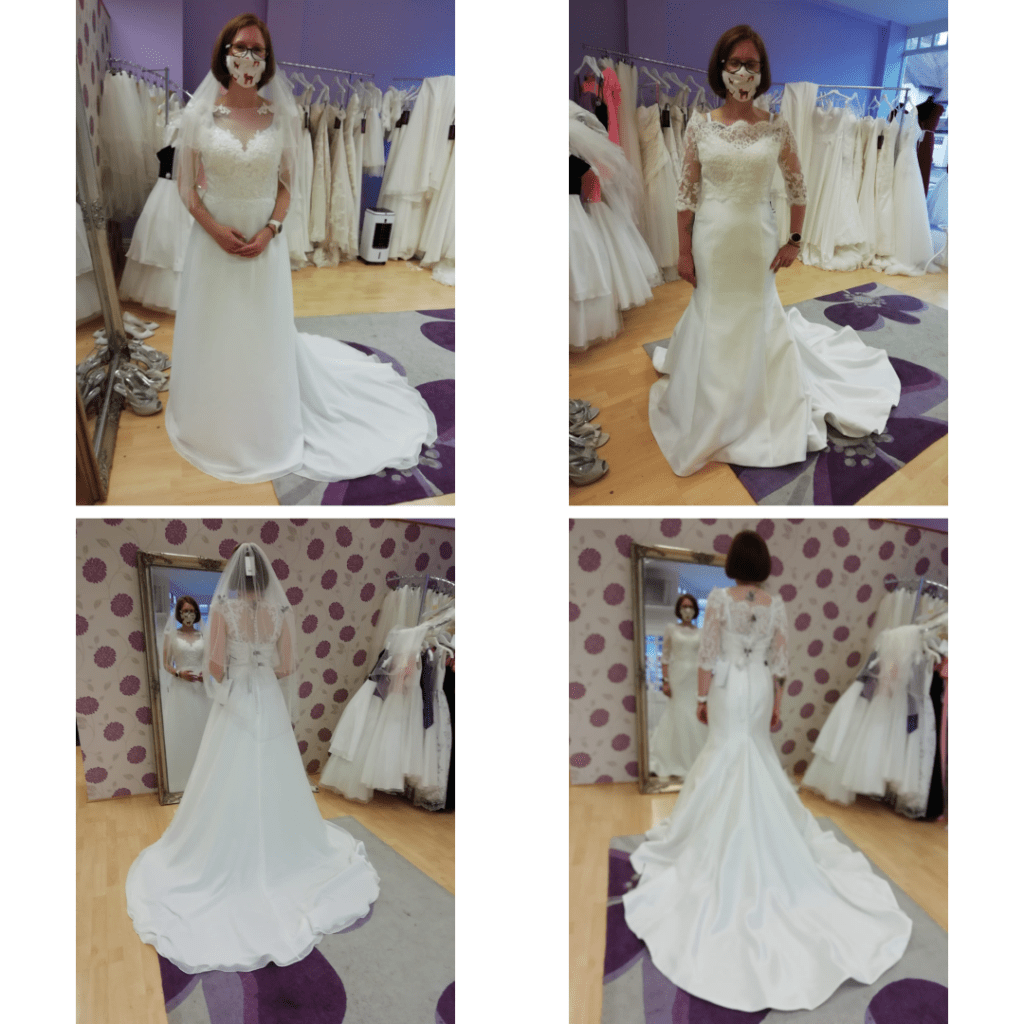
Even though I was making my own dress I didn’t want to miss out on the rite of passage that was going dress shopping. Me and my mothership went off to a boutique to try on some dresses, there weren’t many which were calf/ tea length and to get a sleeve, most of my options were adding a beautiful lacy bolero over the top.  I even tried a really fitted fish tail dress on, which made my figure look great (but restricted my motion way too much).

Dress Trying on 2020 style!

I went back to the drawing board, bought a few more patterns and then decided to stick with my original vision as I couldn’t get it out of my head. I did however realise that I now really wanted appliques on my dress to elevate it to the next level. I also bought a petticoat pattern (Burda 6739) to give the skirt some support structure.

The two patterns I bought as other design options. One is a vintage reproduction

Fabric

About 3 hours (3 weeks) after Matt had proposed, I went on the New Craft House website. They do some bridal fabric drops every now and again, there was some ivory silk habotai of which 3 metres went straight into my basket. This was originally for the bias cut gown, it ended up as lining for my final dress. I then played the waiting game for other silks to come on to the website. I snapped up half a metre of the bone coloured silk organza when it appeared for the areas which may need some stiffening or extra OOMPH. Then, in one of those ‘risk it for a chocolate biscuit’ moments, I bought 4 metres of an ivory silk dupion. 

I call it risky because I hadn’t touched, seen, heard, smelt OR tasted a single one of these fabrics and was largely relying upon the New Craft House to have used the same definition of ivory throughout their fabric collection. I have at least a weekly debate with Matt about what colour something is so I was absolutely thrilled when the dupion turned up and was an excellent match for the habotai. This especially cheered me up as I’d broken my arm rollerskating 3 days before it arrived.

The chiffon from the sleeves needed a bit more of a search, I knew it was unlikely that the New Craft House would have any ivory silk chiffon coming in in the timescale required (3 months). So I went in search of specialist silk websites. I came across Beckford Silk and ordered a few samples. I wavered between natural white, pale cream and cream, eventually deciding on pale cream and ordered 2 metres. Prior to dress construction I got all of my silks dry-cleaned to avoid shrinkage! If you happen to be in the Bristol area I can recommend Victoria Dry Cleaners for their knowledge and willingness to listen!

I also ordered two styles of cotton appliques from Etsy, I couldn’t decide which I liked more so waited until I could pin to the finished dress to get an idea of which went best with the shape of the dress.

For the petticoat I used some of the habotai for the yoke part and ordered some standard ivory tulle for the structure. I dyed some of the trimmings and lace from Mums dress and used these for the finish of the petticoat hem.

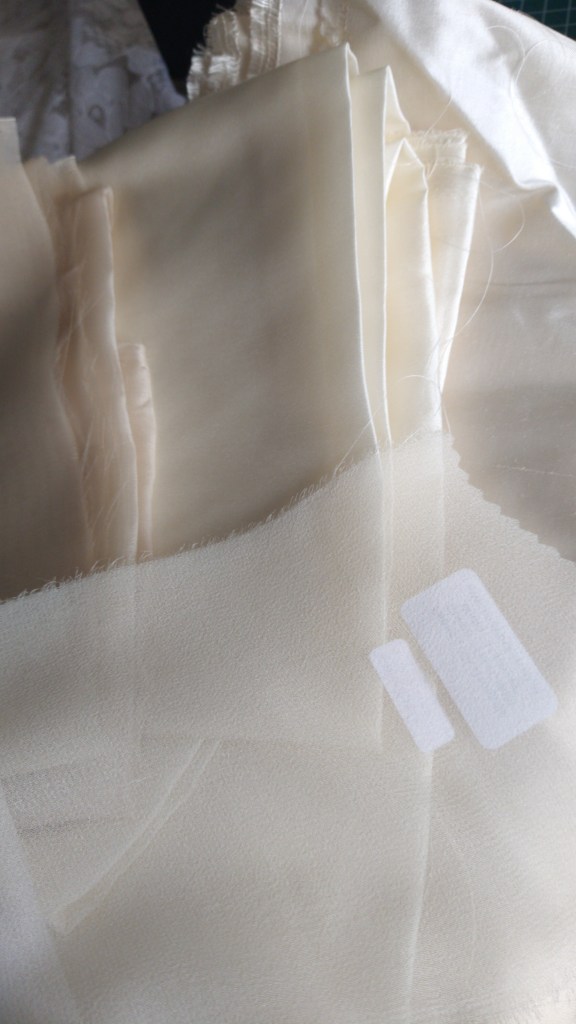
From left to right: Bone organza, ivory habotai, ivory dupion. Bottom, silk chiffon.

If you’re still with me, thank you and congratulations! The next post on the dress is going to be about the fitting process and construction tweaks, the final one will be a lot of picture spam with close up detail shots!

** Disclosure** I have put a lot of links in this blog, I haven’t been asked to include these links or been paid/given anything in return for linking them here. I just want to give the best information possible about my process