DIY Wedding Suit – Construction and the Occasional Bit of Destruction

Last time I showed the pattern selection for the suit alongside the toile making process. I also filled you in on where I bought my fabrics and which fabrics I used. In this blog I aim to detail some of the construction and some of the parts I found particularly tricky.

I had bought one large length of the fabric (it’s available in 10cm increments) so cut out the jacket and trousers in one fell swoop. This was a test of mental toughness as there were around 50 pieces between them, plenty of tea was drunk during the cutting process.

The Jacket – Vogue 8890

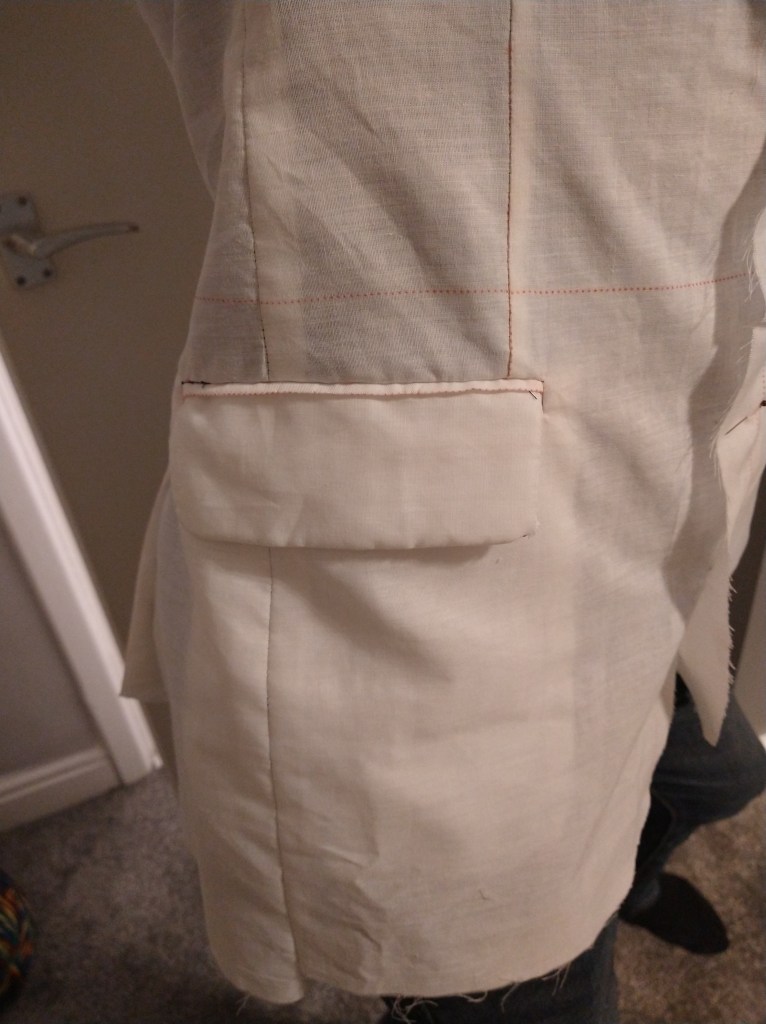
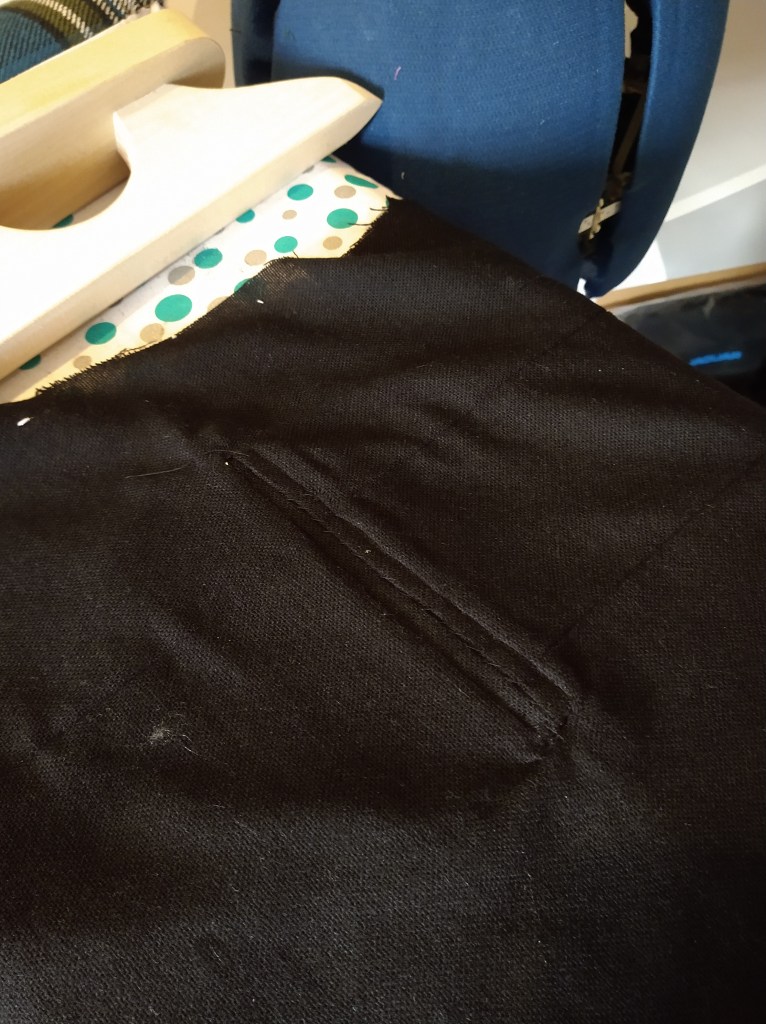
The construction starts with a bit of a baptism of fire, after constructing the dart and joining the front and the side panels, it’s onto welt pockets 1&2. The fabric choice made this complicated, the loose weave nature of the fabric meant that the triangles, which make or break a welt were very tricky to secure.

Following that, it was time to start some of the plethora of hand stitching involved in the construction. Step 1 was to attach the chest canvas to the standard canvas, this is done using fell stitches round the outside and pad stitches to hold shape. Fortunately, compared to the stitching on my wedding dress, where I had to hide in my sewing room I could do this stitching in the living room. I then attached this structure to the front and side of the jacket, this included a fell stitch to secure it around the edges. One of the key parts of construction for the shaping of the blazer is to attach some twill stay tape to the ‘roll line’ of the jacket, then padstitching is again used to help the jacket lapels sit properly.
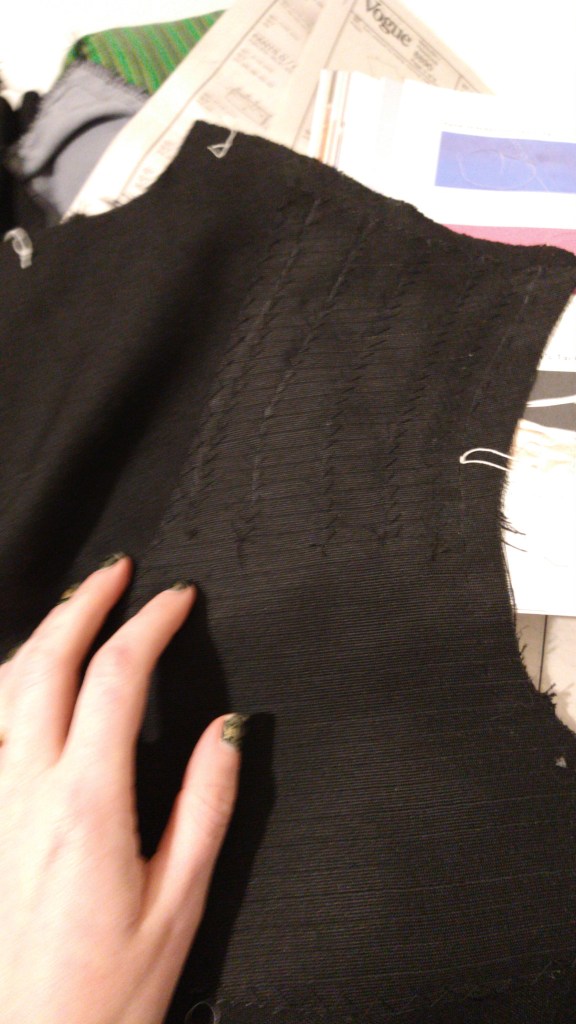
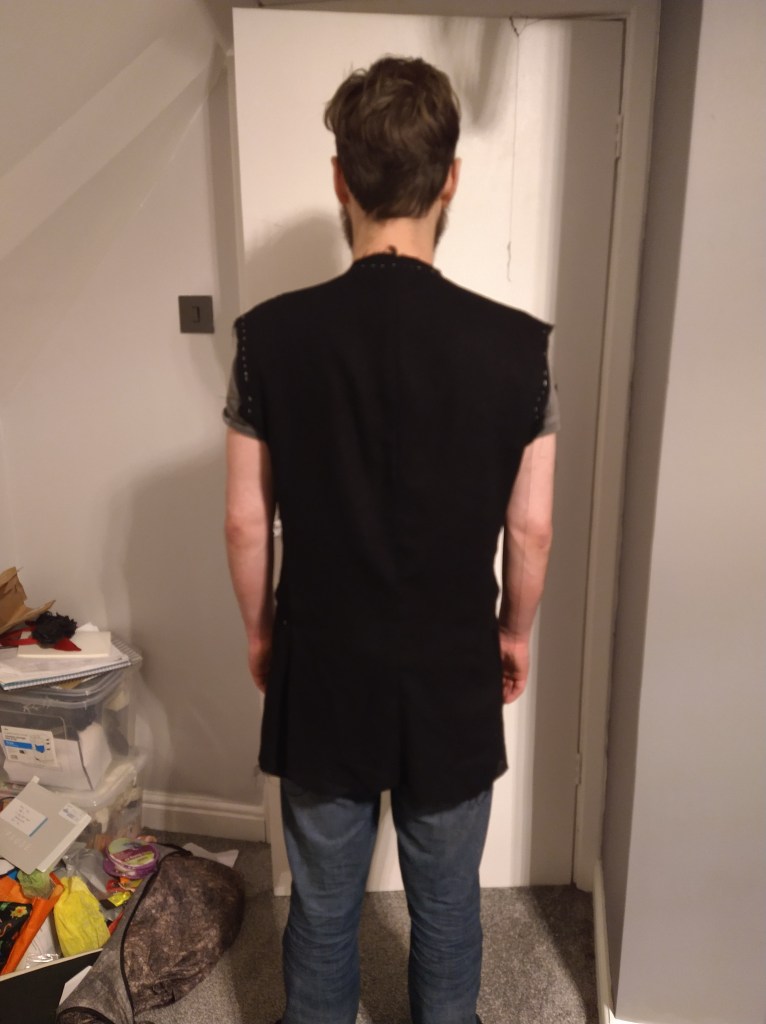
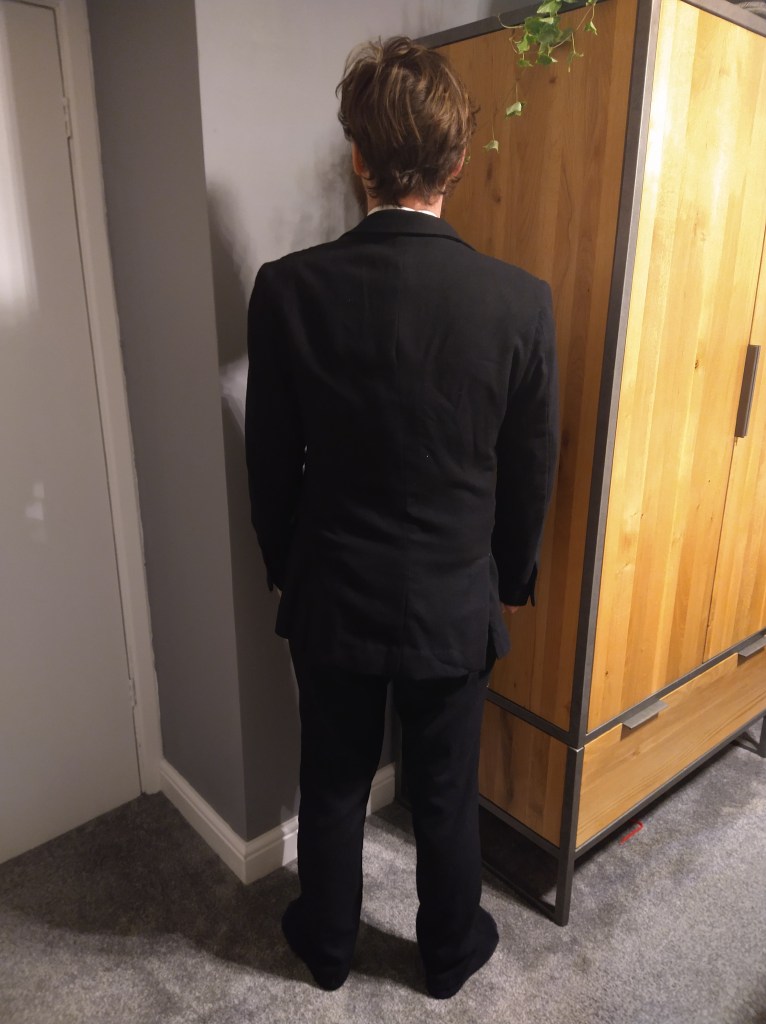
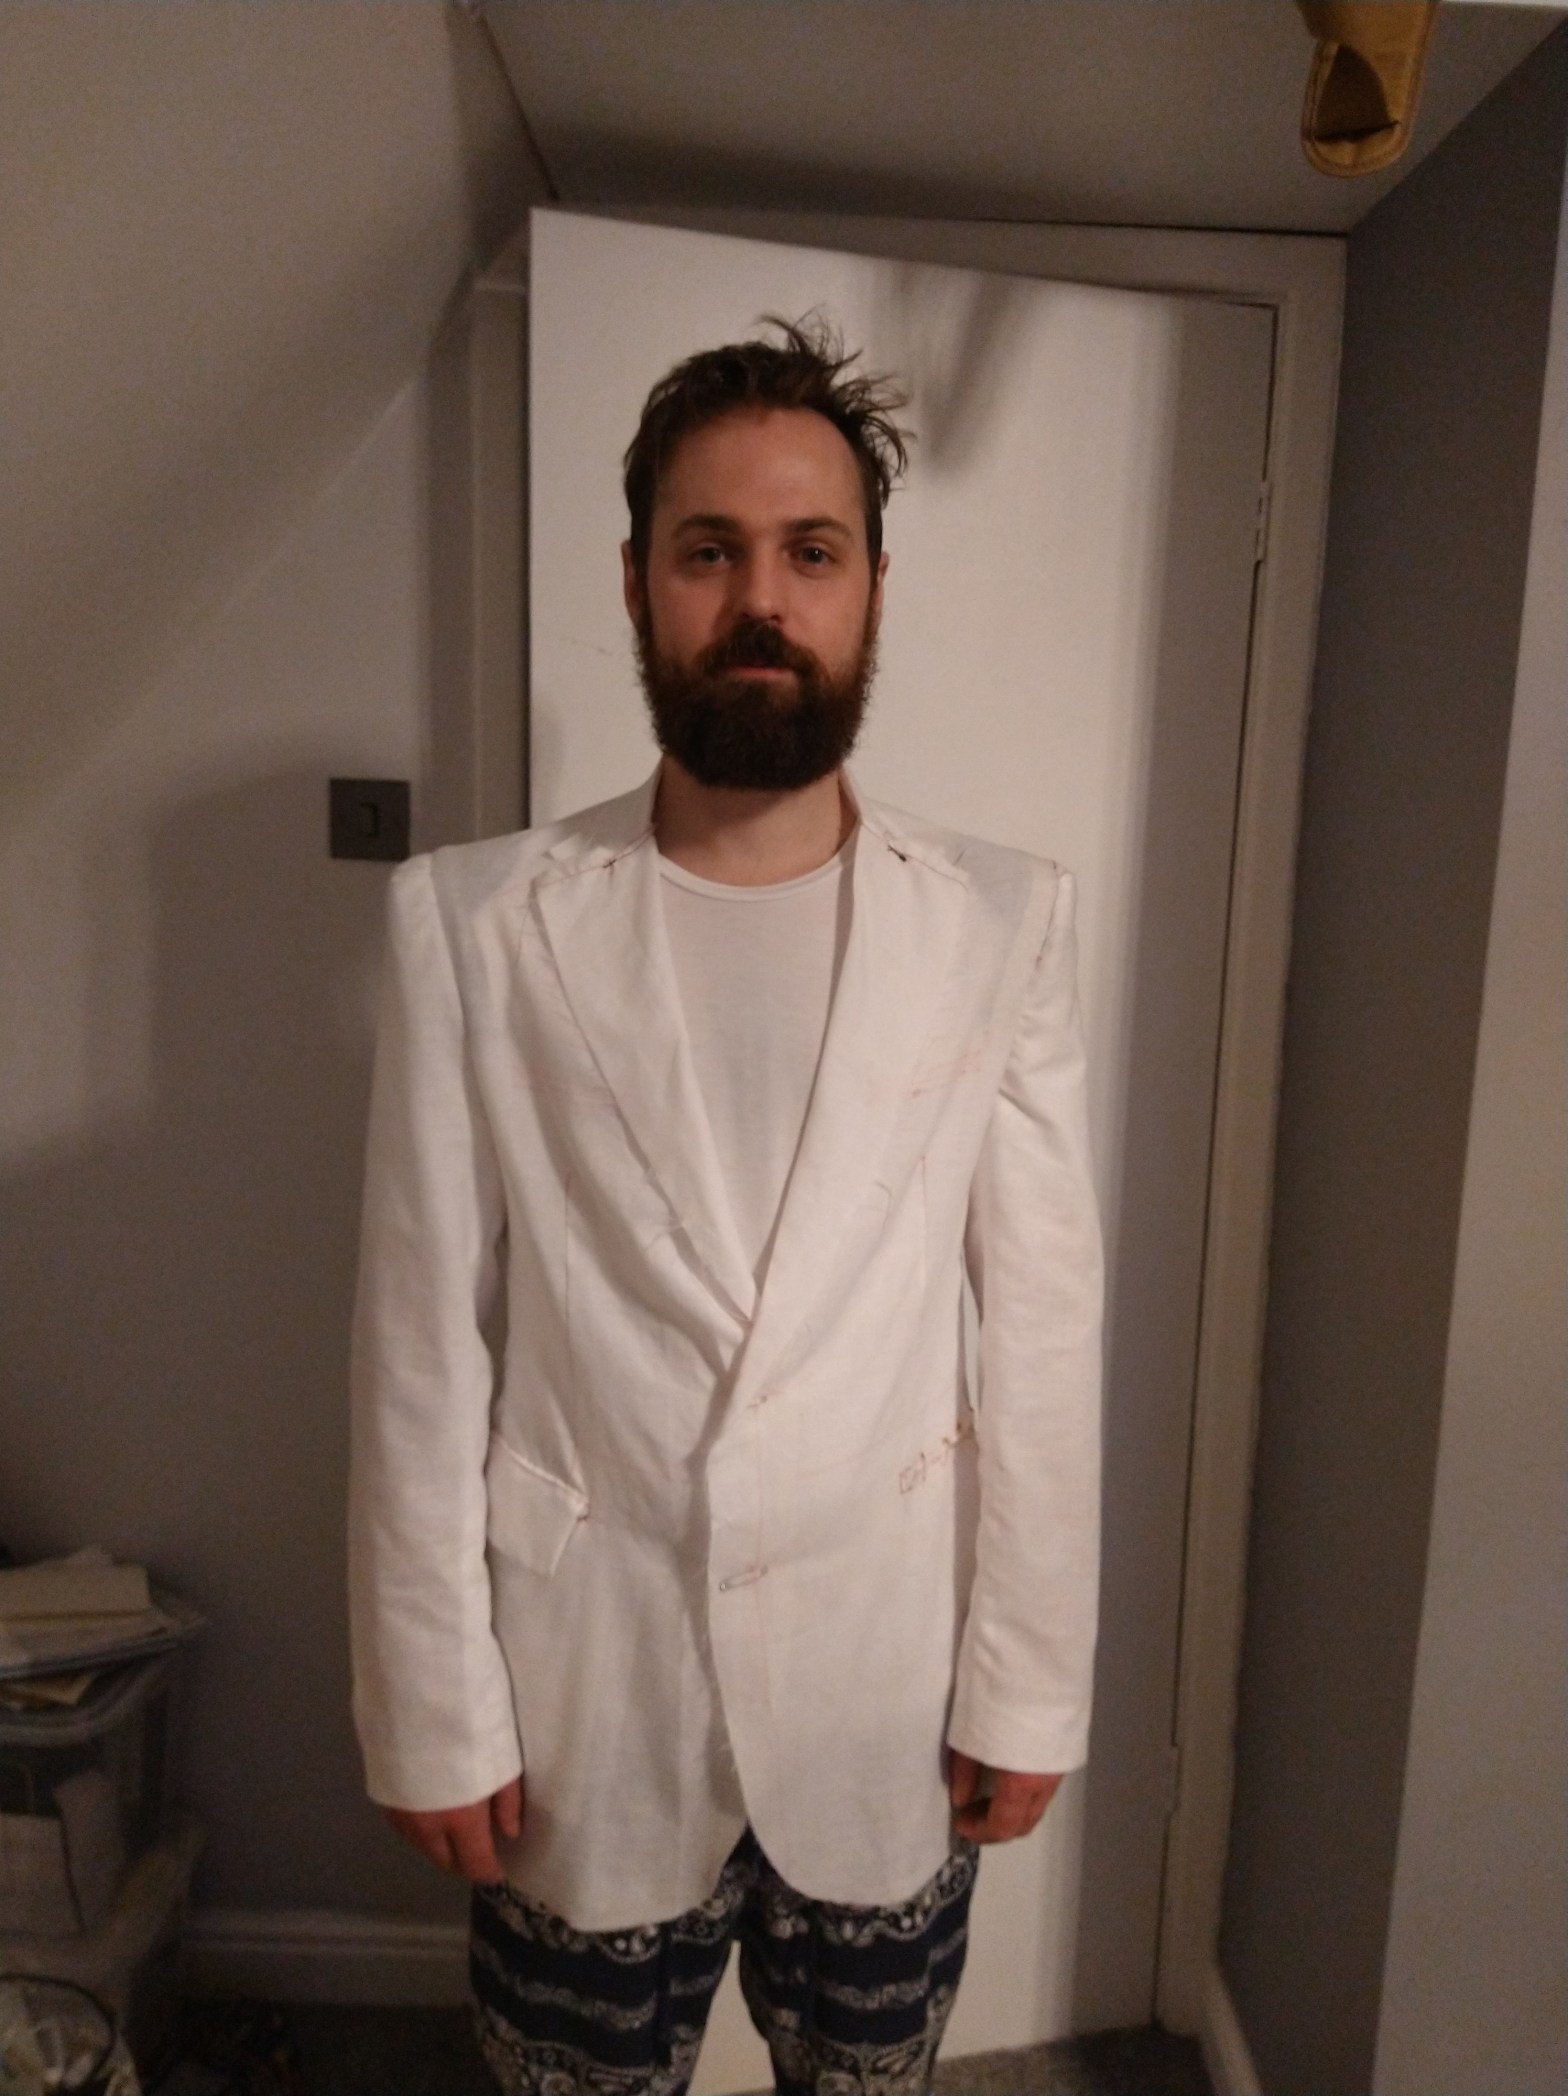
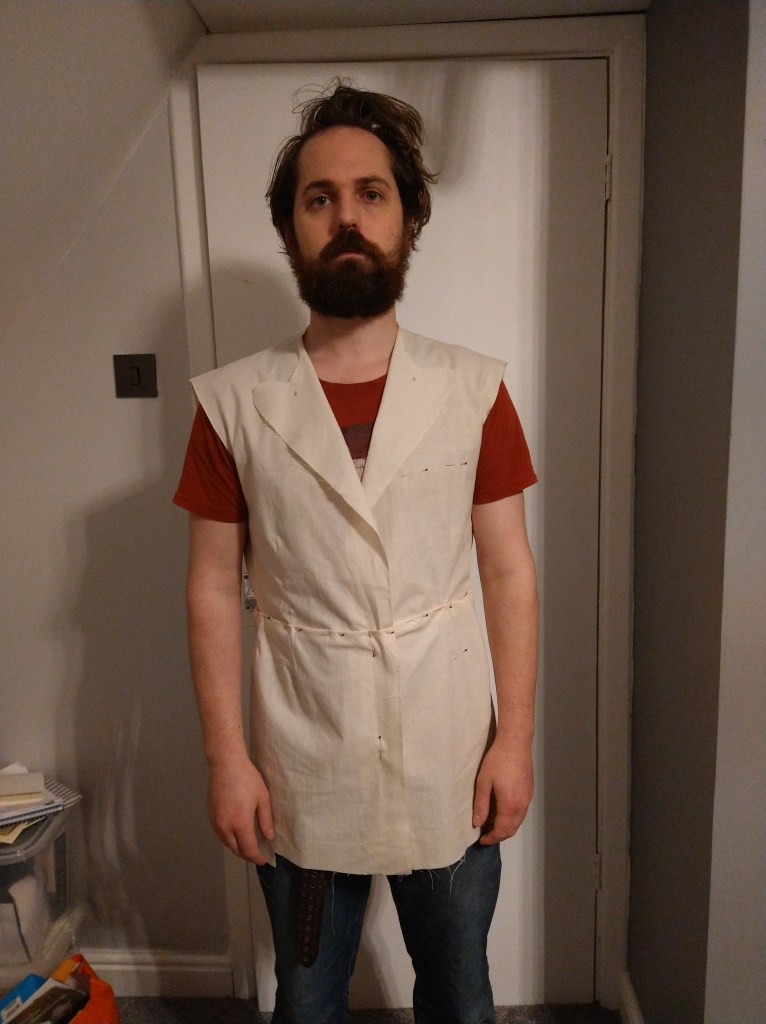
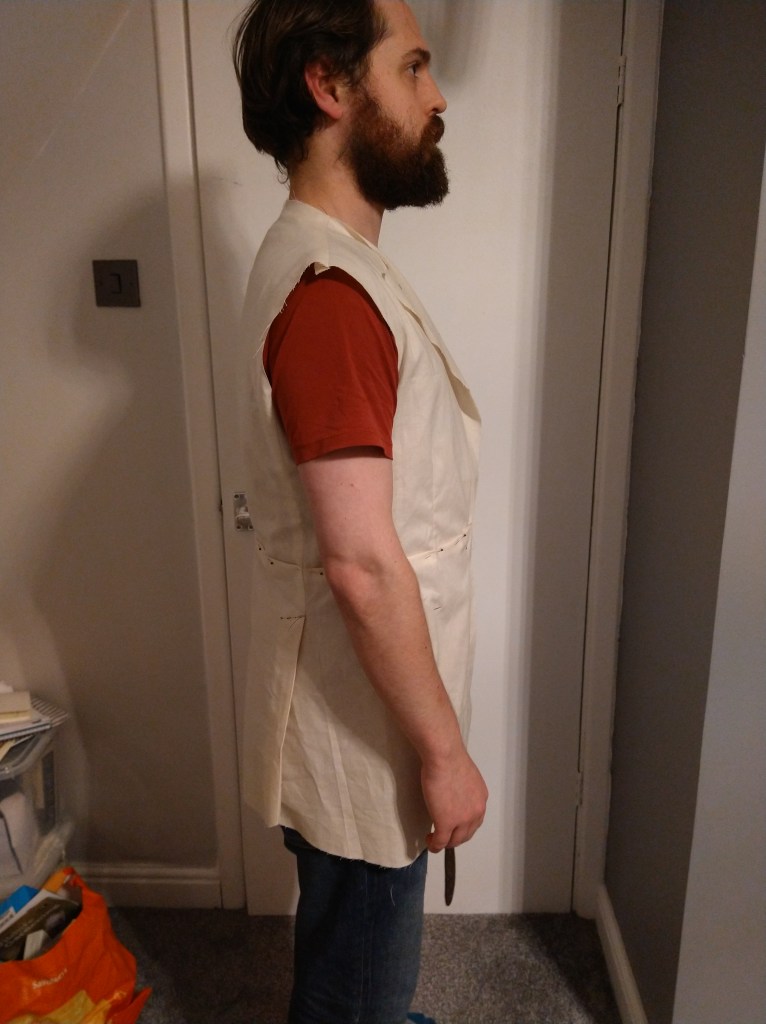
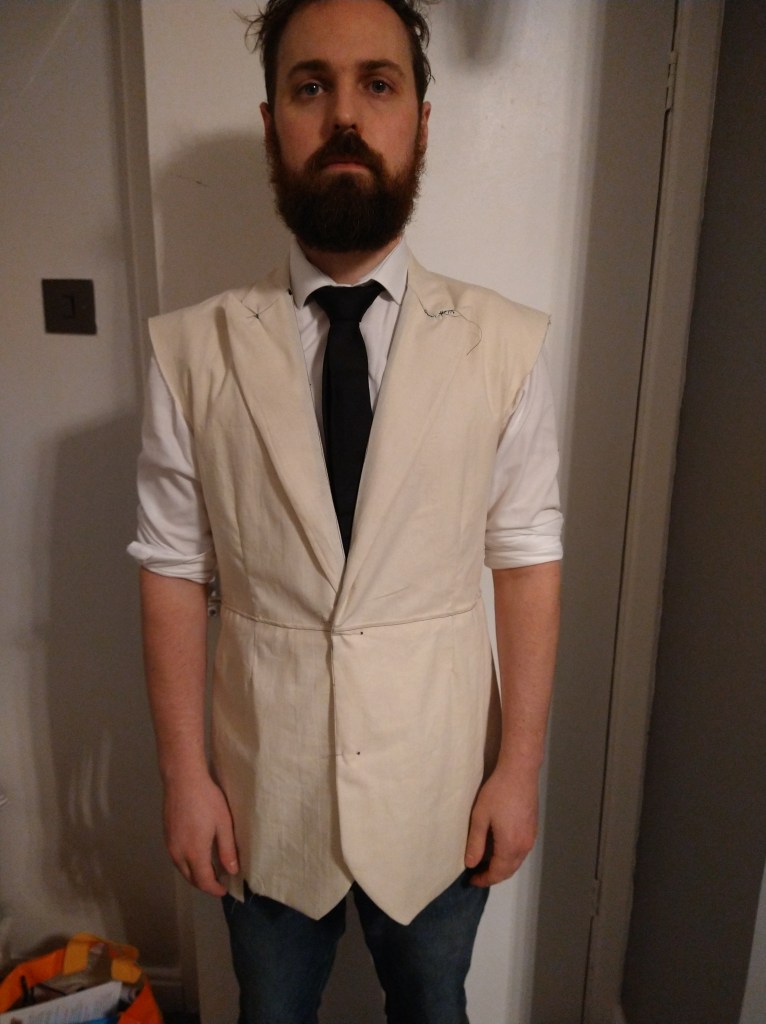
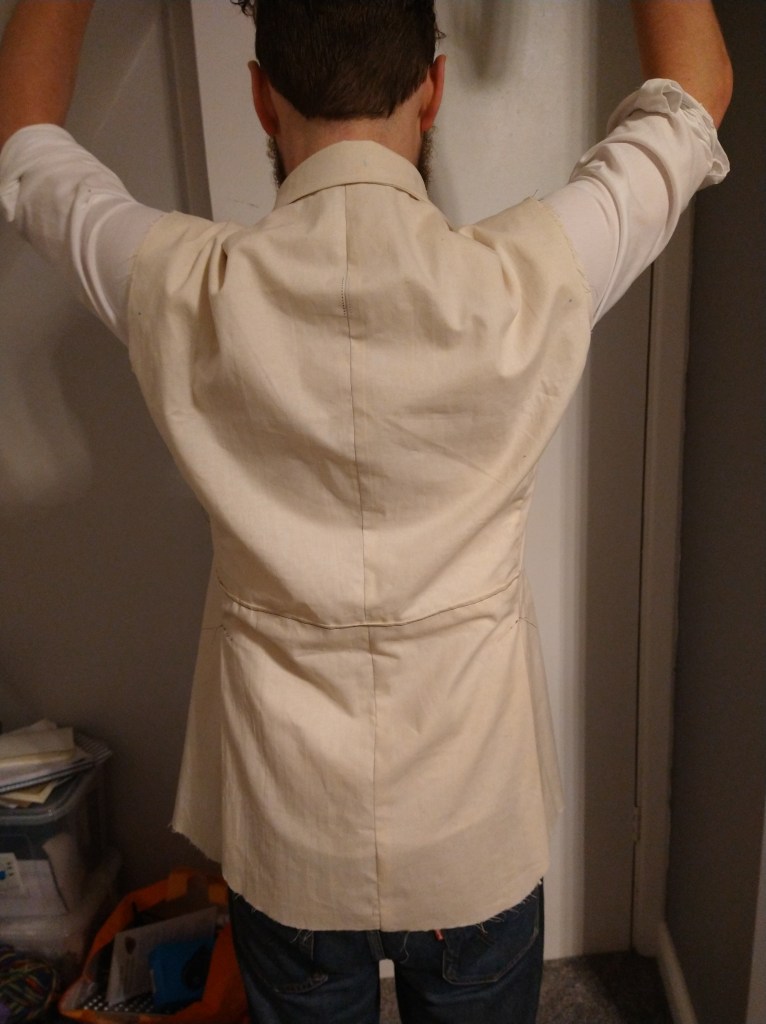
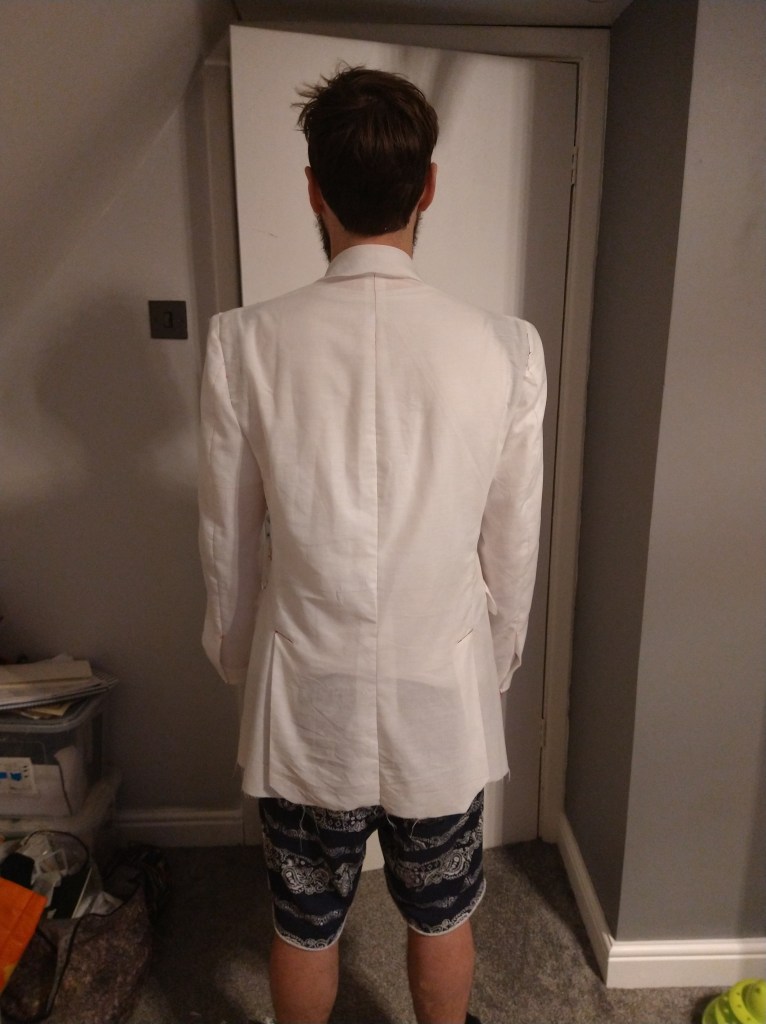
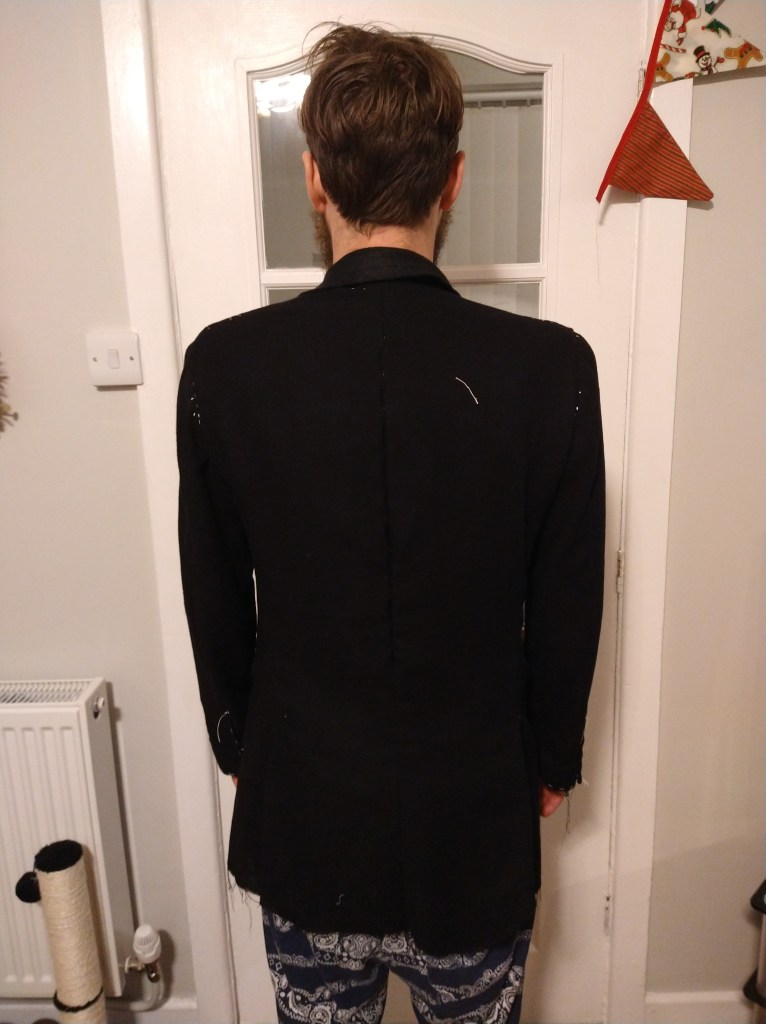
Following the tailoring book, I also included a back stay to help with the hang and shaping of the jacket. You can see the tacking around the outside of it attaching to the collar and armholes in the photos below. In these photos you can also see the shape of the jacket is clearly starting to gain its shape. I still had a fair way to go as the sleeveless vest wasn’t the desired look.
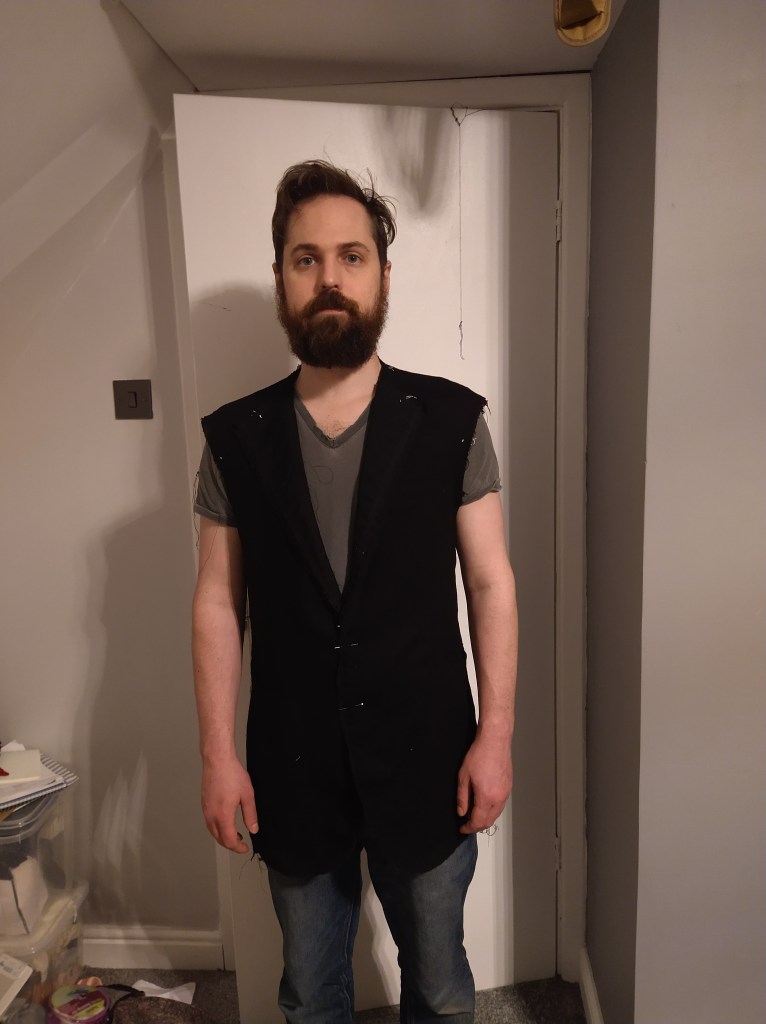
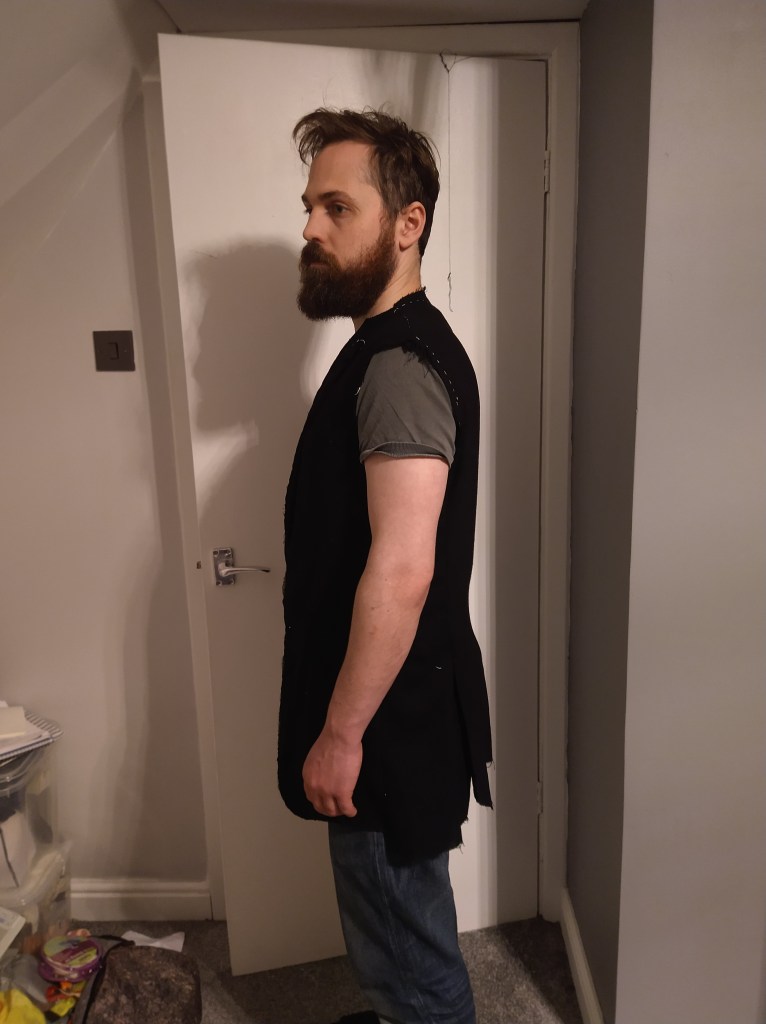
Then it was on to the sleeve construction and insertion. The sleeves came in two parts, these had also been altered when the armhole was raised in the initial toile. The bottom of the sleeves were mitred corners and I really enjoyed making these, the construction details were really satisfying. Once the sleeves were comfortably set in (without too much trauma) It was time to add the sleeveheads and the shoulder pads. I found this great fun, having not got the opportunity to wear them in the 80s (I was only 8 months by the end of them). I think the fit was looking pretty splendid with them in.
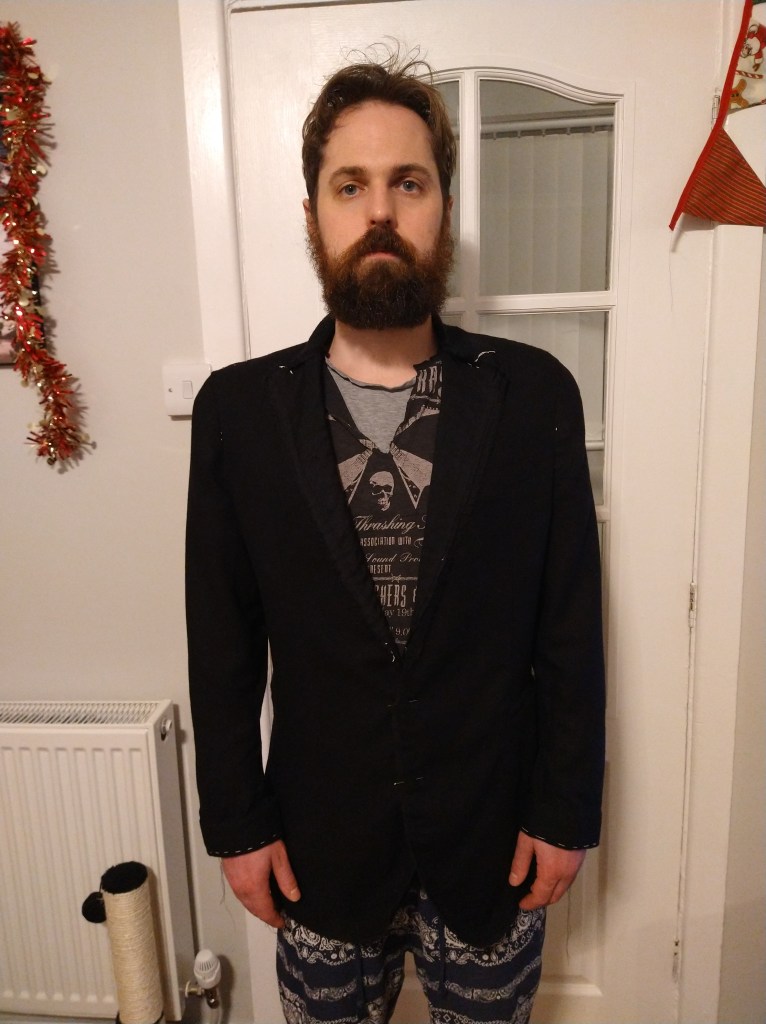
Then it was time to start the lining. Welt Pockets 4&5 (the third different construction method) went in with a bit of a fight. Basting thread and taking my time was definitely my friend here! I attached the lining to the facing. I really wish I’d used grey topstitching here instead of black. I’m not quite sure why I went for visible topstitching, but it is there!
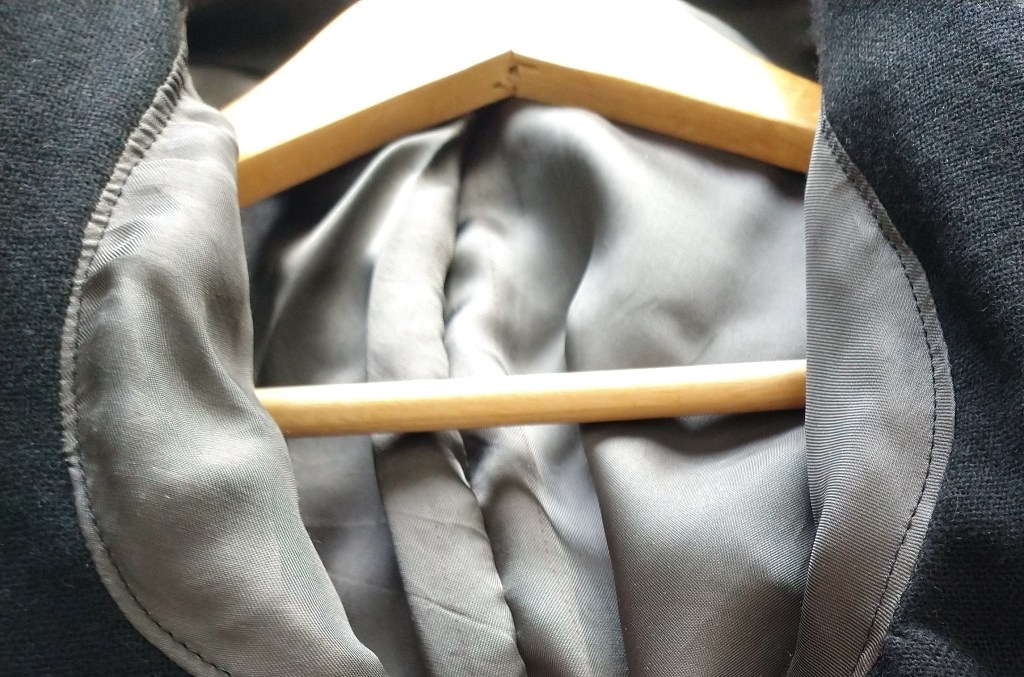
Some tailors marks still present and black topstitching!

When joining the lining to the suit I added some twill tape around the outside to ensure a better structure to the jacket. This was another deviation from the instructions and following the book. I hand stitched the lining of the arms to the cuffs and the back lining was also hand-stitched. I messed this up quite a few times and it took a bit of head scratching. I’m thrilled with the final result. It was then on to the trousers.

The Trousers – Vogue 8988

Where the toile had gone really unbelievable smoothly, the first attempt at the trousers did not. My two welt pockets were wonky and extremely hard to ‘poke the triangle through’ and the waistband was a nightmare. I didn’t realise HOW wrong I’d done it until I’d trimmed the seam allowance, I then tried to fix it, only for it to go even more wrong. I also struggled with the lining, it’s beautiful quality but I found it too tricky to cut on the bias. My lengths went totally awry, they stretched and distorted and it was another contributing factor to the terrible waistband. I abandoned this attempt when Matt tried the trousers on and the front pockets just wouldn’t stay flat.

So, for attempt 2, I bought some more fabric. Sometimes you just have to accept the fail. I also switched up to another fabric for the facings, this was a little more stable and in my comfort zone.

This went much more smoothly and, having gained the experience in the first pair I took extra time with the welt pockets, so they were neater. I also stay-stitched the diagonals of the front pockets to prevent bagging as much as possible. I also like the instructions for putting the fly in on the pattern, it’s done in a really calm and methodical way. Once it was in I also kept the basting stitches in to help with waistband attachment.
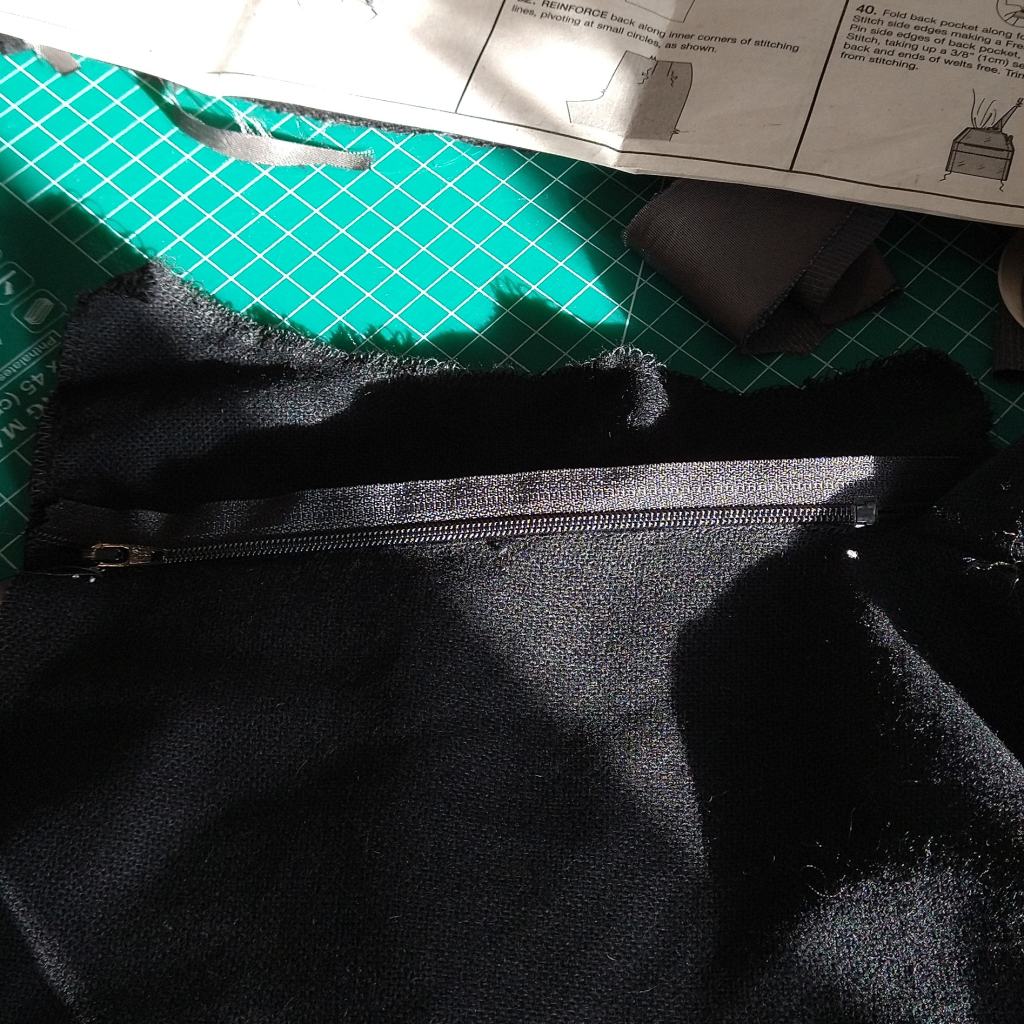
The Zip insertion on the fly

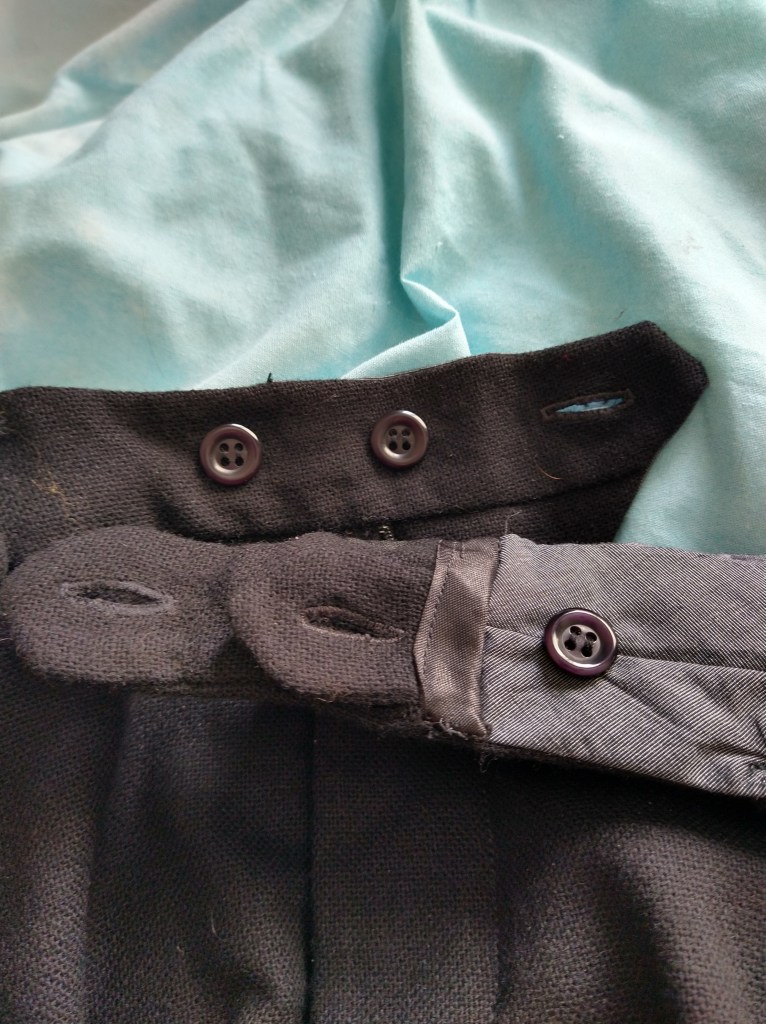
This time I had a cuppa prior to waistband attachment and read the instruction 3 times until I felt confident. I took it extra-slow and even talked Matt through it to check I was doing it right. The waistband was in! I the had the nerve-wracking challenge of adding the buttonholes. My Janome has 1-step buttonholes which has made my life much happier than my angry Toyota 4-step (this isn’t a cool dancemove). However, The welt pockets at the back ALSO have buttonholes and buttons to keep them shut. I did not want to mess these up. Fortunately, they went in without too much swearing. I got Matt to try on the trousers, with his shoes, before hemming them to make sure the length was correct. I hand hemmed them, because by this point, if I wasn’t doing some hand stitching was I even sewing. The waistband was also finished by hand.
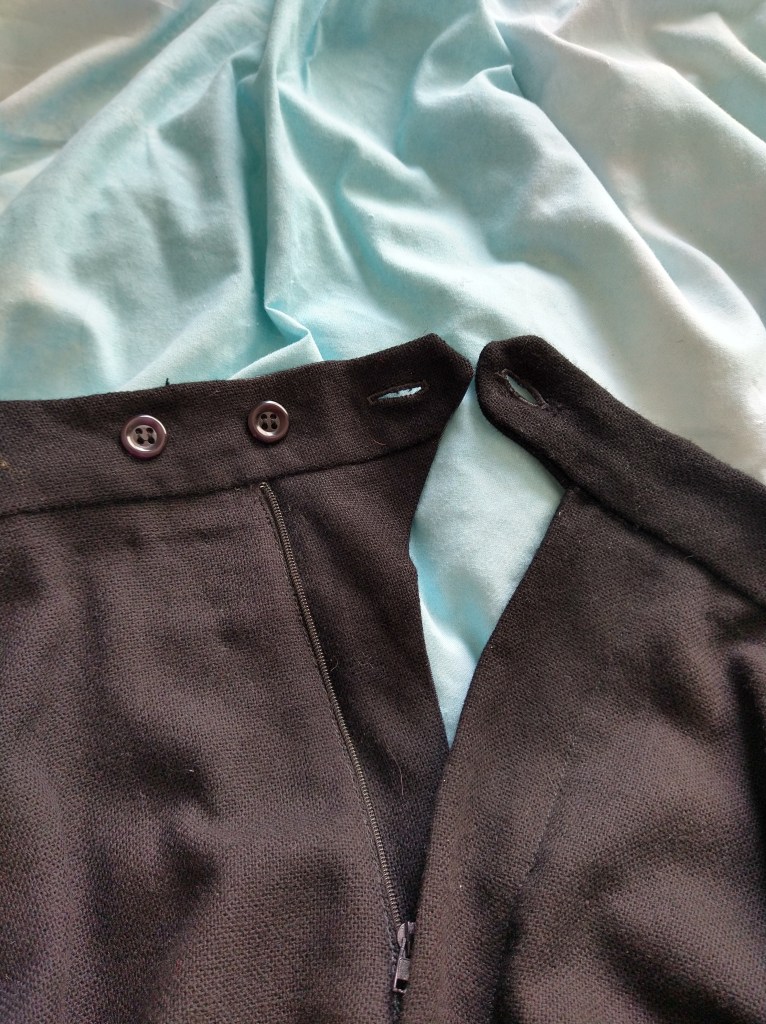
Finishing Touches

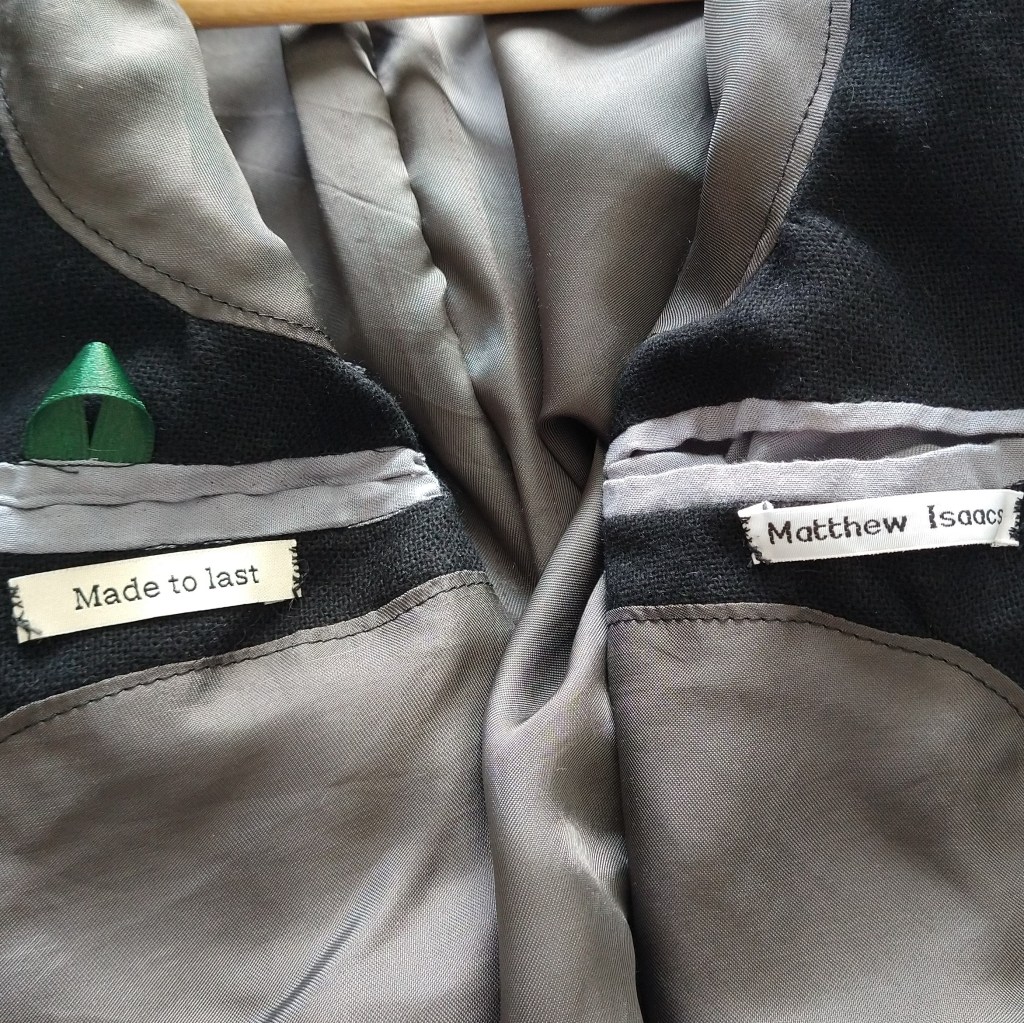
Due to Matt knowing his own mind, the buttons were always going to be circular and rimmed with 4 holes. He didn’t want labels, but I added them anyway (seamstress’ prerogative). I asked my Mother-in-law to be for the labels she used to sew into his PE kit, so he has one each in the jacket and the trousers. I also added a ‘made to last’ label in each, they spoke to me about my hopes and feelings for our marriage.
Final Thoughts

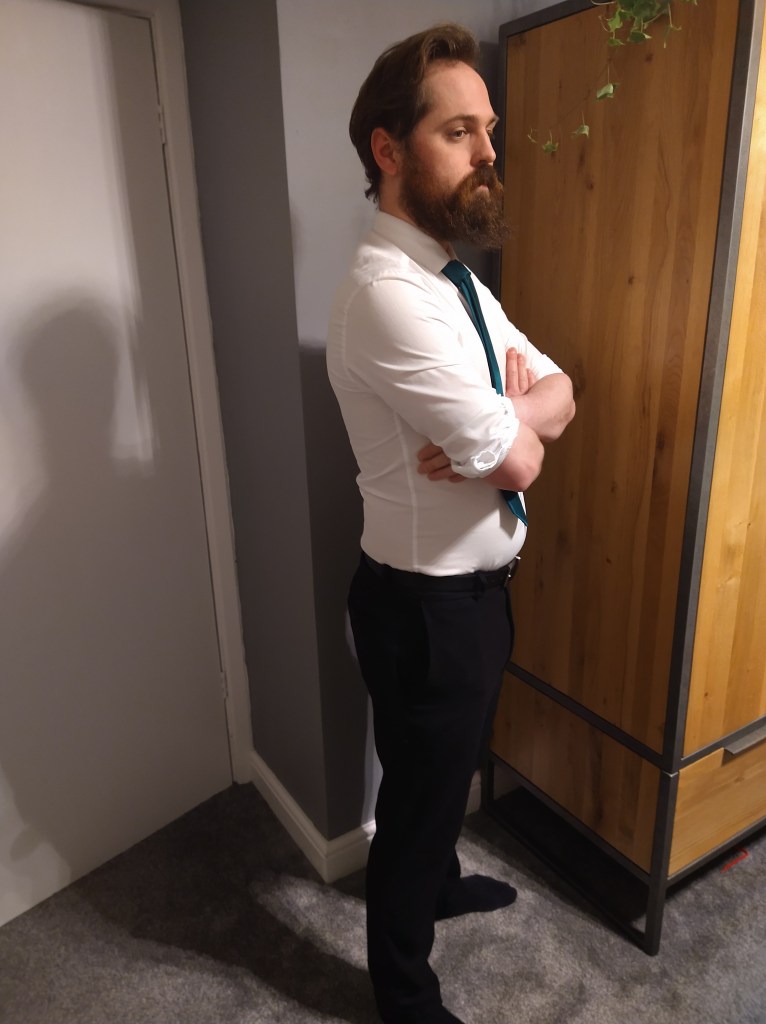
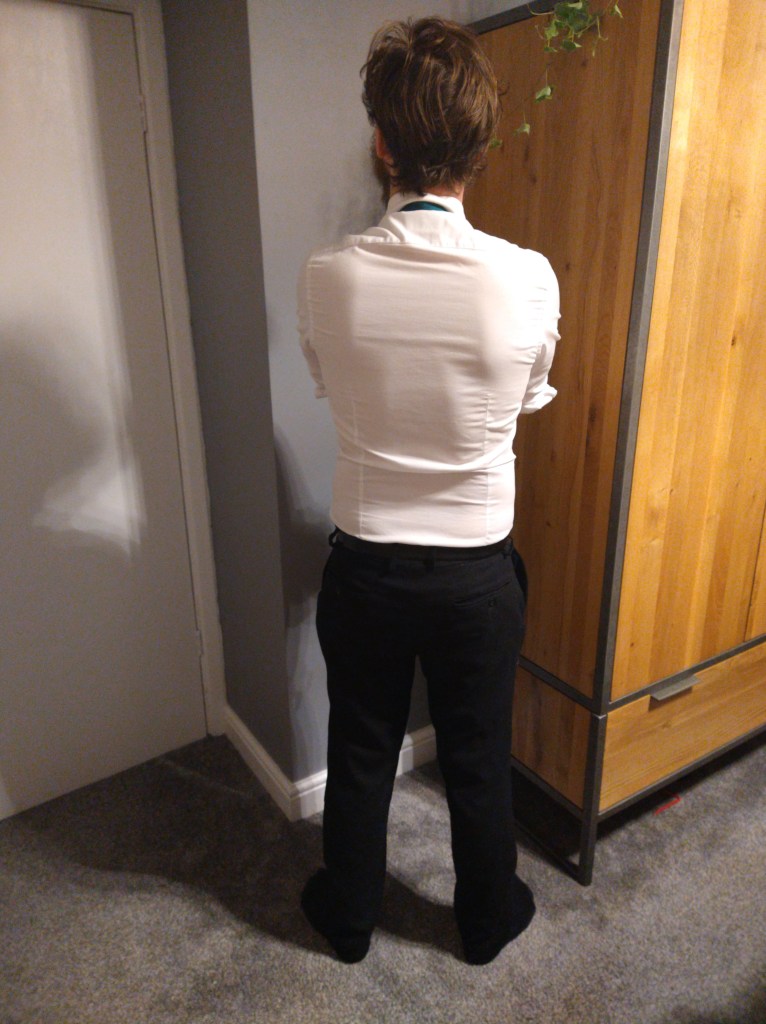
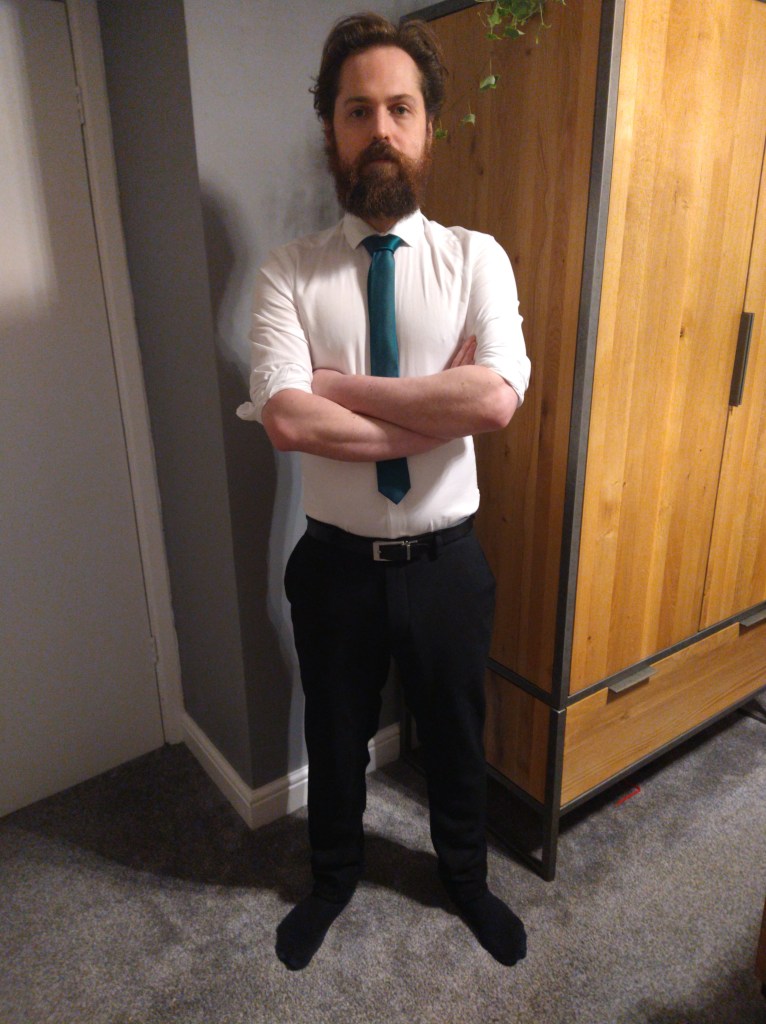
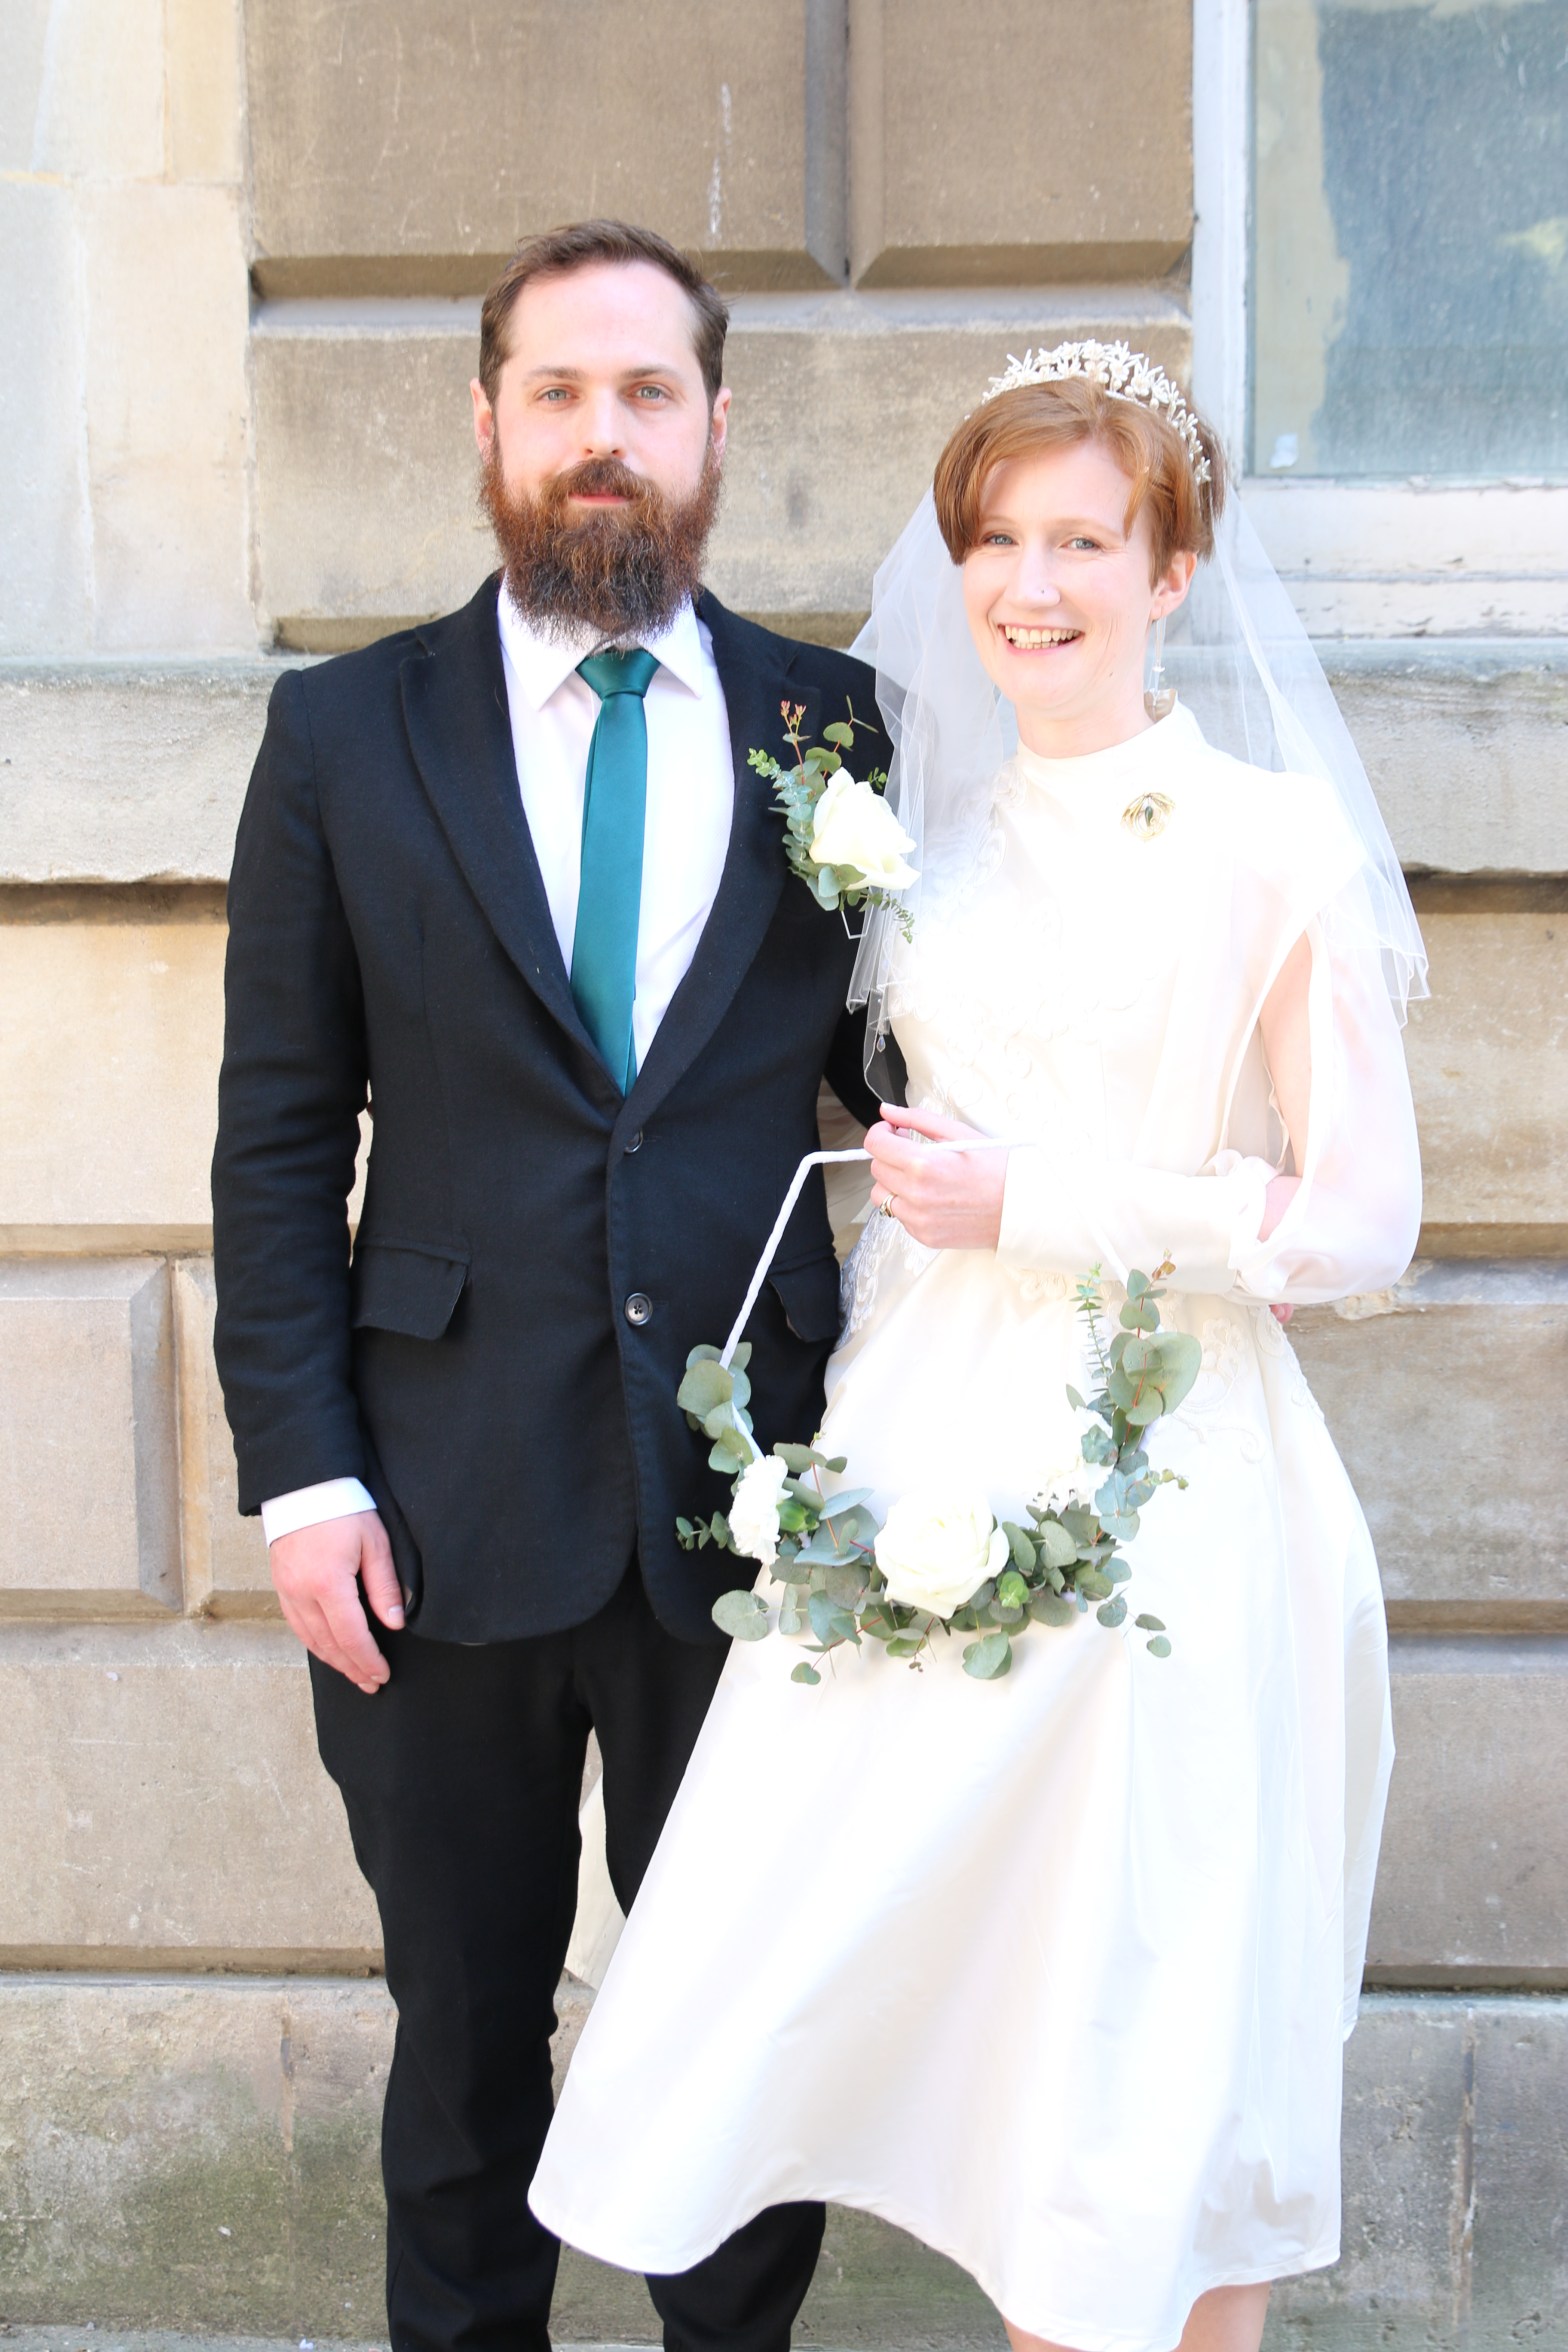
I really enjoyed making this suit (despite my #sewingfail), I learnt so many new techniques and pushed my skills. Matt is one of the more exacting recipients of my ‘selfless sews’. He had a definite vision and knew what he wanted. This helped me to push myself to make it the best that I could. We took it to the local dry cleaners for a decent press prior to the wedding too. We also had to starch the lapels to get them to sit right. This was a great lockdown couples activity one evening!

I’m happy to field any questions on the construction even though I am by no means an expert. If you would like to see some finished pictures I have included a few from our ceremony and reception in DIY Wedding Dress – The Big Reveal. 

DIY Wedding Suit – Patterns, Toiles and Fabrics

Matt (my Husband) already had a suit. So I knew that I could try to make one with very little pressure on myself if it all went horribly wrong. Even my lovely sewing friends thought I was a little bit mad. I thought I was a little bit mad. Without further ado: the suit making process.

Resources and research

When deciding to make a suit I did a lot of research into techniques, processes and materials. Brittani of Untitled Thoughts had recently made a suit jacket for her groom and so I read all of the blog posts available (Part 1 here). The amazing resource that got us both through our suit making journey is the book: Tailoring: The Classic Guide to Sewing the Perfect Jacket.  I found it to be an invaluable resource on ‘how to’ and rather helpfully ‘why to’. 

One of the many things you read about when making a suit, coat or similar is that you need to use a clapper to get crispness in your seams. I bought mine from Maven Patterns but there are several available. I also used a tailors ham and sausage to get the pressing right alongside a pressing cloth. I had cleaned my iron using the hemline cleaner, I would not recommend this. There are now deposits built up in the non steam holes in my iron. One of the best tips I can give for suit making is to really, really, really spend time getting the pressing right whilst you make the suit. Following making the suit also consider taking it to a Dry Cleaners for a professional pressing too.

There is even more hand-sewing in the suit than the dress. One of the tips for the hand sewing is to use a silk-thread, when completing the hand-sewing it is important to cover the thread with beeswax and to heat it quickly to prevent it from tangling. 

Pattern(s)

One of the key things that Matt wanted in a suit was for the jacket to be lined. He also wanted pockets, two buttons and for it to be single breasted. There are surprisingly few mens suit patterns available for home sewing, Vogue do an excellent line. 


The first pattern that we bought was Vogue 8988, I should definitely have paid more attention when getting Matt to buy it. It didn’t have a lining so I would have had to draft one myself. Nevertheless we cracked on. A note to Vogue, the stripy fabric used for the single breasted sample is not helpful to people looking to make the garment to review style lines.

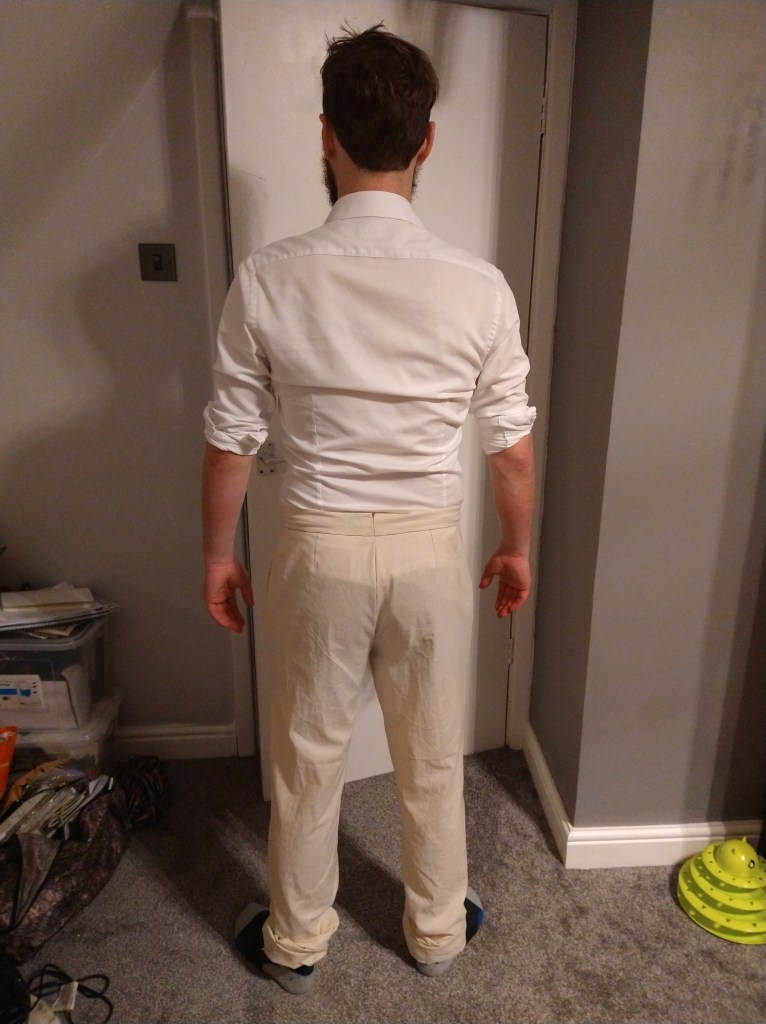
I made a toile of the jacket first, it was a fairly straightforward sew, I didn’t french the suggested seam as it was a toile. If I were making it properly, without lining, I would 100% have done this. I took 2” out of the length above the waist and would have also taken some of the ease out of the back and done a narrow shoulder adjustment. However, shortly after this jacket was put on pause for one with a full lining.

Whilst waiting for the second jacket pattern to arrive I made the trousers. These fit surprisingly well out of the envelope in size 38. The biggest issue was the need to remove 7” (17.5cm) from the length. I found the construction fairly straightforward on the toile. The waistband would prove to be trickier in the actual construction.

Pattern Number 2 – A Jacket with Lining!

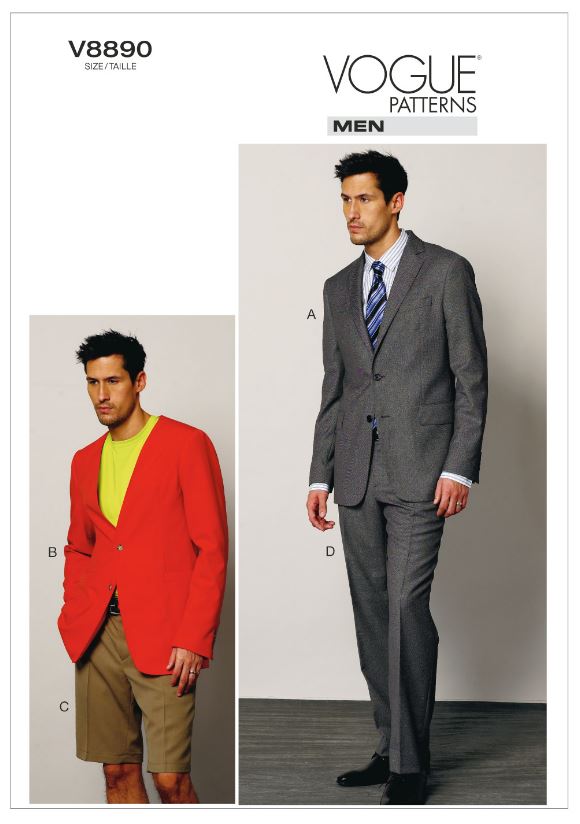
This time we selected a pattern with lining! We’d originally discounted V8890 due to the weird view B with no collar (I’m not a style trailblazer). The style lines are fairly similar to the V8898 with the exception that this also has a side panel where the 8998 did not. Now keen to get on with making the suit, I started the toile. I started at the size 40 and made adjustments from there. Due to the construction method of the jacket I also practised a welt pocket!

I did a ⅝” narrow shoulder adjustment, ½” reduction at the side seams and ¾” for the back seam. The sleeves were also reduced by 1” but kept fairly long at the preference of Matt. I also put the sleeve head and the shoulder pads in the toile to ensure that they were sitting right. It was time to start the real thing!

Fabrics

Matt had a very definite aesthetic in mind for the suit. It was always going to be a black suit. We ordered quite a few samples from multiple shops and there was some debate over: 

  • Too patterned
  • Too fine
  • Weird texture
  • Wrong black
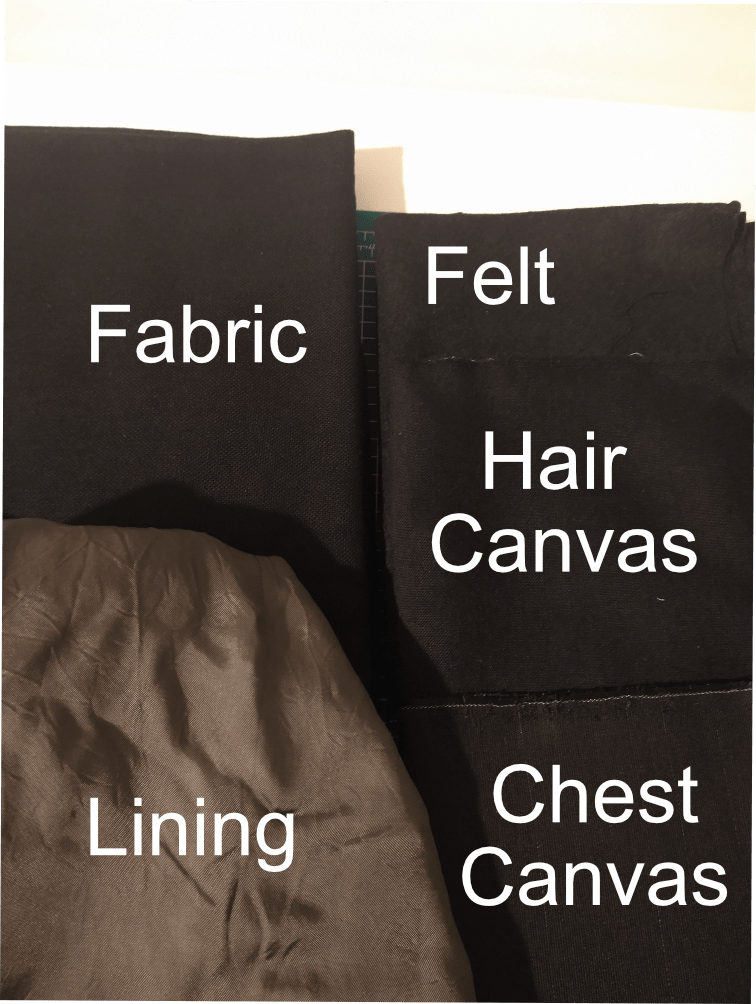
The fabrics purchased to complete the suit

Finally we settled on the McElroy Seattle, a 100% wool Mini Hop-sack Weave Suiting which we bought from Sherwoods Fabrics. Matt liked the texture and slightly more informal look of the fabric. I was a bit nervous to make my first suit in such a loose weave but forewarned is forearmed so off I went!

Having done my research and read the pattern envelope I knew that I was going to have to buy some specialist fabrics. I identified a UK based company (helpfully called the lining company) that sells tailoring supplies and purchased:

  • Chest Canvas –  a special canvas to bolster and stiffen the structure around the chest
  • Hair Canvas – specially used for interfacing,stiffening the front (and back) of the jacket, also giving the lapels, collars and cuffs structure.
  • Collar Felt – specifically for the undercollar to assist with shaping.

The lining fabric was purchased from Like Sew Amazing, a gunmetal (we went rogue on the colourscheme) ex-designer viscose. It was beautifully soft and really helped to elevate the look and feel of the suit.

Up Next

Up next will be the suit construction and nitty gritty! Plus some pictures of the suit and the wedding. This was even more challenging than making the dress for me and was a lot out of my comfort zone. It was, however, really fun and I will be planning to make myself a blazer in the near future, once I’ve got through all the sewing I neglected whilst completing the wedding makes.

DIY Wedding Dress – The Big Reveal!

There isn’t an awful lot to say that hasn’t been said about the dress now. Post 1 was concept, Post 2 was fit, Post 3 was construction. I did promise two things, reflections on what I wish I’d known and the overall success.

What I Wish I’d Known

How emotional I’d get when I started being able to try the dress on. This surprised me it was the emotions of all of the love put into the dress and the knowledge that this was a creation I was going to start a new chapter of my life in. I also said to several of my friends that the sewing on of the appliques felt like each stitch was putting a little bit of love and hope into our marriage.

I also wish I’d known other bits of fit information prior to starting the dress, but that was OK. I knew fitting was a process that takes patience and surprisingly for me, I had the patience to do the dress justice.

Overall Success

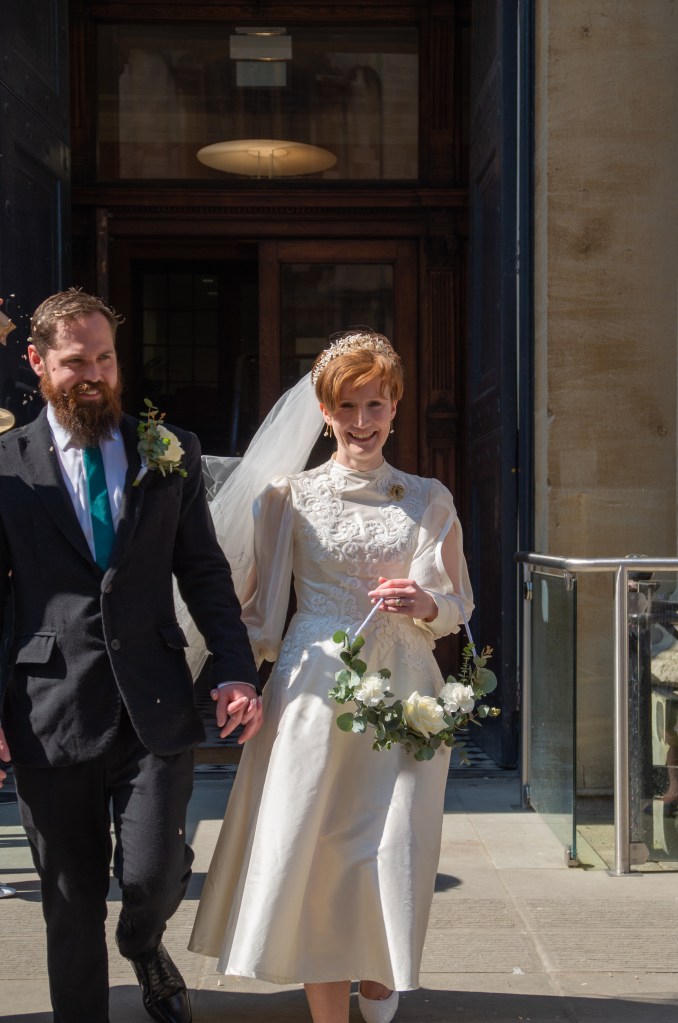
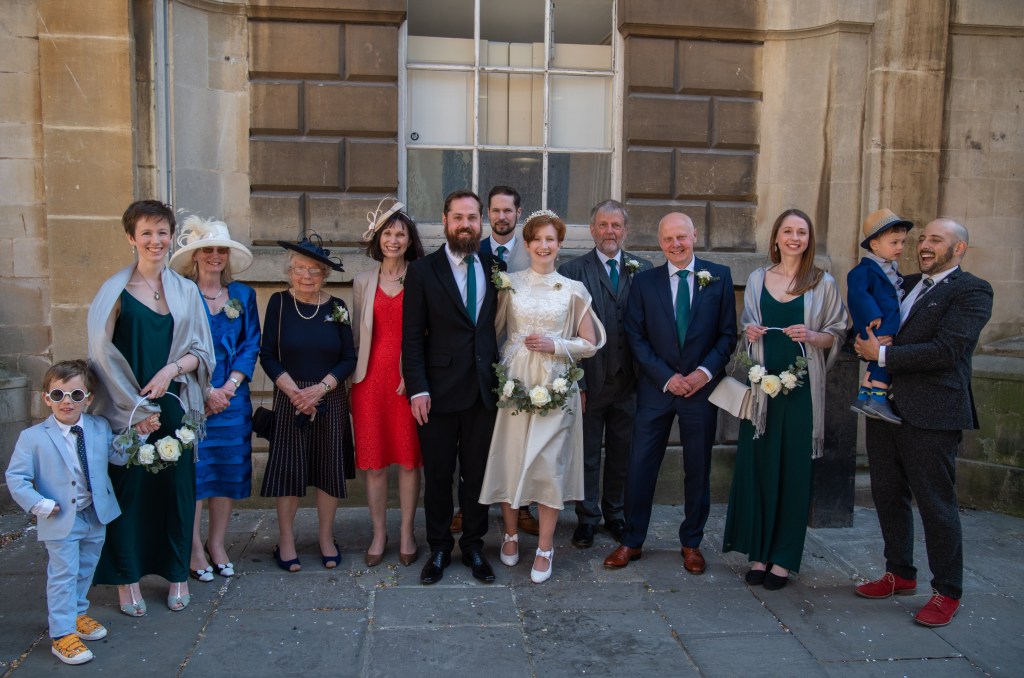
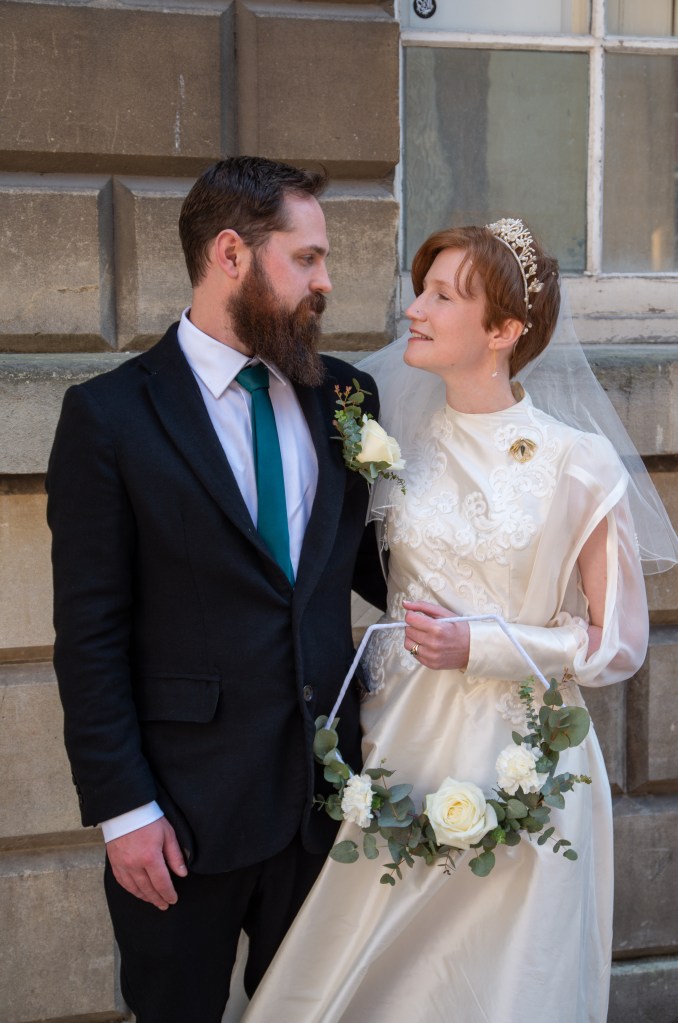
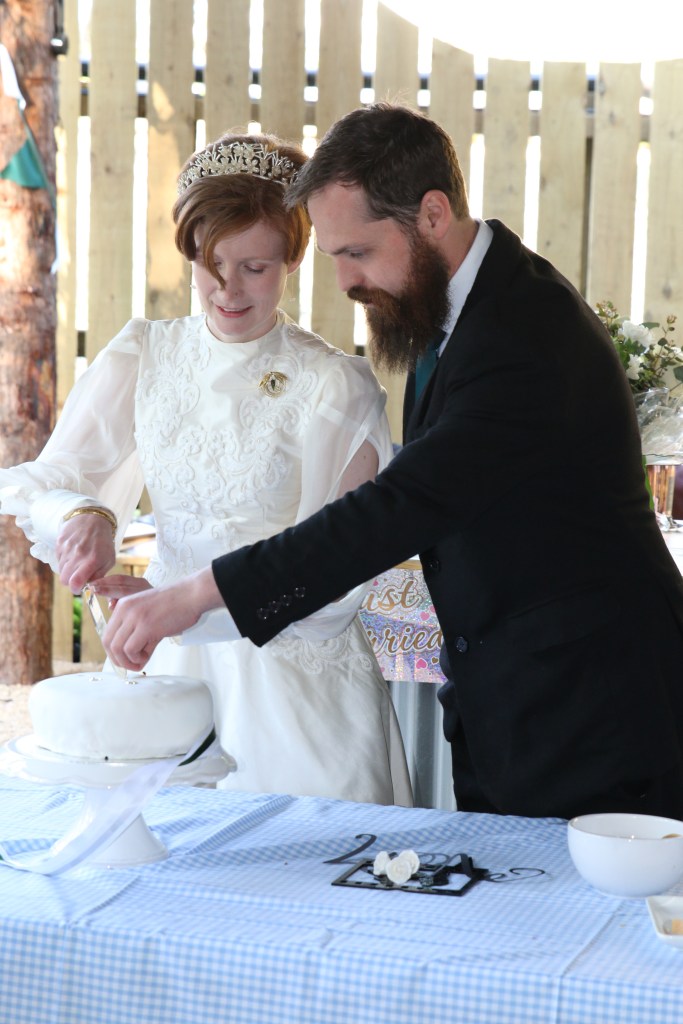
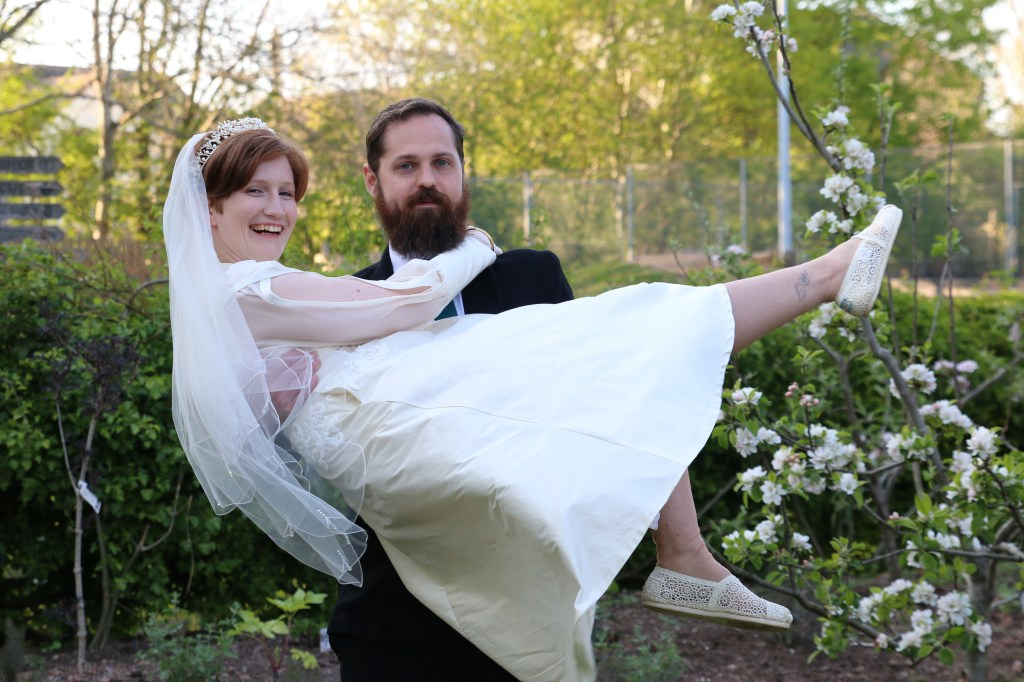
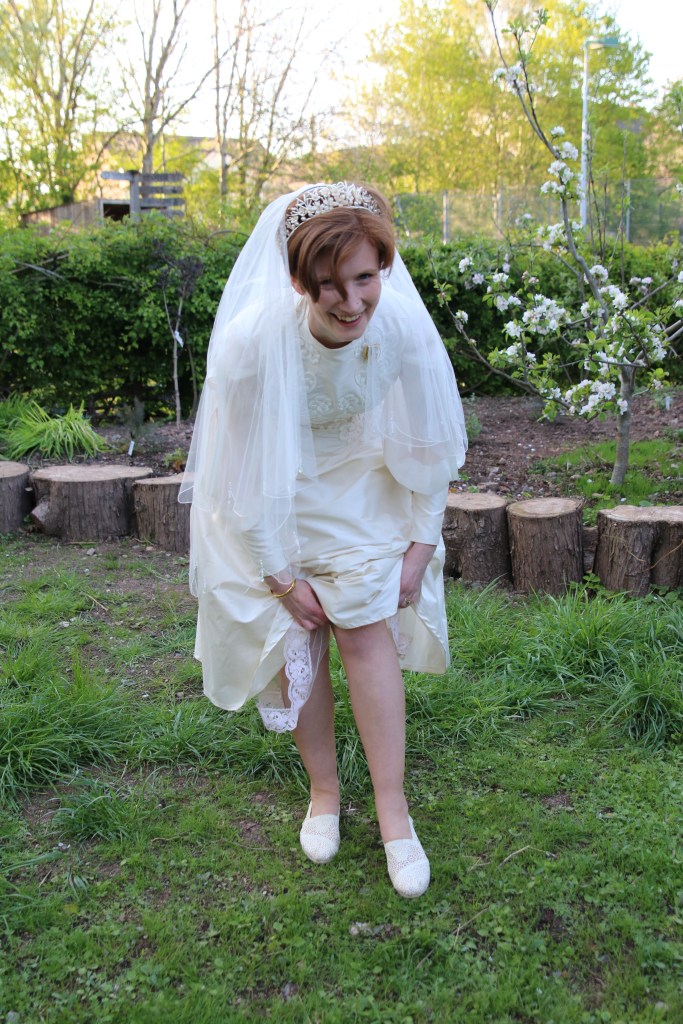
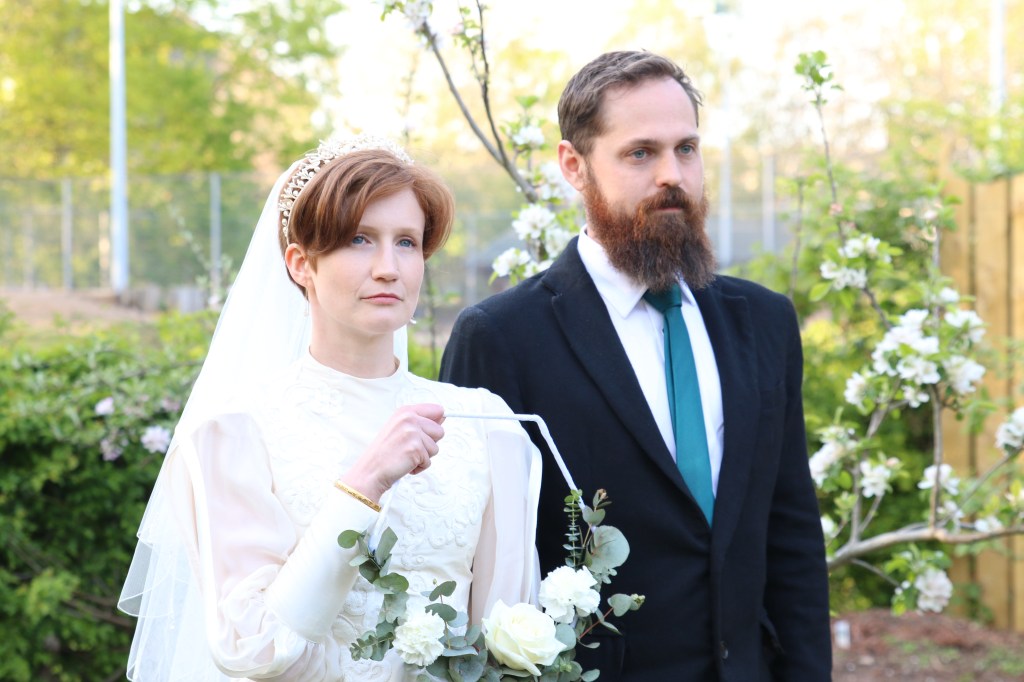
Did I have a dress to get married in? Yes. Did it fit? Yes. Did I trip over it? No! (success achieved). I could nitpick and I could say what I would do next time (some musings in the previous posts re: hand hemming). However, I am thrilled with it. I have married the man I love wearing a dress I made (and he wore a suit I made for him). Please enjoy looking at these photos which show how happy I am to be with the ones I love and enjoy looking at the details of the dress. Photos were either taken by Nickie of Brown Eyed Photos or My Father in Law Trev.

Other Details

Old – My headdress which belongs to my Gran, my brooch which belonged to my other Gran.

New – My veil, dress and undergarments!

Borrowed – My headdress and my garter

Blue – My garter (not pictured)

The next installment of the DIY Wedding will be two posts on the suit. Until then, enjoy a prosecco, tea or coffee for me!